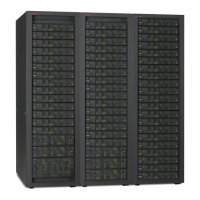
3. Using the hardware supplied, attach both plates as shown in Figure C-12
Hitachi Univesal Rack with Side Stabilizer Plates Installed on page C-28
using the included hex tool.
4. Reinstall the side stabilizer plates.
5. Using the holes on the flat plate's surface, install bolts and washers to
anchor the cabinet to the floor. This hardware is not included in the kit.
The following figure shows the final view after everything is installed.
Figure C-12 Hitachi Univesal Rack with Side Stabilizer Plates Installed
Moving the rack
The maximum allowable inclination angle for the Hitachi rack is eight degrees
(8°). When moving the rack across steep slopes or different floor levels, use
a ramp as shown in the following figure to form a slope with an inclination
angle (slope) of less than eight degrees.
To reduce the risk of injury to persons or damage to equipment, it is
recommended that all equipment be removed from the rack, in order from
top to bottom. Transport the rack and the components individually to the
desired location.
If you need to move the rack with the mounted components in it, use the
pallet on which the rack was shipped to you. Be careful when loading the rack
onto the pallet. Secure the rack on the pallet as it was shipped and received.
C-28
Rack information
Hitachi Unified Storage VM Block Module Hardware User Guide
 Loading...