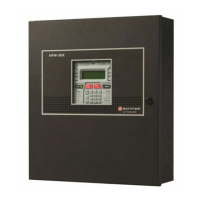
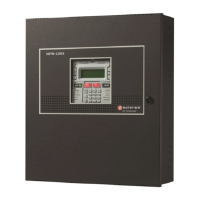
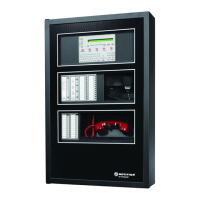
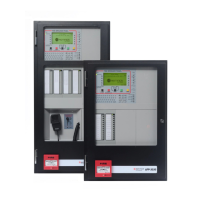
ID3000 Series Installation & Commissioning Manual
Installation - Panel Electronics
19
997-274-000-6, Issue 6
September 2009
5 Panel Electronics Modules
5.1 Introduction
This section describes how to install the ID3000 Series
panel electronics, i.e. the Power Supply Unit (PSU) and
the main chassis, which contains all processing PCBs
and the optional PRN-ID printer.
DO NOT install the electronics module(s) until the building
is clear of trades’ operations. Before commencing the
installation, remove any debris, etc. which may have
accumulated in the panel back box.
Instructions are included for the following:
a. Installing either a Dual Transmission Path (DTP) unit/
Booster Module or a Kit PSU3A in the main chassis.
The DTP/Booster Module is designed for use with
PSUs other than the PSU3A unit (separate instruction
sheets are provided with these alternative PSUs). For
the Kit PSU3A, refer to Section 5.2. For the DTP/
Booster Module, refer to Section 5.3.
Note: For details of installing the PSU7A kit (PN: 020-
579) refer to separate instructions provided with the
kit.
b. Installing the main chassis plus DTP or Kit PSU3A in
the back box. Refer to Section 5.4.
c. Fitting a paper roll to the optional PRN-ID printer.
d. Zonal LED kit options.
To avoid damage to the
electronics, remove trades’
operation debris before
fitting module.
 Loading...
