OPERATOR MANUAL // SECTION 2: INSTALLATION
HONEYWELL 19
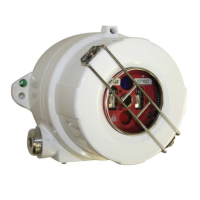
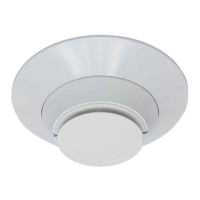
2.2.7 Replacing the Detector Module in the Enclosure.
a. Carefully re-install the module over the three metal standoffs and
screw it down with the three captive screws to the standoffs.
b. If necessary, clean the Detector’ sensors and windowed cover per
instructions of Section 3.2.
c. Securely screw down the metal enclosure top windowed cover and
tighten the Allen-head "tamper-proof" screw.
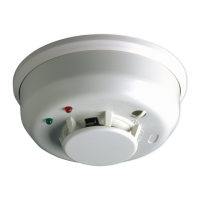
2.3 Enclosure Installation (optional)
2.3.1 Installing the Detector on the Swivel Mount (SM2) or SS Extra Duty (SM4) Swivel Mount
a. Select fasteners for the swivel mounting such that they will secure it
to the type of material at the enclosure location.
b. Mount the swivel-mount to the wall assuring correct orientation.
c. Install the mounting bracket onto the Model SS4-A/-A2 Detector
enclosure using the #¼-20 or #6 mm screws and nuts provided. If
oriented correctly, the outside contours of the mounting ears on the
Detector enclosure and the ends of the bracket will match. The
large diameter of the threaded insert should face the enclosure.
d. Screw the enclosure/bracket assembly onto the ball or swivel stud.
Turn the Detector until the stud bottoms against the enclosure. Do
not tighten. While holding the enclosure, tighten the jam nut
against the bracket.
e. While holding the enclosure, loosen the socket head screw on the
SM2 swivel-mount or swivel release bolt on the SM4. Position the
enclosure in such a way that the conduit openings are located
horizontally at the bottom. Point the enclosure in the desired
direction and tighten the appropriate hardware.
 Loading...