2-6 Removal and Replacement HP OmniBook XE2
Removing the Hard Disk Drive
(User-Replaceable)
Table 2-5. Hard Disk Drive Replacement Part Number
Description Part Number Exchange
Part Number
Drive, hard disk (6.0GB) F1753-60975 F1753-69075
Required Equipment
• Small Phillips screwdriver.
Removal Procedure
1. Unplug the AC adapter, if present, and remove the battery.
2. Turn the notebook bottom side up.
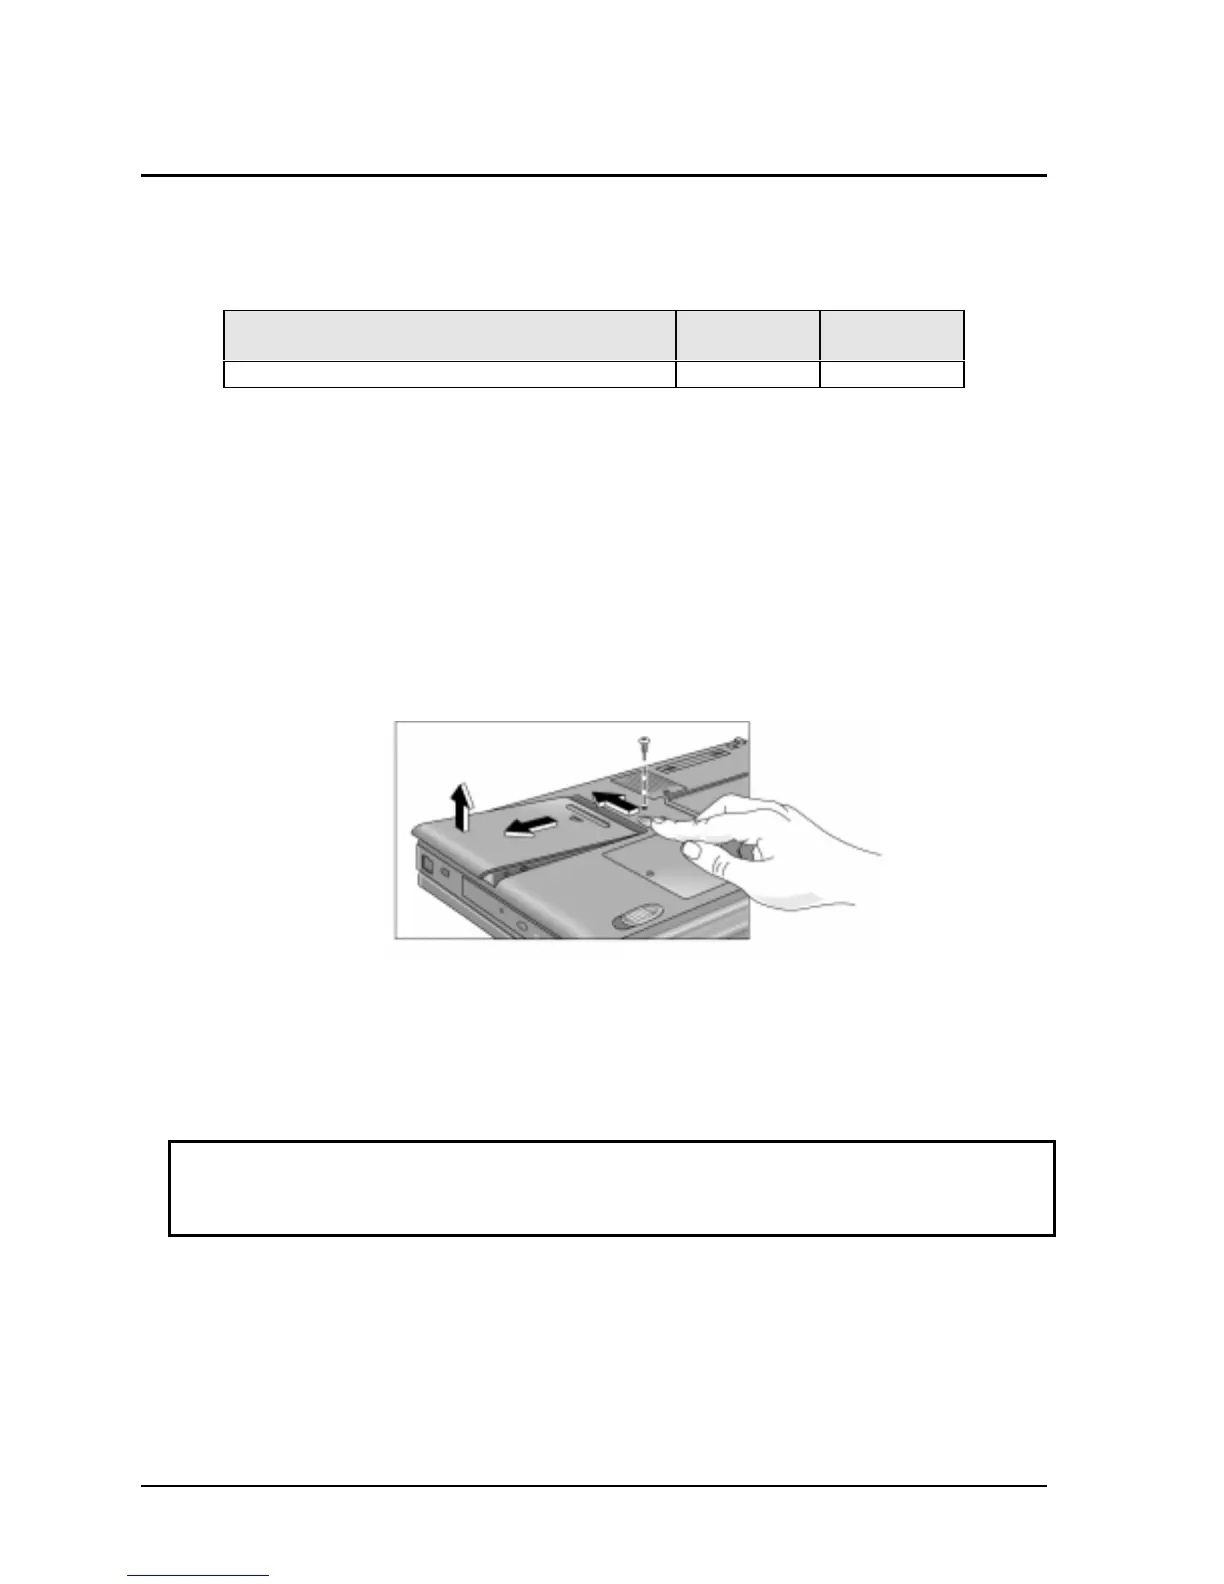
3. Use a Phillips screwdriver to remove the hard disk drive locking screw.
4. Slide and hold the hard disk drive latch. This releases the hard disk drive.
5. Slide the hard disk drive to the left, then lift it out.
Figure 2-4. Removing the Hard Disk Drive
6. If you are installing a new hard drive that does not have a cover, you can remove the cover parts
from the old hard drive:
• Remove the six screws from the case, carfully pull back the case prong, and lift out the drive.
Reassembly Notes
Caution
Do not cover the vent hole in the top surface of the hard drive. If you cover the hole, the hard
drive could fail prematurely.
• Create a Hibernate partition on the drive before loading any software. See the instructions
included with the drive or go to the OmniBook website at www.hp.com/omnibook.
• Create a partition the size of the default option.
 Loading...


