HP OmniBook XE2 Removal and Replacement 2-21
Removing Other Components
(HP Authorized Service Providers Only)
Required Equipment
• Small Phillips screwdriver.
• Pointed knife or probe (for display components).
• 5-mm hex driver (or 3/16 inch) (for bottom case components).
Removal Procedure
1. Unplug the AC adapter, if present, and remove the battery.
2. Remove the additional assemblies and follow the special steps indicated in the tables below.
Components are separated into these groups:
• Display components.
• Top case components.
• Bottom case components.
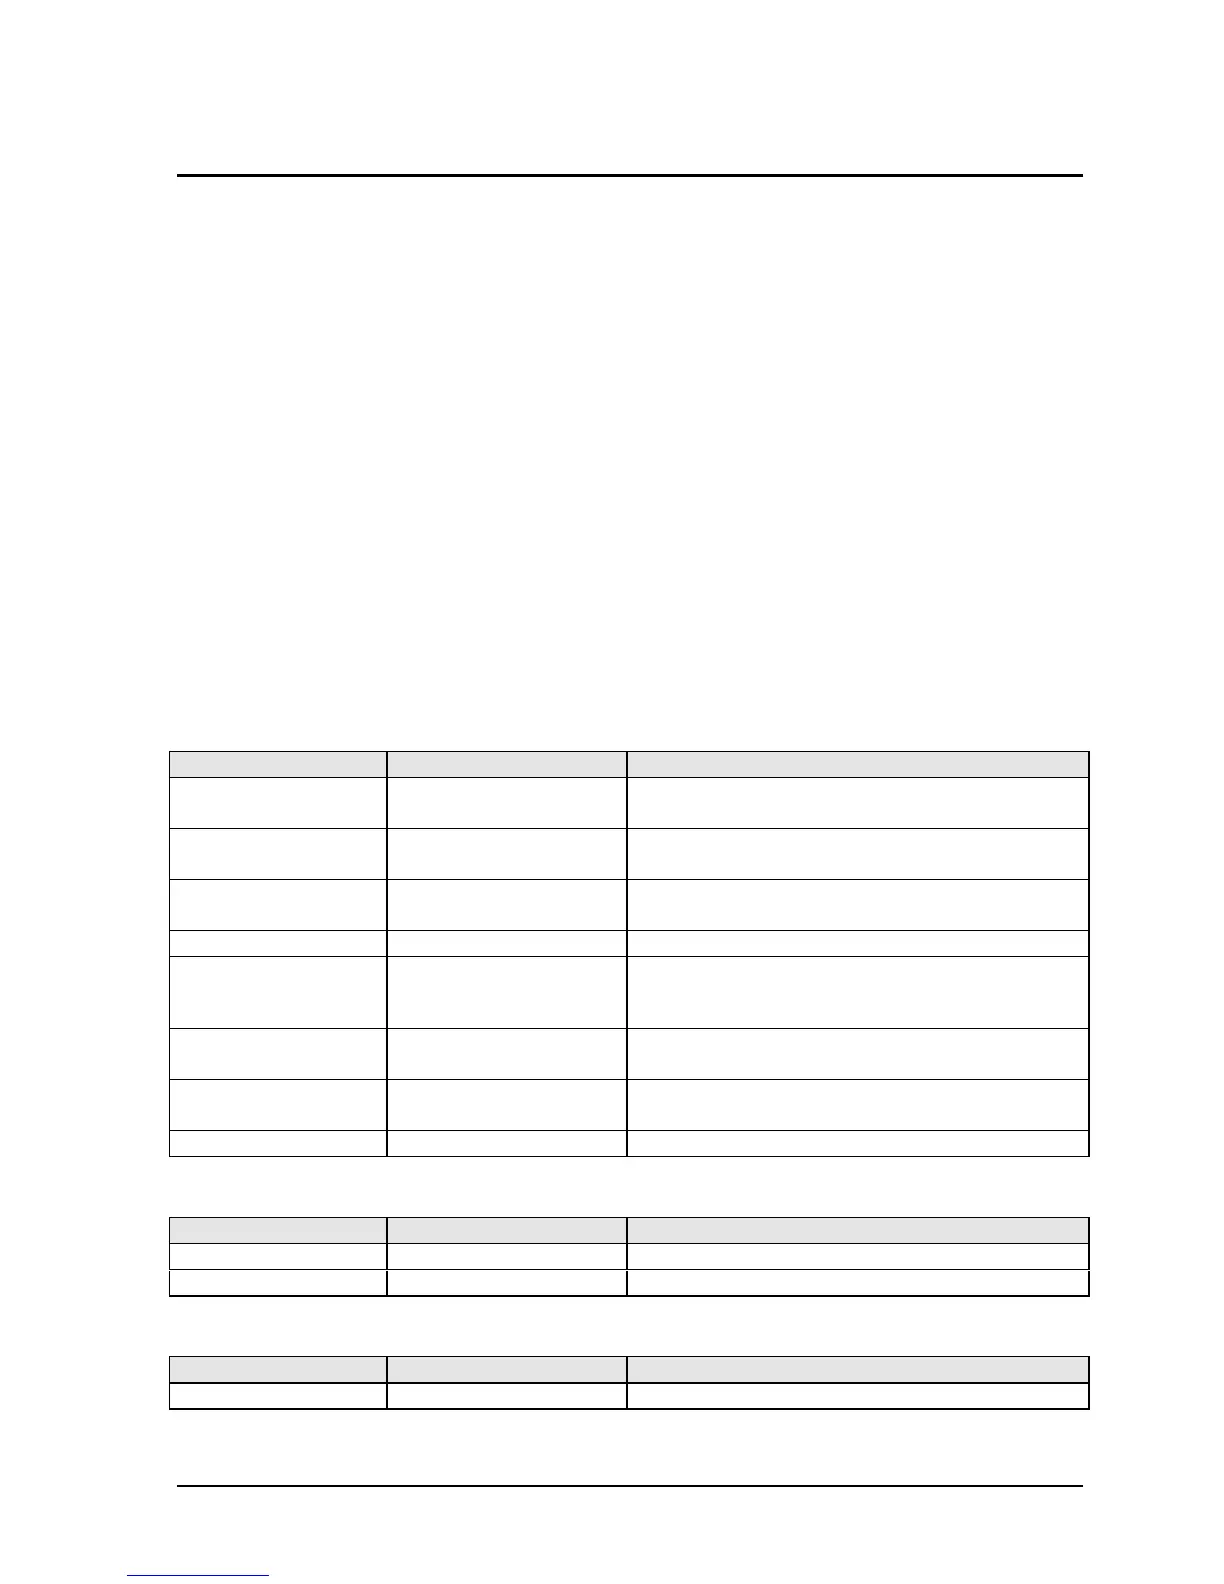
Table 2-7. Removing Display Components
Component Removal Procedures Additional Steps (See figure on page 4-3)
Display Bezel Display (page 2-11)
LCD module (page 2-12).
Remove the display bezel (page 2-12)..
Display Case Display (page 2-11).
LCD module (page 2-12).
Remove the LCD module and brackets from the case,
but do not disassemble the module (page 2-12).
Hinge Display (page 2-11).
LCD module (page 2-12).
Remove the display bezel (page 2-12).
Hinge Cover Display (page 2-11).
Inverter PCA Display (page 2-11).
LCD module (page 2-12).
1. Remove the display bezel (page 2-12).
2. Unplug both cables attached to or holding the
inverter PCA. Lift up the PCA if necessary.
LCD Brackets
(part of LCD kit)
Display (page 2-11).
LCD module (page 2-12).
LCD Flex Cable Display (page 2-11).
LCD module (page 2-12).
LCD Module See page 2-12.
Table 2-8. Removing Top Case Components
Component Removal Procedures Additional Steps
Keyboard See page 2-9.
Top Case See page 2-15.
Table 2-9. Removing Bottom Case Components
Component Removal Procedures Additional Steps (See figures on pages 4-2, 4-4)
Battery See page 2-3.
 Loading...


