2-18 Removal and Replacement HP OmniBook XE2
Using the Phillips screwdriver, remove the three screws (two long screws on top and one short
screw on the front left).
Technology Code (DD):
Using a Phillips screwdriver, remove the four screws (two long screws on top, one short screw on
the top right, and one short screw on the front left).
• Tilt the front of the LED PCA up to detach the two connectors on the bottom.
• Lift the PCA out.
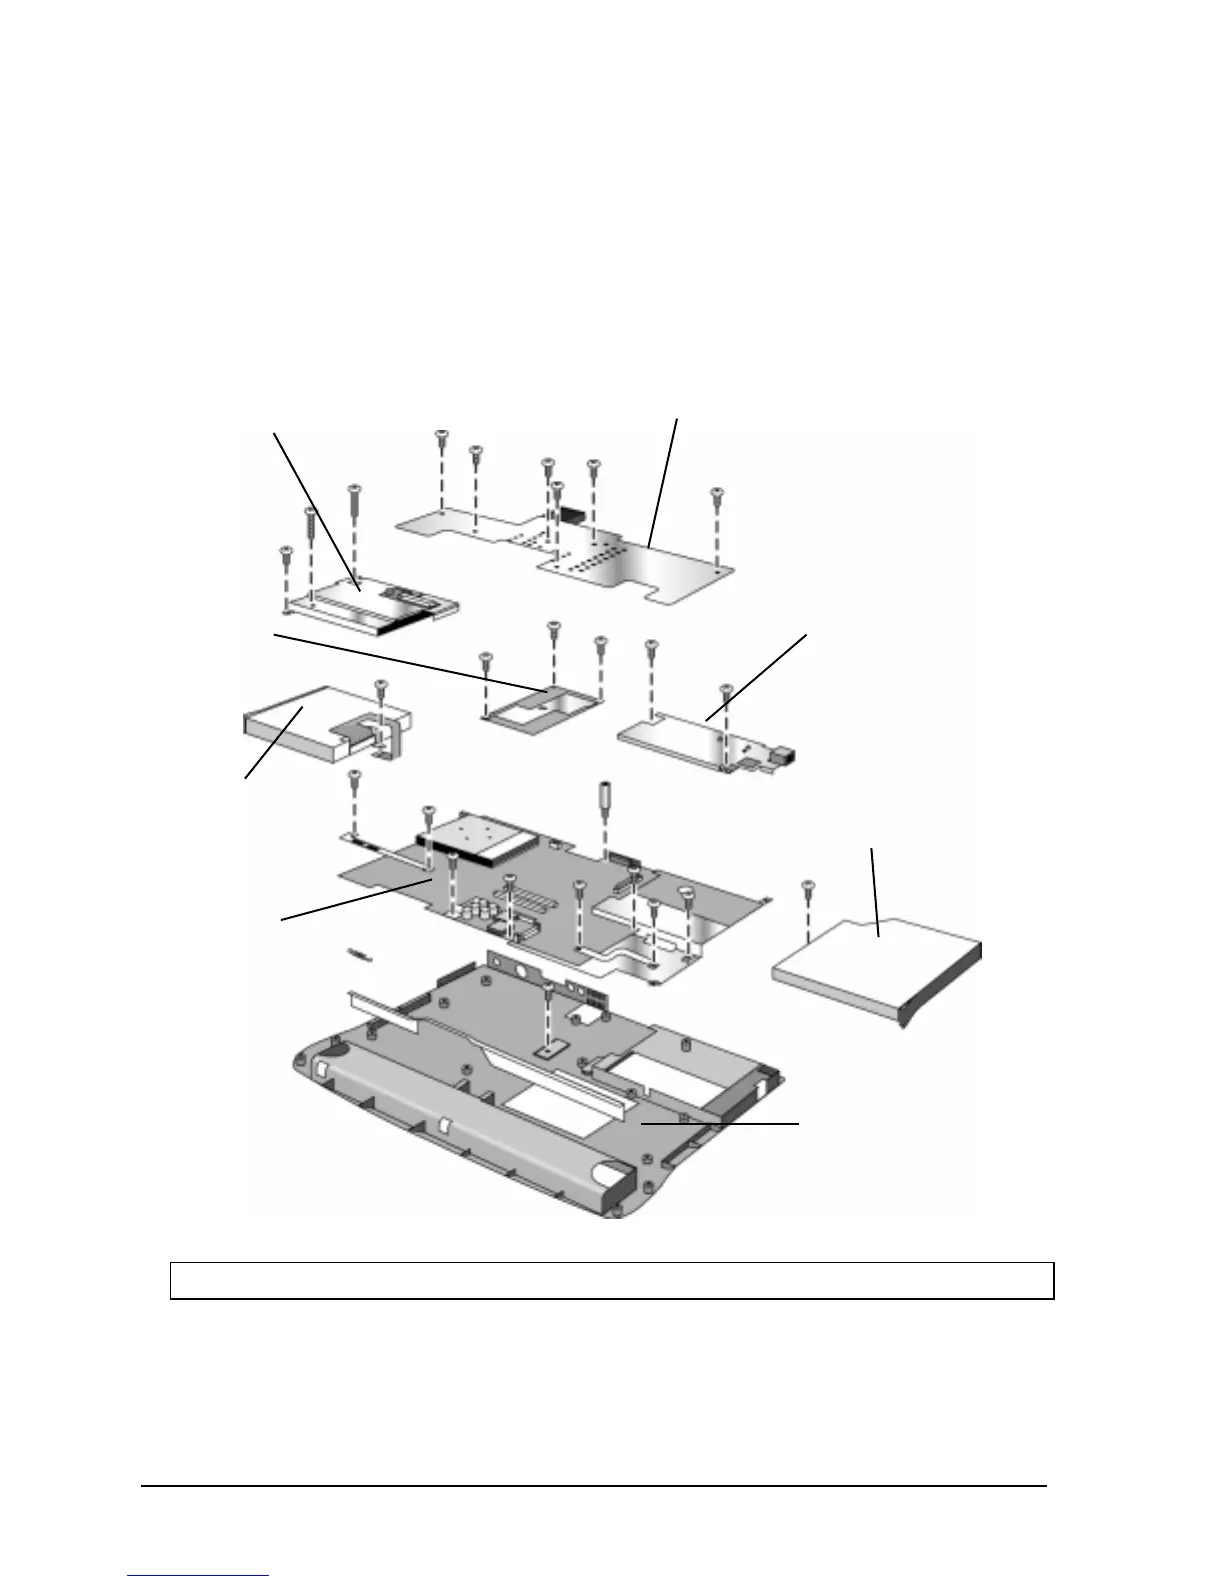
Figure 2-11. Removing the CPU and Motherboard
Note: Omnibook XE2-DB shown. Some details differ from Omnibook XE2-DD.
8. Remove the modem PCA (on the right):
• Using the Phillips screwdriver, remove the two screws.
Heatsink
Modem PCA
LED PCA
Floppy disk drive
CPU module
Motherboard
CD-ROM drive
Bottom case
 Loading...


