This document serves as a Maintenance and Service Guide for the HP P19b G4, V19, V20, and P204v monitor models. It provides comprehensive information for trained service personnel regarding the device's functionality, features, and detailed procedures for maintenance and repair.
Function Description
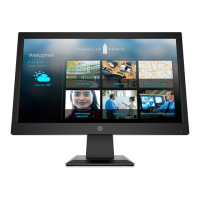
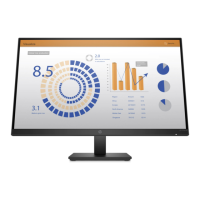
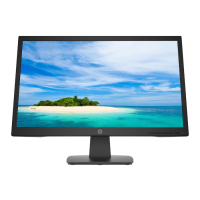
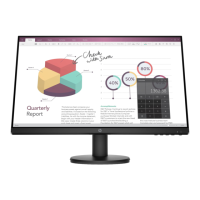
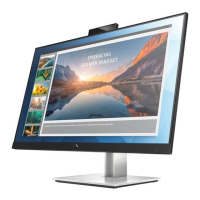
The HP monitors covered by this guide are designed to provide a visual display for various computing tasks. They function as external display units, connecting to a source device (such as a computer) to project images and, in some models, sound. The monitors are equipped with different video input options, including VGA and HDMI, to ensure compatibility with a range of devices. They also incorporate plug-and-play capability, simplifying setup with supported operating systems.
Usage Features
These HP monitors offer several features aimed at enhancing the user experience:
- Display Area and Resolution: Depending on the specific model, the monitors provide diagonal viewable screen areas of either 47 cm (18.5-inch) with 1366 x 768 resolution or 49.5 cm (19.5-inch) with 1600 x 900 resolution. Both options include full-screen support for lower resolutions and custom scaling to maintain image size while preserving the original aspect ratio.
- Anti-Glare Panel: An anti-glare panel with an LED backlight is integrated to reduce reflections and improve viewing comfort, especially in brightly lit environments.
- Wide Viewing Angle: Select products feature a wide viewing angle, allowing for clear visibility from various positions, whether sitting, standing, or moving from side to side.
- Tilt Capability: The monitors offer tilt adjustment, enabling users to modify the screen's angle for optimal ergonomic positioning and viewing comfort.
- Video Inputs: VGA video inputs are available on select products, while HDMI (High-Definition Multimedia Interface) video input is also available on specific models, providing versatile connectivity options.
- On-Screen Display (OSD) Adjustments: Users can access the OSD menu, which supports multiple languages, to easily set up and optimize screen settings. This includes adjustments for brightness, viewing modes, and other display parameters.
- HDCP Support: HDMI models include HDCP (High-Bandwidth Digital Content Protection) copy protection on all digital inputs, ensuring secure content playback.
- Cable Management: A built-in cable management feature helps organize and route cables and cords, contributing to a tidier workspace.
- Security Cable Slot: A security cable slot is located on the rear of the monitor, allowing for the attachment of an optional security cable to deter theft.
- Energy Saver Feature: The monitors are designed with an energy saver feature to meet requirements for reduced power consumption, promoting energy efficiency.
The front of the monitor features several buttons for user interaction:
- Menu/Select: This button opens the OSD menu or selects items within it.
- Auto Adjustment/Minus: When the OSD menu is inactive, this button performs an auto adjustment for VGA input. When the OSD menu is open, it navigates backward through the menu or decreases adjustment levels.
- Viewing Modes/Plus: If the OSD menu is inactive, this button activates Viewing Modes to select different video settings. When the OSD menu is open, it navigates forward through the menu or increases adjustment levels.
- Brightness/Exit: When the OSD menu is inactive, this button activates the Brightness adjustment. When the OSD menu is open, it saves changes and exits the menu.
- Power Button: This button turns the monitor on or off.
Maintenance Features
The guide outlines detailed procedures for the maintenance and service of the monitors, intended for professional service technicians. Key maintenance features and considerations include:
- Safety Information: Emphasizes critical safety precautions, such as disconnecting power before opening the cabinet, handling electrical components with ESD safety procedures, and proper battery disposal. It also highlights that only trained service personnel should perform maintenance.
- RoHS Compliance: Details the RoHS (Restriction of Hazardous Substance in Electrical and Electronic Equipment Directive) requirements, specifying that replacement parts must be RoHS compliant if the original parts were.
- General Descriptions: Provides an overview of the service levels, including cosmetic/appearance/alignment service (Level 1) and circuit board or standard parts replacement (Level 2).
- Firmware Updates: Notes that firmware updates, if available, can be found on the HP support website.
- Pre-Return Checks: Before returning a repaired product to the customer, an AC leakage current check on exposed metallic parts is required to ensure electrical safety.
- Preparation for Disassembly: Outlines steps to prepare for disassembly, including cleaning the workspace, identifying the disassembly area, and ensuring the availability of necessary tools like a press fixture, working table, screwdriver, knife, gloves, cleaning cloth, ESD protection, and a scraper bar of specific dimensions.
- Removal and Replacement Procedures: Provides step-by-step instructions for removing and replacing various components:
- Rear Cover Removal: Detailed instructions for removing the rear cover, including unscrewing fasteners, using a scraper bar tool to separate the front bezel and rear case, disconnecting internal terminals and cables, and removing aluminum foils and tapes.
- Power Board Removal: Instructions for locating and removing the power board, including a warning about residual capacitance after unplugging the power supply.
- Connector Repair: Specific procedures for repairing VGA (CN201) and HDMI (CN301) connectors on the main board. This involves using a hot air gun and soldering iron to melt solder, lifting the old connector, placing a new component, and soldering it in place.
- Illustrated Parts Catalog: Includes diagrams and tables listing all major components with their descriptions and quantities, aiding in identifying and ordering spare parts.
- How to Order Parts: Provides guidance on how to order spare parts, including part numbers for power boards and capacitors, and directs users to the HP partsurfer website for purchasing.
- Function Test: After any repair, a function test is required to confirm that all monitor functions, including HDMI and VGA display and sound (if applicable), are working correctly.
- Support and Troubleshooting: Offers a table of common problems, their possible causes, and recommended solutions, such as connecting power cords, adjusting brightness, checking video cables, and resolving OSD or power button lockouts.
This guide ensures that service personnel have the necessary information and procedures to maintain and repair the HP P19b G4, V19, V20, and P204v monitor models effectively and safely.