To replace the component, reverse the removal procedure.
Removing and replacing a GPU in the secondary riser
This procedure applies to 3/4 length GPUs. Some GPUs might not have a power cable or a support bracket.
Be sure to reuse the power cable or bracket from the existing GPU, if needed.
Procedure
1. Observe the following warning:
WARNING:
To reduce the risk of personal injury from hot surfaces, allow the drives and the internal system
components to cool before touching them.
2. Power down the server.
3. Remove all power:
a. Disconnect each power cord from the power source.
b. Disconnect each power cord from the server.
4. Do one of the following:
a. Extend the server from the rack.
b. Remove the server from the rack.
5. Remove the access panel.
6. Remove the primary riser cage.
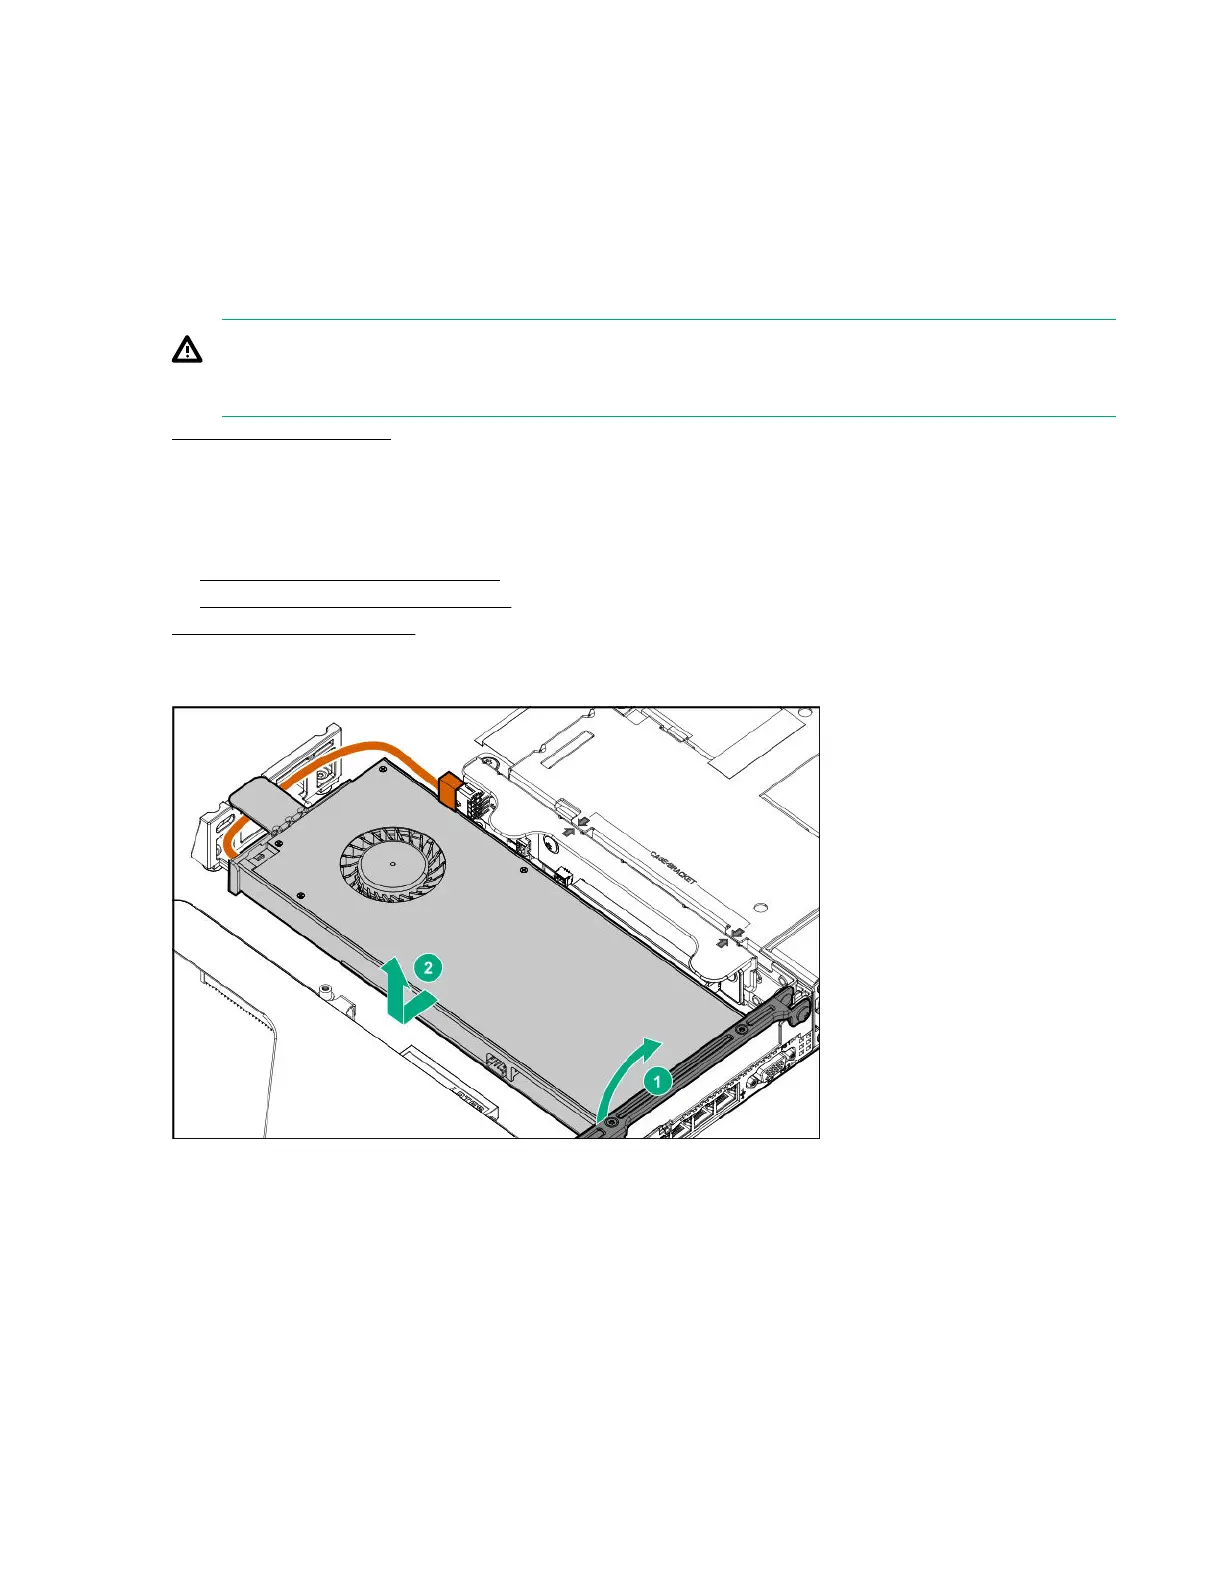
7. Disconnect the GPU power cable from the riser, and then remove the GPU from the riser.
8. If needed, remove the bracket from the existing GPU, and then install it on the new GPU.
Your bracket might look different than the one shown.
52 Removing and replacing a GPU in the secondary riser
 Loading...