7. Disconnect all cables connected to the SAS expander card.
8. Remove the primary PCIe riser cage (Removing and replacing a PCIe riser cage on page 51).
9. Remove the SAS expander card.
Removing and replacing a riser board
CAUTION:
To prevent damage to the server or expansion boards, power down the server and remove all AC power
cords before removing or installing the PCIe riser cage.
Procedure
1. Power down the server (Power down the server on page 33).
2. Remove all power:
a. Disconnect each power cord from the power source.
b. Disconnect each power cord from the server.
3. Do one of the following:
• Extend the server from the rack (Extend the server from the rack on page 33).
• Remove the server from the rack (Removing the server from the rack on page 34).
4. Remove the access panel (Removing the access panel on page 35).
5. Disconnect all cables attached to the expansion boards in the PCIe riser cage.
6. Remove the PCIe riser cage (Removing and replacing a PCIe riser cage on page 51).
7. If installed, remove the expansion boards. (Removing and replacing an expansion board on page 53).
8. Remove the riser board installed in the riser cage.
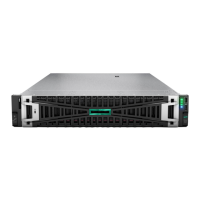
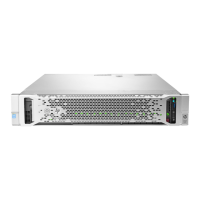
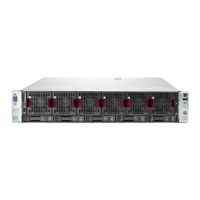
The primary PCIe riser cage is shown. Your riser board might appear different.
Removing and replacing a riser board 55
 Loading...