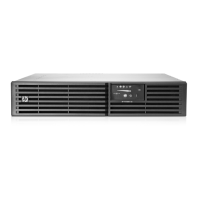
HP R/T3000 G4 LV NA/JP
Check that the indications on the name plate located on the back of the UPS correspond to the AC-power source and
the true electrical consumption of the total load.
8a
8b
11
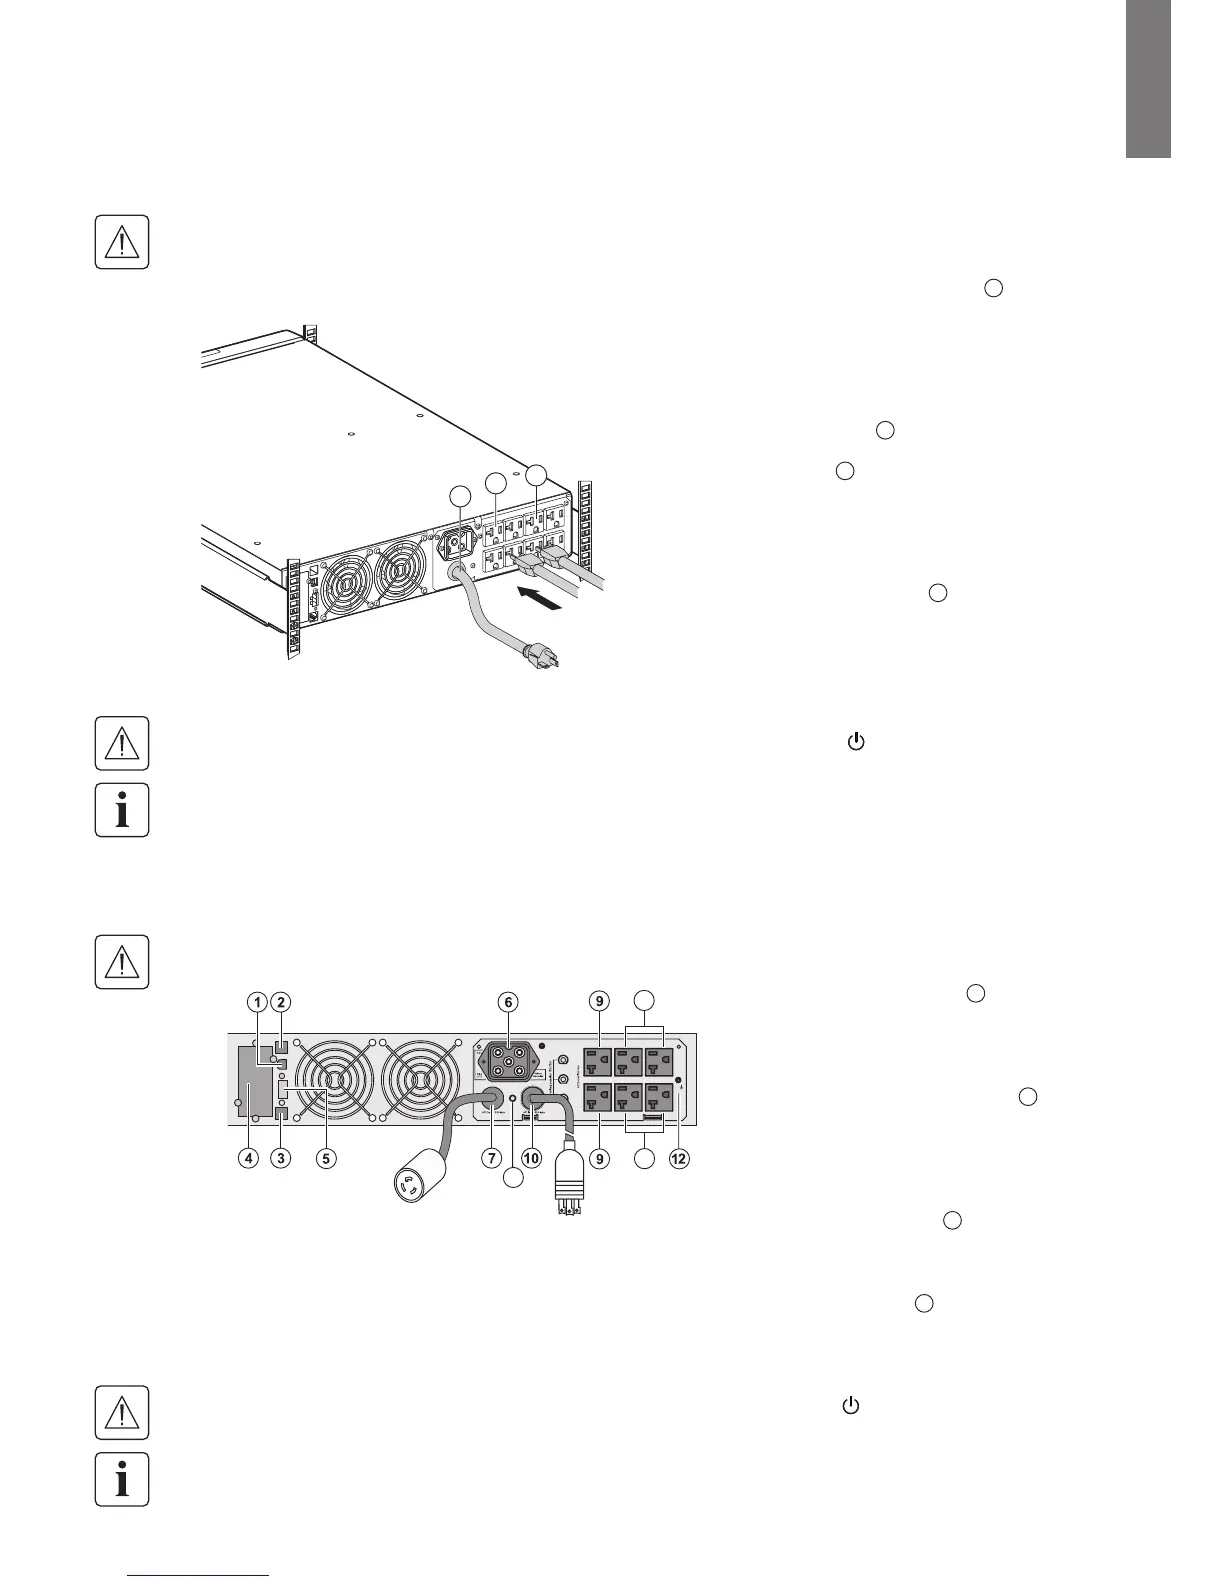
3. Installation
3.6 UPS connection
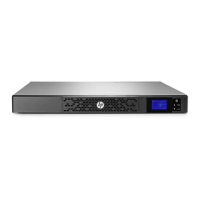
HP R/T2200 G4 NA/JP UPS
Check that the specifications on the rear UPS name plate correspond to the AC power source and the true electrical
consumption of the total load.
10
9
8
1. Connect the UPS input plug
10
to the
AC power source.
2. Connect the protected equipment to
the UPS.
It is preferable to connect the
critical loads to the ‘Primary’
outlet group
9
and the non-critical
loads to either the Group 1 or Group 2
outlets
8
. Group 1 and Group 2 outlets
can be programmed to shed loads as
desired.
3. To optimize the available backup time,
user the IN/OUT serttings to program
shutdown of outlets
8
during opera-
tion on battery power (see "2.4 User
settings" on page 10).
The UPS charges the battery as soon as it is connected to the AC power source, even if the button is not
pressed.
After the UPS is connected to the AC power source, eight hours of charging is required before the battery can
supply the rated backup time.
1. Connect the UPS input plug
10
to the
AC-power source.
2. Connect the loads to the UPS. It is pref-
erable to connect the critical loads to
the ‘Primary’ outlet group shown as
9
and the non-critical loads to either the
Group 1 or Group 2 outlets shown as
8a and 8b. Group 1 and Group 2 out-
lets can be programmed to shed loads
as desired. Connect any high-power
device to the 30 A outlet
7
.
3. To optimize the available backup time,
use the in/out settings to program
shutdown of outlets
8
during opera-
tion on battery power.
The UPS charges the battery as soon as it is connected to the AC power source, even if the button is not
pressed.
After the UPS is connected to the AC power source, eight hours of charging is required before the battery can
supply the rated backup time.
 Loading...