2. Remove the face plate covering the drive bay by removing the screws holding it in place.
Remove one drive bay cover to install a half-height tape drive; remove two drive bay covers to install a
full-height tape drive.
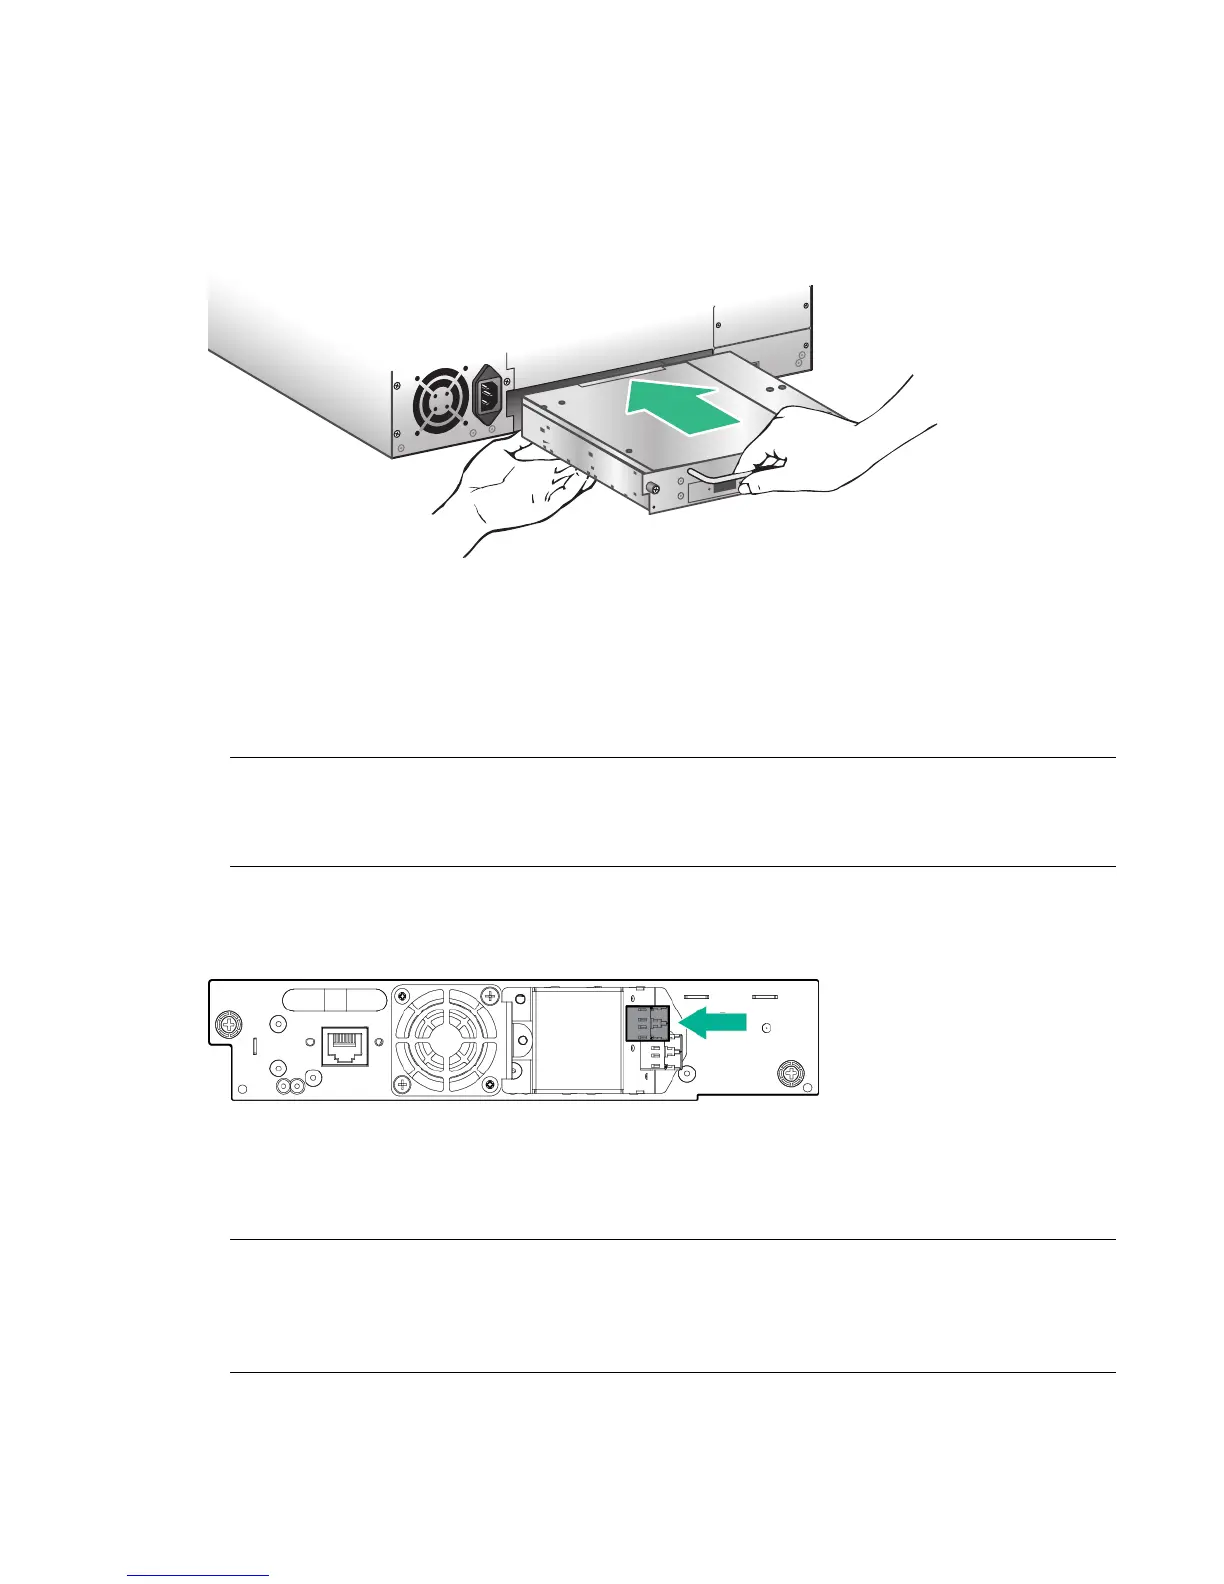
3. Holding the tape drive by the handle and supporting it from the bottom, position the drive on the
alignment rails and then slide the tape drive into the drive bay until it is flush with the back of the
library.
4. To secure the tape drive to the chassis, tighten the blue captive screws with your fingers.
If the thumbscrews cannot be tightened, verify that the tape drive is aligned properly.
Connecting the FC cable
NOTE:
Using both ports on a dual-port drive requires path failover or multipath capability in the host
application.
Procedure
1. Remove the FC port caps if necessary. Attach one end of the FC cable to Port A on the tape drive.
2. Attach the other end of the FC cable to a switch or HBA.
Connecting the SAS cable
NOTE:
SAS signal rates require clean connections between the HBA and tape drive. Do not use adapters
or converters between the HBA and the tape drive. For reliable operation, use a maximum SAS
cable length of 6 meters.
16 Connecting the FC cable

 Loading...