Procedure
Step 1 Take the spare part out of its ESD bag.
Step 2 Determine the slot and position of the drive.
For details, see 2.4.1 Drive Configurations and 2.4.2 Drive Numbering.
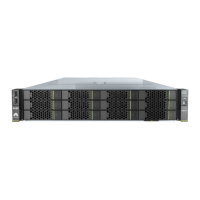
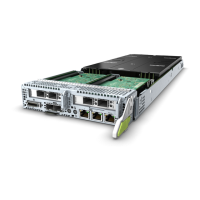
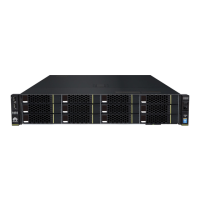
Figure 3-23 Positions of drives
Step 3 Remove the drive filler.
NOTE
Perform this operation only when a drive filler is installed.
Step 4 Install a drive.
1. Fully open the ejector lever and push the drive into the slot as far as it will go. See (1) in
Figure 3-24.
2. Ensure that the ejector lever is fastened to the chassis beam, and then close it to
completely insert the drive into the slot. See (2) in Figure 3-24.
FusionServer Pro CH121 V5 Compute Node
User Guide
3 Basic Operations
Issue 06 (2019-08-10) Copyright © Huawei Technologies Co., Ltd. 48
 Loading...


