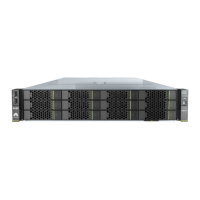
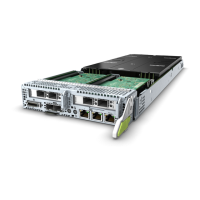
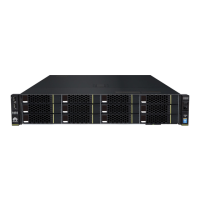
Figure 3-26 Removing a drive
Step 5 Place the removed component in an ESD bag.
Step 6 Install a drive filler.
NOTE
Perform this operation only when a drive is not installed immediately.
----End
Procedure (VMD Disabled)
NOTE
l Before removing an NVMe drive:
l Stop accessing the NVMe drive.
l Back up date of the NVMe drive to prevent data loss.
l Remove the NVMe drives one by one. Remove the next NVMe drive only after the previous one is
removed completely.
l Run command to uninstall the drive driver.
Windows OS
NOTE
l Use the Intelligent Computing Compatibility Checker to obtain information about the Windows
operating systems supported.
l The following uses Windows Server 2012 R2 as an example.
Step 1 Determine the slot and position of the drive.
FusionServer Pro CH121 V5 Compute Node
User Guide
3 Basic Operations
Issue 06 (2019-08-10) Copyright © Huawei Technologies Co., Ltd. 51
 Loading...


