INSTALLATION
10
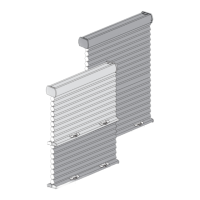
EasyRise
™
Only: Attach the Cord Tensioners
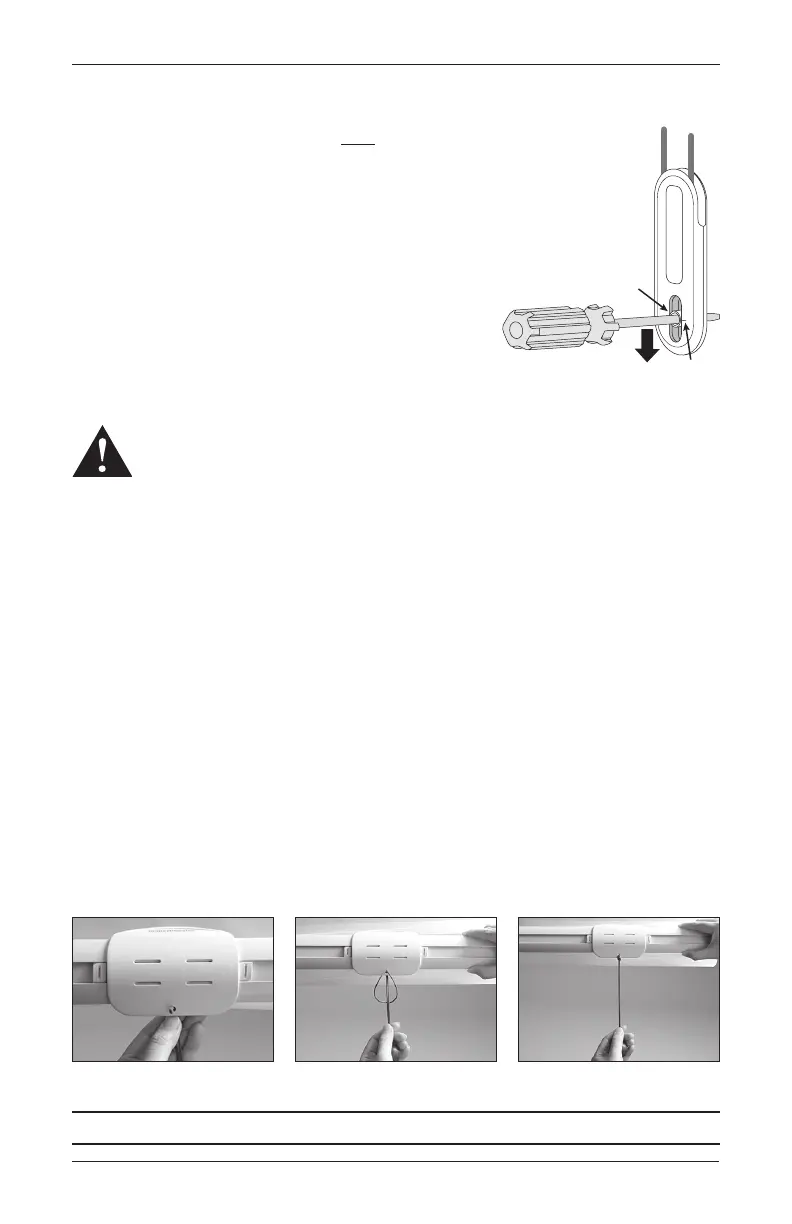
IMPORTANT: Before you proceed, you must first slide the cord tensioners
to the bottom of the cordloops.
■ Insert a small screwdriver, punch, or awl through the screw hole at
the bottom of each cord tensioner.
■ Move the screw hole down to the indicator line to release the safety
mechanism.
■ Slide each cord tensioner down to the bottom of its
cordloop.
■ Attach the cord tensioners according to the instructions
provided with the Universal Cord Tensioner Installation Kit.
WARNING: It is imperative that the cord tensioners be properly secured to the
wall or window frame to reduce children’s access to the cord loops. Young
children can strangle in cord loops. They can also wrap cords around their
necks and strangle.
CAUTION: The shading will not operate properly unless the cord tensioners
are secured. A Universal Cord Tensioner Installation Kit has been included for
each cord loop control. Follow the instructions in the kits to correctly secure
the cordtensioners.
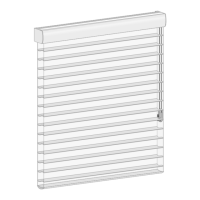
LiteRise
®
Only: Install Pull Tassels (Optional)
Pull tassels may be installed on the handles for the front shading and rear roller shade. The
procedure is shown below on the shading handle. The roller shade handle looks different, but
the installation procedure is the same.
■ Rotate the bottom rail so that you can see the underside of thehandle.
■ Push the pull cord loop through the hole at the back of thehandle.
■ Thread the pull tassel through theloop.
■ Pull the tassel to secure.
Manual shadings only: Proceed to “Operate the Shading” on page 13.
Push cord loop through hole. Thread pull tassel through loop. Pull tassel to secure.
Screw
Hole
Indicator

 Loading...