OPERATION
15
PowerView
®
Shadings
Test the Shade and Shading Using the Programming Buttons
Testing the shade and shading with the programming buttons will allow you to ensure that the
motor and power source are working correctly.
CAUTION: When raising the shade or shading for the first time, observe how the fabric rolls up
into the headrail. It should roll up evenly. If the bottom rail is not level or the fabric starts to rub
against either window jamb, immediately press the programming button to stop the shade or
shading. See “Adjust the Bottom Rail Weight” on page 21.
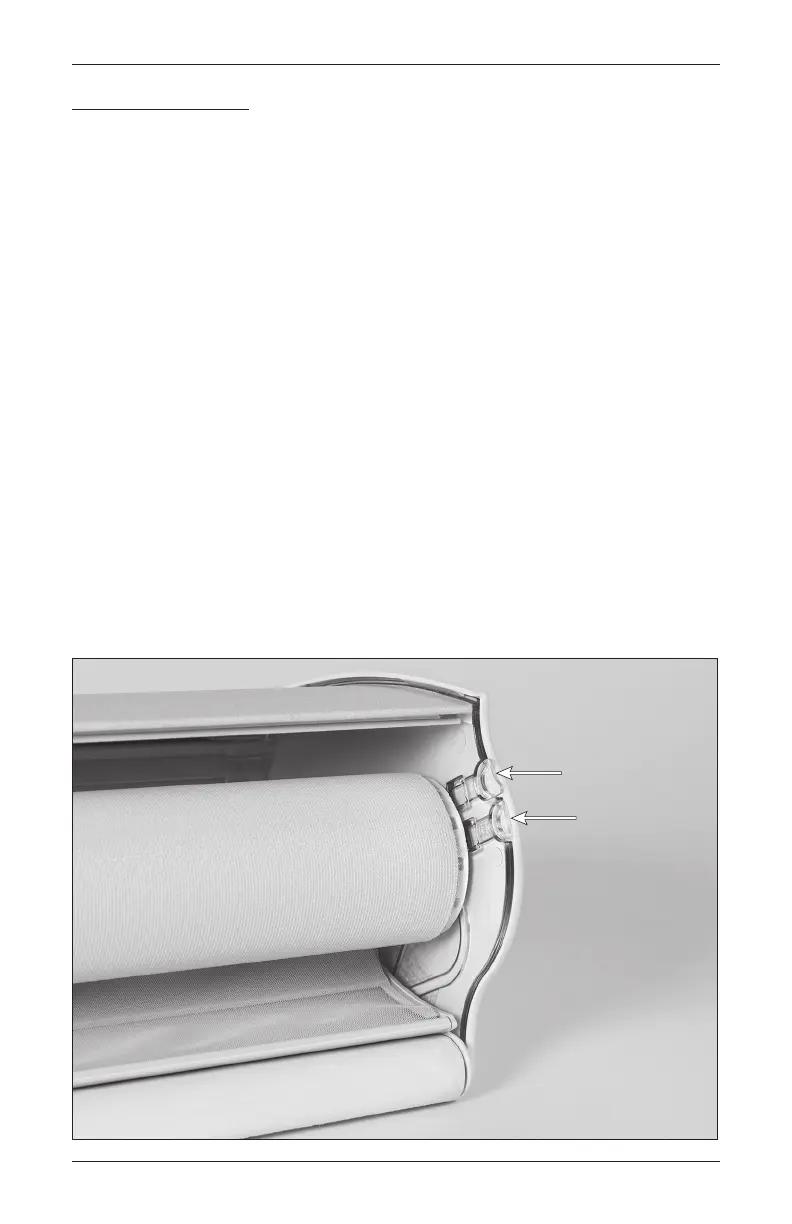
■ Rear shade: Press the programming button to alternately lower, stop, and raise the shade.
➤ The button is located next to the bottom of the motor side end cap, toward the front of
the headrail.
➤ If the shade does not operate, refer to “Troubleshooting” on page 19.
■ Front shading: Press the programming button to lower the shading.
➤ The button is located next to the bottom center of the motor side end cap.
➤ If the shading does not operate, see “Troubleshooting” on page 19.
➤ Test vane operation by pressing the programming button to open the vanes and then
pressing it again to close the vanes.
➤ After the vanes are fully closed, press the programming button to raise the shading.
Programming Buttons
Rear Shade
Front Shading

 Loading...