8
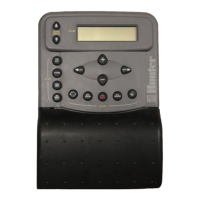
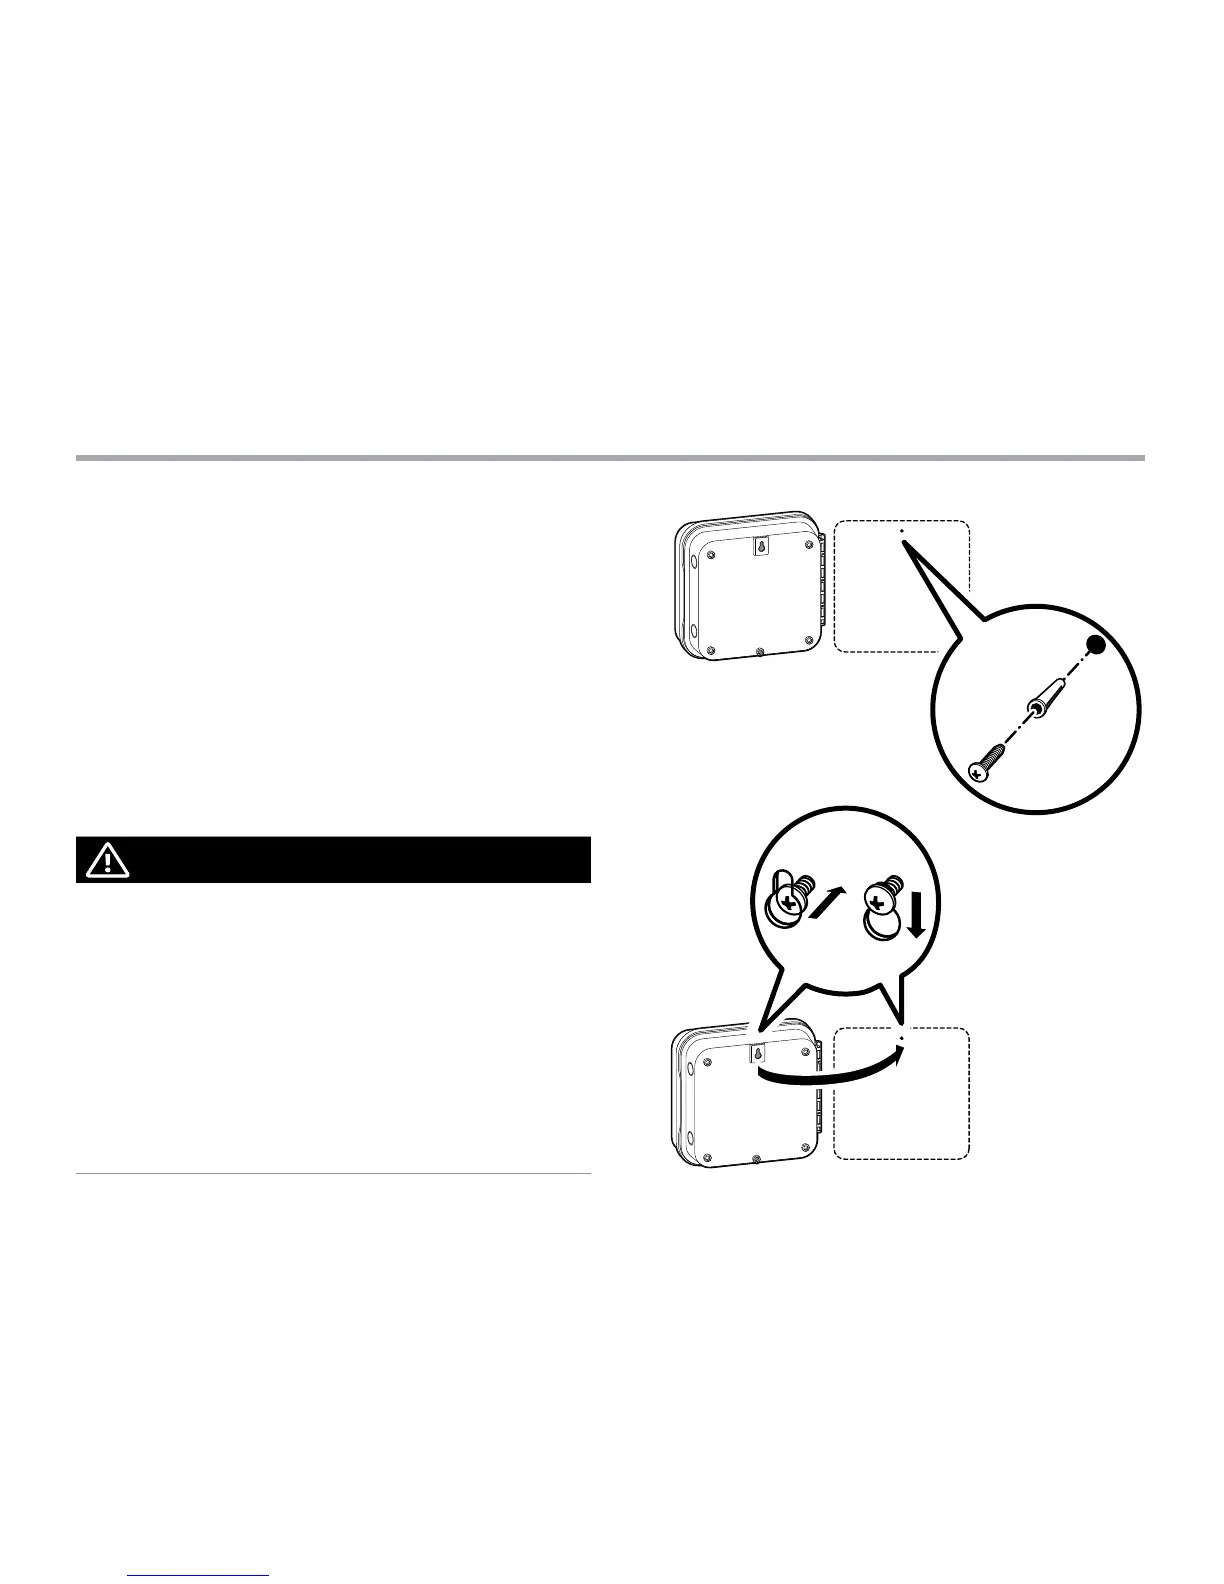
Mounting the Controller to a Wall
All necessary hardware is included for most installations.
1. Use the hole at the top of the controller as a reference and
secure a 1" (25 mm) screw into the wall. Note: Install screw
anchors if attaching to drywall or masonry wall.
2. Align controller with the screw and slide the keyhole
on top of the controller over the screw.
3. Secure controller in place by installing screws in the holes.
For PCC-601-A and PCC-1201-A: If the supply cord is damaged,
it must be replaced by the manufacturer or service agent or a
similarly qualified person in order to avoid hazard.
NOTE
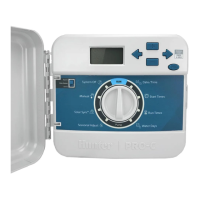
The indoor Pro-C is not weather or water resistant, and
must be installed indoors or in a protected area. This device
is not intended for use by young children. Never let children
play with this device.
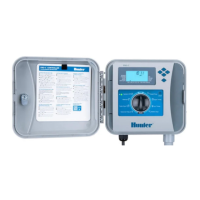
Outdoor model is water and weather resistant. Connecting
the outdoor Pro-C to the primary power should be done
by a licensed electrician following all local codes. Improper
installation could result in shock or fire hazard. This device
is not intended for use by young children. Never let children
play with this device.