16
Connecting a Hunter Remote (not included)
The Pro-C is compatible with Hunter remote controls.
The SmartPort wiring harness (included with all Hunter
remotes) allows for fast and easy use of Hunter controls.
Hunter remotes make it possible for you to operate the system
without having to walk back and forth to the controller.
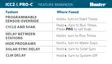
To Install the SmartPort Connector
1. Install a ½" (13 mm) female threaded “Tee” in the field
wiring conduit approximately 12" (30 cm) below the Pro-C.
2. Feed the red, white, and blue wires of the harness
through the base of the “Tee” and into the wiring
compartment as shown.
3. Screw the SmartPort harness housing into the “Tee”
as shown.
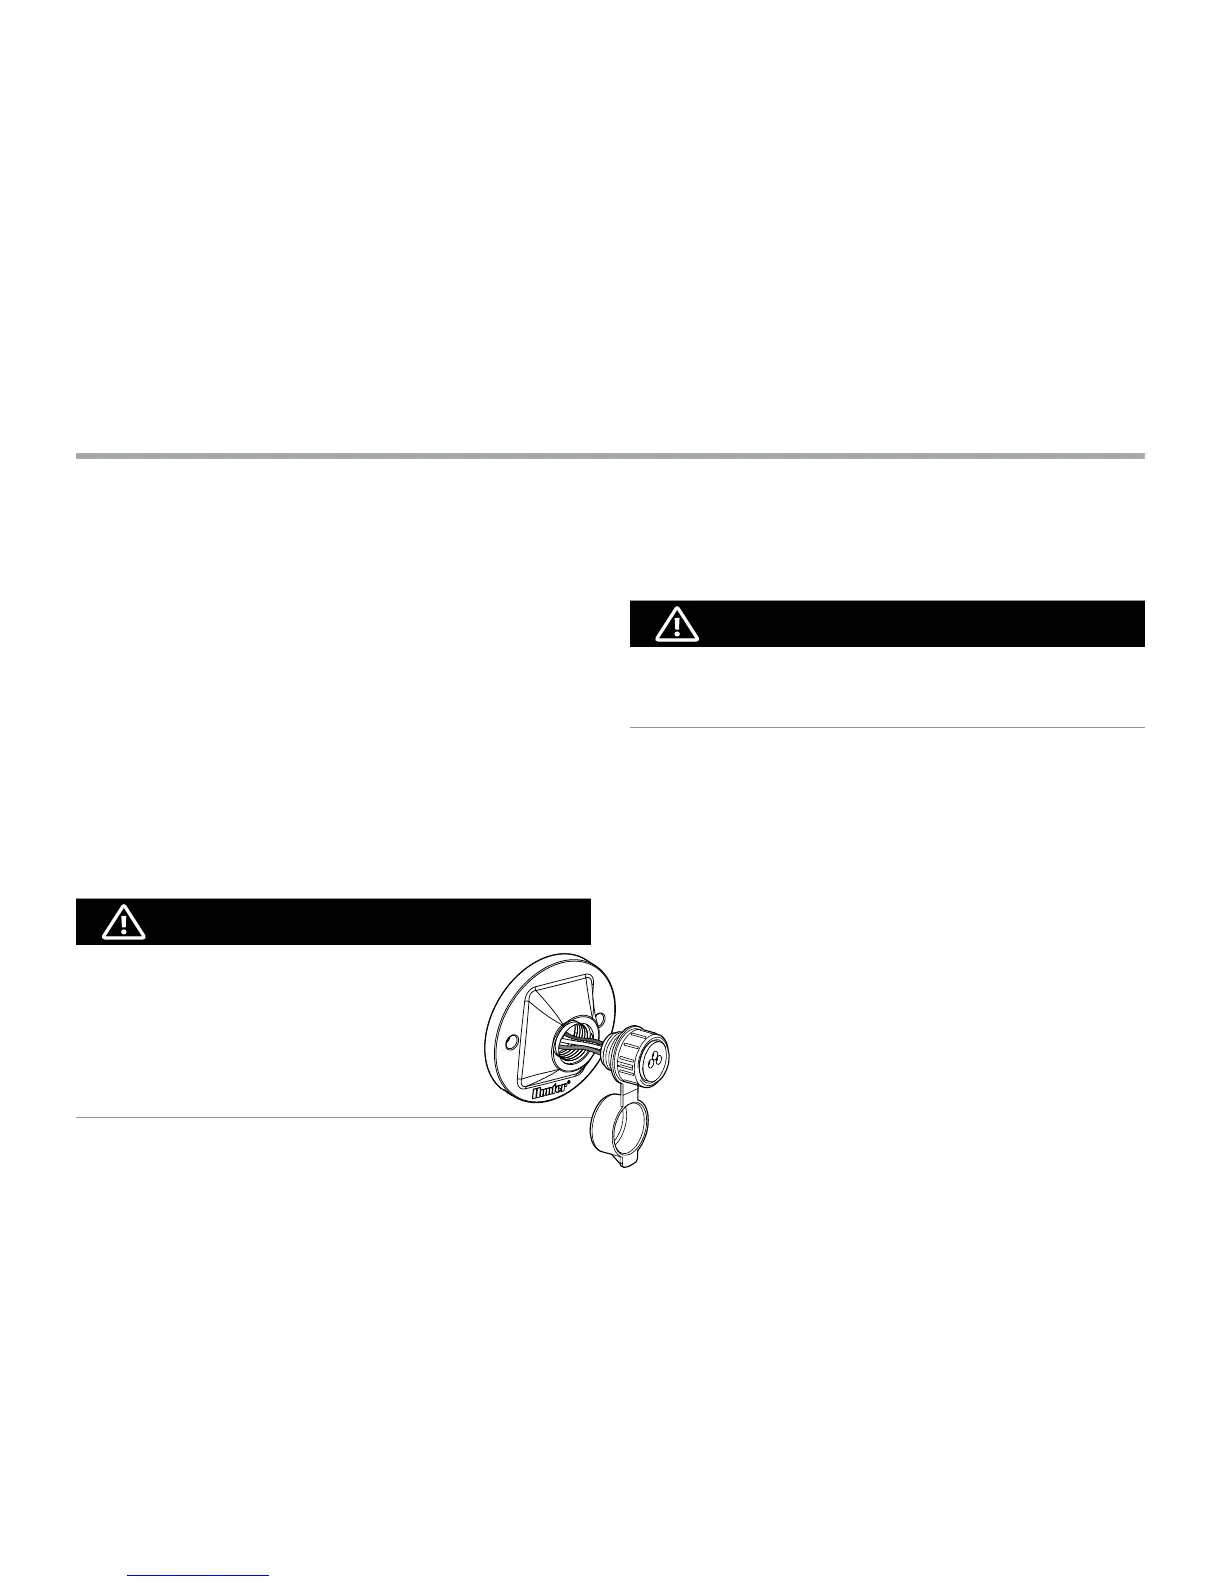
NOTE
P/N 258200 can be used as an alternate method
to mount the SmartPort connector.
4. Attach the red wire to the screw slot marked AC1, attach
the white wire to the screw slot marked AC2, attach the
blue wire to the screw slot marked REM.
NOTE
Reversing the red and white wires will result in an
“SP ERR” message.