GETTING STARTED
3
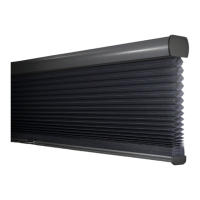
Thank you for purchasing Hunter Douglas Designer Roller and Designer Screen Shades. With
proper installation, operation, and care, your new shades will provide years of beauty and
performance. Please thoroughly review this instruction booklet and packing list before beginning
the installation.
Tools and Fasteners Needed
■ Flat blade and Phillips screwdrivers
■ Level (laser level is recommended)
■ Measuring tape and pencil
■ Power drill,
3
/
32
" drill bit and
1
/
4
" hex driver
In addition, you will need fasteners designed to work with your specific mounting surface(s).
■ #6 Hex Head Screws (Provided). Two 1
1
/
2
" screws are provided per
installation bracket.
Installation Overview
■ Your order will include installation brackets specific to your shade.
➤ The number of installation brackets required varies with shade width, as shown in
the tables below.
CAUTION: Keep the “Do Not Remove Until Installation” paper wrap in place, until the shade
is completely installed. These instructions will remind you when to remove the wrap.
#6 x 1½"
Hex Head Screw
Standard Shades
Shade Width Brackets Required
Up to 36" 2
36
1
/
8
" – 48" 3
48
1
/
8
" – 60" 4
60
1
/
8
" – 72" 5
72
1
/
8
" – 90" 6
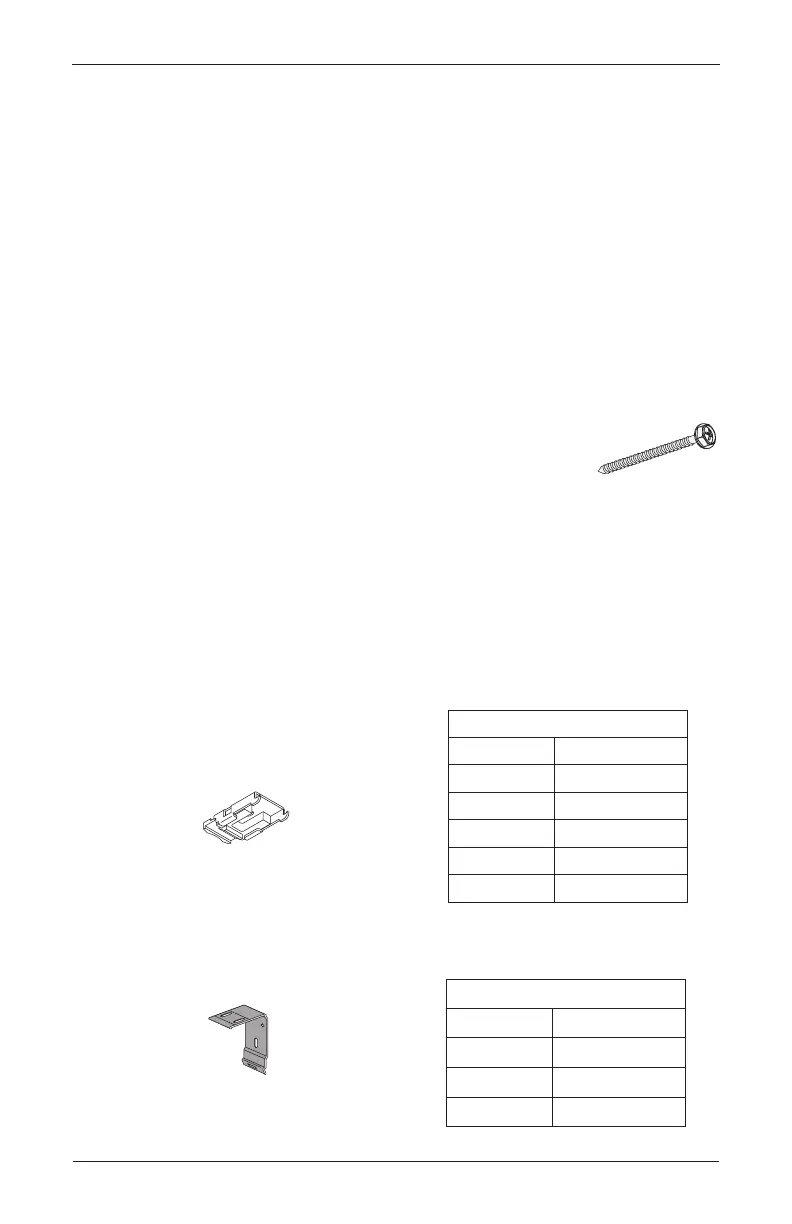
Standard
Installation Bracket
Standard Shades
Cassette
Installation Bracket
Cassette Shades
Cassette Shades
Shade Width Brackets Required
Up to 36" 2
36
1
/
8
" – 72" 3
72
1
/
8
" – 90" 4