1900 SRM 964 Lift Pump and Motor
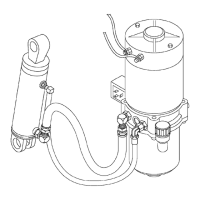
11. Place lift pump and motor assembly in a vise on
a workbench in an upright position.
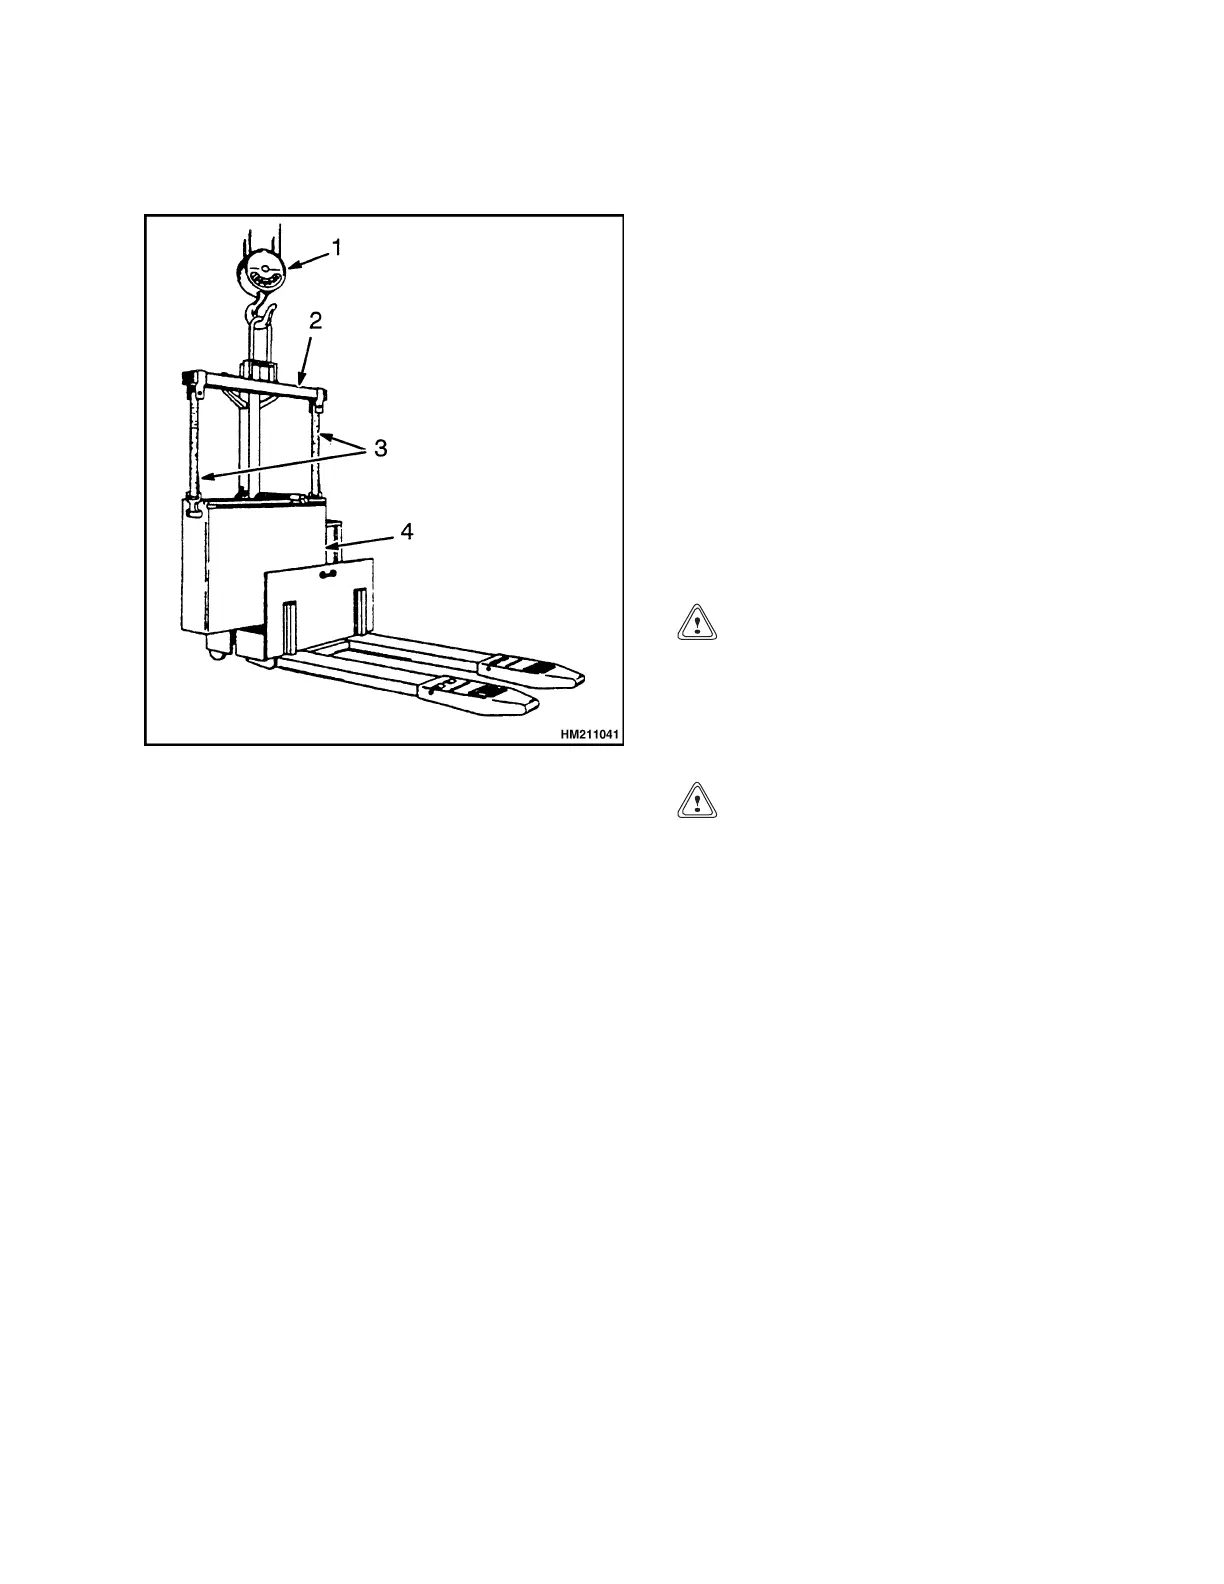
1. CRANE
2. SPREADER BAR
3. INSULATOR STRAPS
4. BATTERY
Figure 9. Battery Removal
DISASSEMBLE
Remove Reservoir
1. If the lift pump and motor assembly has not been
previously removed, perform Step 1 through
Step 6 in Remove, Lift Pump and Motor Assem-
bly.
NOTE: On B60Z, B60Z
AC
, C60Z, C60Z
AC
, and W60Z
lift trucks, the capscrews that hold the reservoir to
thepumpassemblyalsoholdthemotortothepump
assembly. When the capscrews are removed, the mo-
tor will be resting on the pump assembly. When rein-
serting the capscrews, ensure that the motor is lo-
cated correctly and the coupling is seated properly.
2. Remove the four capscrews retaining the reser-
voir to the lift pump. See Figure 10 or Figure 11.
3. Carefully remove the reservoir from the lift pump
and motor.
4. If removed, place the pump and motor assembly
on a clean drip pan.
5. Remove and inspect the O-ring seal located be-
tween the lift pump assembly and the hydraulic
reservoir. Verify that the O-ring seal is not dam-
aged. Replace as needed.
6. Inspect the inlet strainer. On B80Z, B80Z
AC
,
C80Z, C80Z
AC
,W65Z,andW80Zlifttrucks,also
inspect the return strainer. If necessary, remove
the retaining clip to access the screen. Replace
parts that are damaged or cannot be cleaned.
CAUTION
Disposal of lubricants and fluids must meet lo-
cal and environmental regulations.
7. Pour oil from reservoir in a container suitable for
disposal.
CAUTION
If oil is contaminated or excessively dirty, the
entire hydraulic system should be thoroughly
cleaned.
8. Examine the hydraulic reservoir. Inspect the hy-
draulic reservoir for dirt, foreign materials, or
contamination. Clean and flush the hydraulic
reservoir as necessary.
9. Remove the breather/filler cap. Using a small
prybar, separate the top and bottom of the
breather/filler cap. Clean and inspect the
breather element and the flat seal. Replace
parts that are damaged or cannot be cleaned.
Assemble the breather/filler cap.
11