Step 8
Obtain a blood sample using the lancing
device. Place the device against the pad
of the finger. The best puncture sites are
on the middle or ring fingers. Press the
release button. Remove the device from
the finger. Wait a few seconds for a blood
drop to form. A minimum volume of 0.5 microliter is needed to
fill the confirmation window. (Actual size of 0.5 µL :
)
Applying Blood Sample
Note:
•The meter may switch off if the blood sample is not applied
within 2 minutes of the
symbol appearing on the screen.
If the meter turns off, remove the strip, reinsert it and apply
blood sample after
symbol appears on the screen.
Step 9
After the
symbol appears on the screen, apply the blood
sample to the narrow end of the test strip till the meter beeps.
If the confirmation window is not filled in time because of
abnormal viscosity (thickness and stickiness) or insufficient
volume, the Er4 message may appear.
It is recommended that the application of blood sample to the
test strip be performed virtually vertical to the sample site as
shown in the diagram below.
Good Sample
Insufficient
Sample
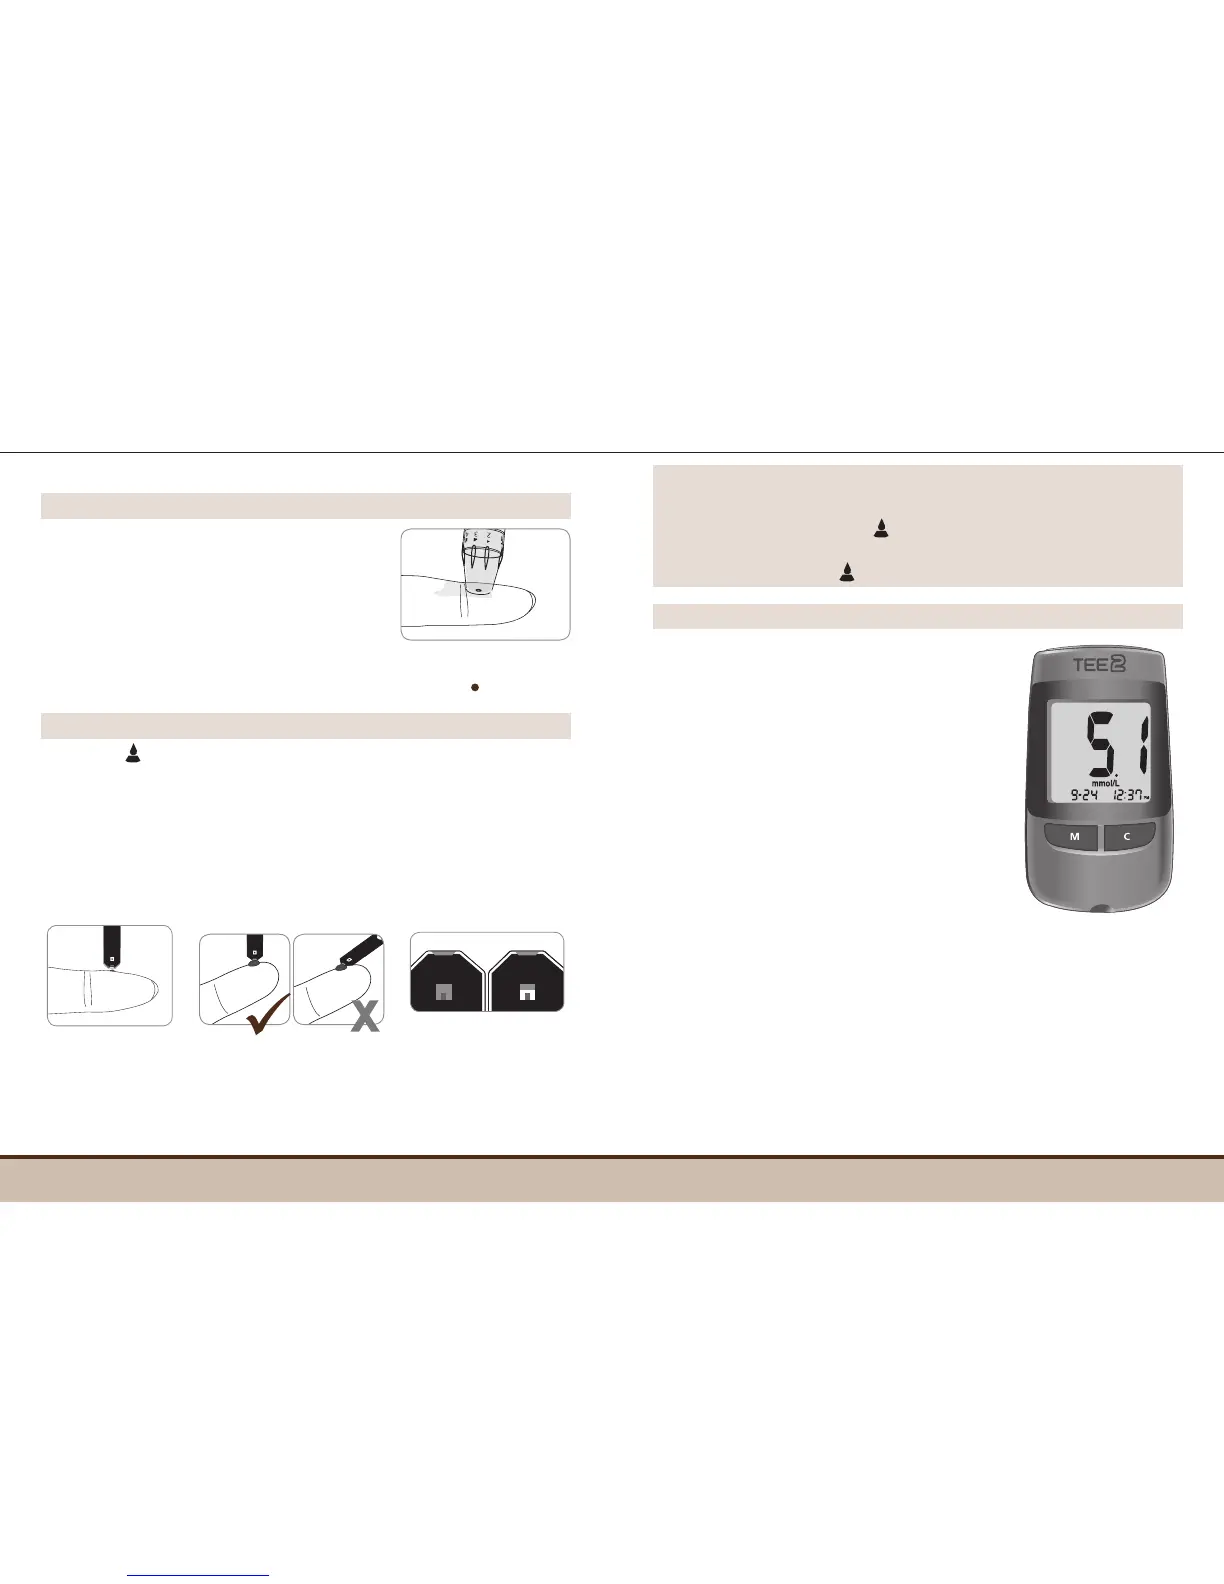
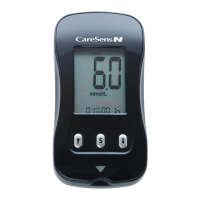
Step 10
The test result will appear after the
meter counts down from 5 to 1. The
result will be automatically stored in
themeter’smemory.
If the test strip is removed after the
test result is displayed, the meter
will automatically switch off after 3
seconds. Discard used test strips safely
in disposable containers.