Note: Each enclosure has two power supply units. To provide power failure redundancy, connect the
two power cords to separate power circuits.
2. From the rear of the rack, check the LEDs on each expansion enclosure (see Figure 75 on page 76).
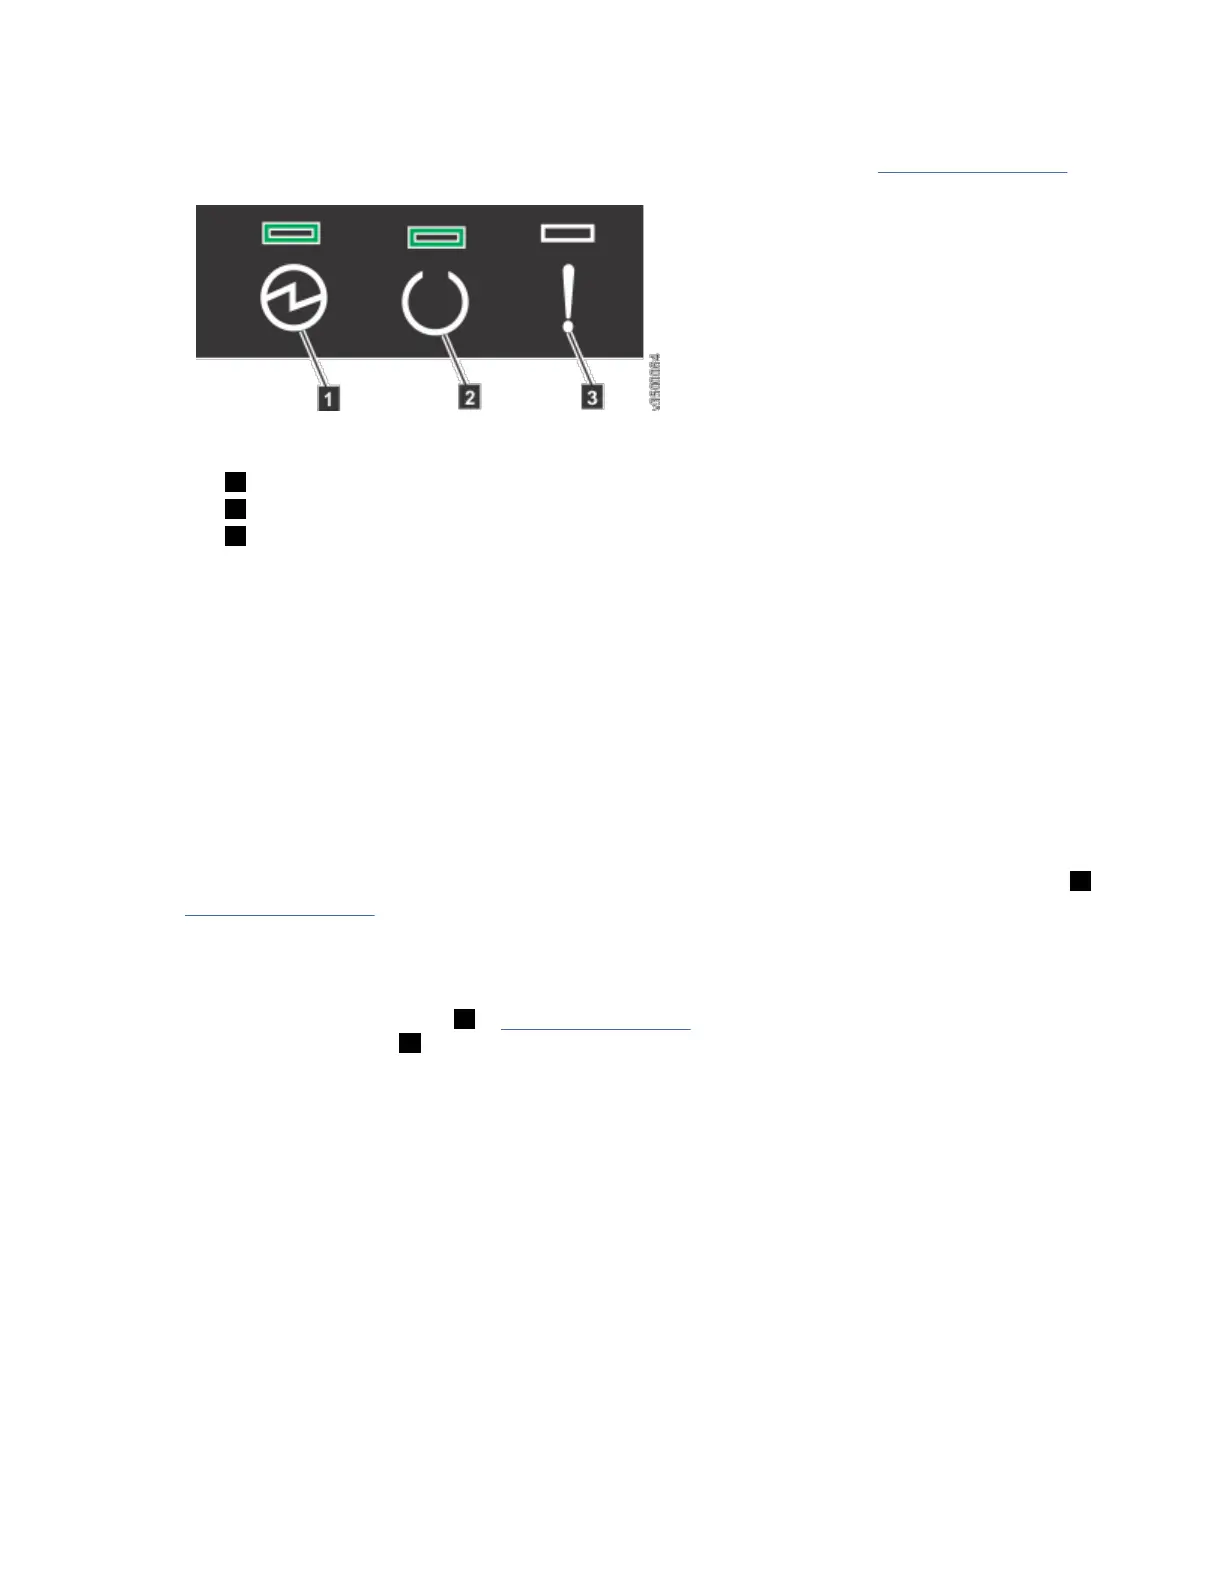
Figure 75. Expansion enclosure LEDs
1 Power
2 Status
3 Fault
The canister is ready with no critical errors when Power is illuminated, Status is on, and Fault is off.
3. Wait for all expansion canisters to nish powering on before you proceed with the system installation
process.
Powering on the optional 2077-92F, 2077-A9F expansion enclosures
Use the following procedure to provide power to the 2077-92F, 2077-A9F expansion enclosure as part of
the initial installation process or after a service procedure.
Before you begin
Important:
• Before you connect the power cables to the rear of the enclosure, always check that the expansion
enclosure is secured in the rack. If needed, tighten the thumbscrews on the front of the enclosure ( 2 in
Figure 76 on page 77) to ensure that the enclosure drawer does not roll open.
About this task
The 2077-92F, 2077-A9F expansion enclosure has two power supply units (PSUs) that are accessible
from the front of the enclosure ( 4 in Figure 76 on page 77). As the gure also shows, the PSUs are
covered by the 1U fascia ( 5 ).
76
Storwize V5100 : Quick Installation Guide for MTM 2078-424, 2078-12F, 2078-24F, 2078-92F, and 2078-
U5B
 Loading...