Replacing the optical drive
To remove the optical drive:
1. Follow the steps in “Removing the front bezel” on page 31 to remove the front
bezel.
2. Follow the steps in “Opening the drive bay door” on page 37 to open the drive
bay door.
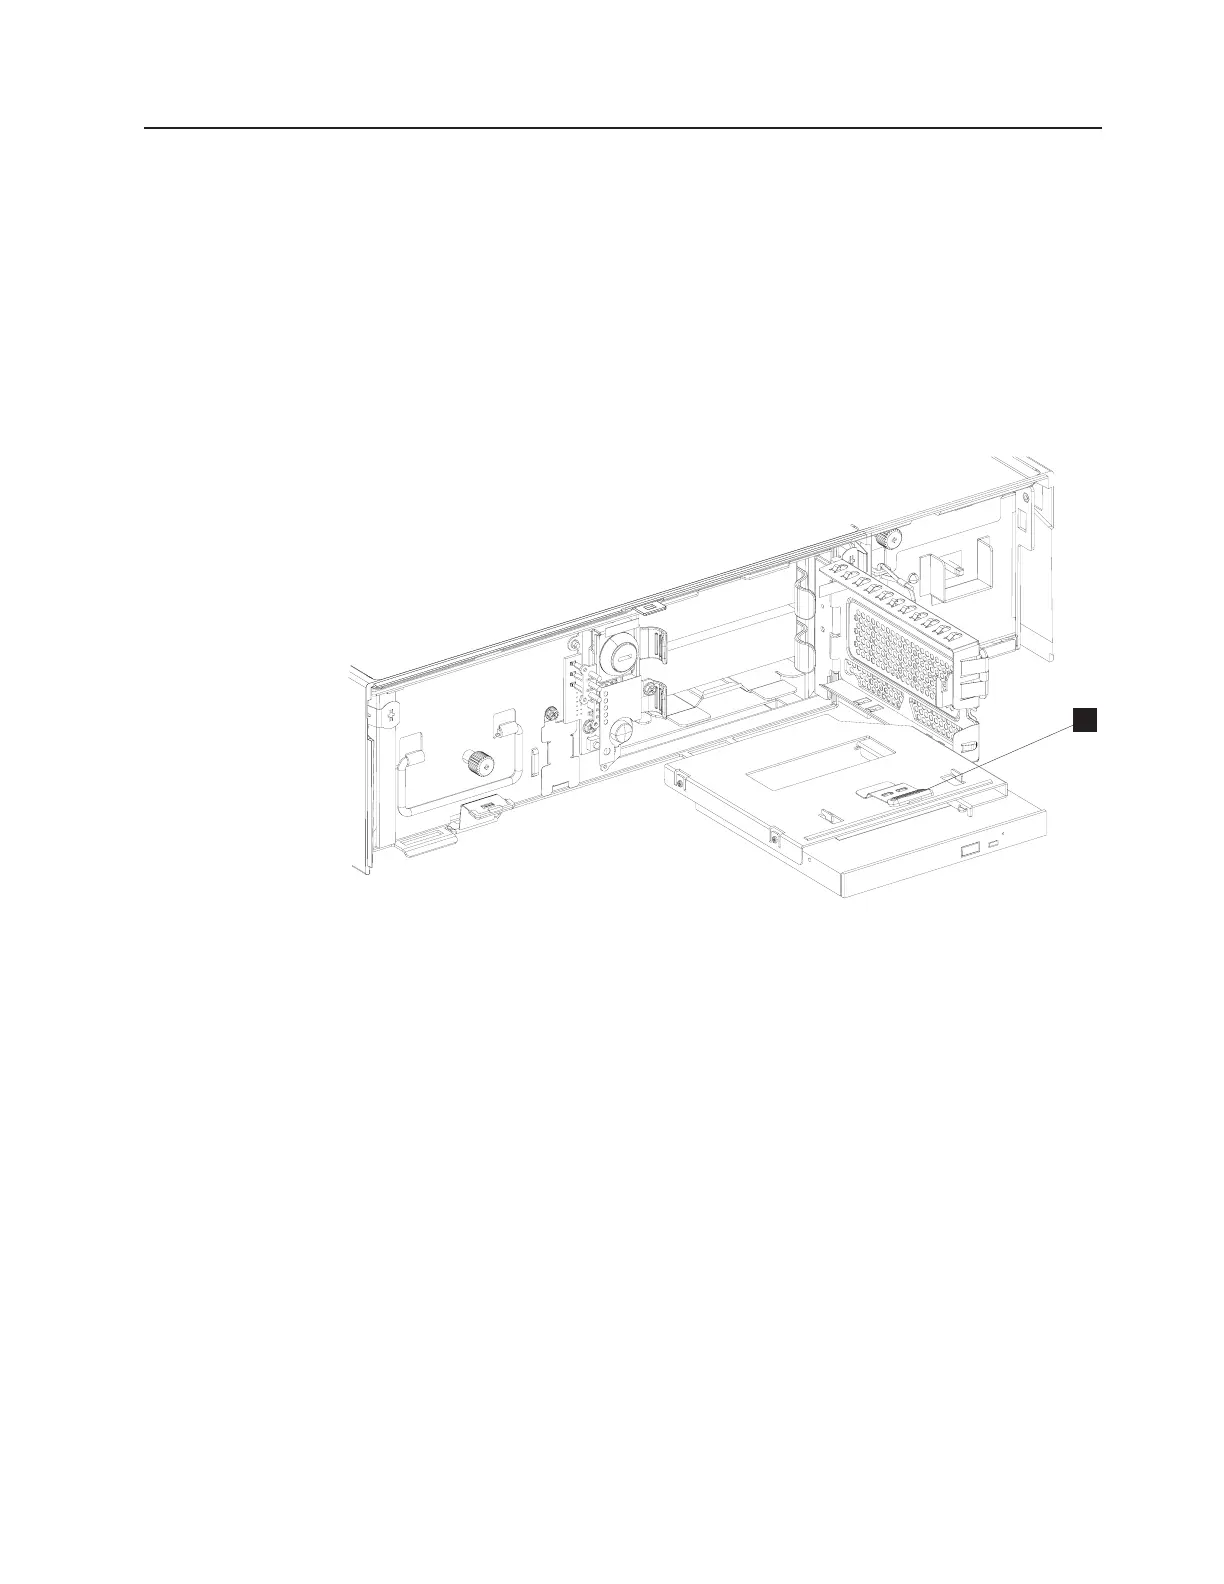
3. With your hand facing upward, grip the bottom of the optical drive and its
bracket with your fingers while pushing down on the bracket lock tab (A in
Figure 26) to disengage it from its window.
4. Pull out the optical drive in its bracket.
To replace the optical drive, reverse the previous steps.
Note: To ensure a solid connection, press the new drive in its bracket into the back
of the DASD cage. The bracket lock tab will snap into place when the drive
is fully inserted.
A
Figure 26. Removing an optical drive
Chapter 2. Removal and replacement procedures 39
 Loading...
