Installing an optional DVD drive
For a list of supported optional optical disk drives for the server, see
http://www.ibm.com/servers/eserver/serverproven/compat/us/.
To install an optional DVD drive, complete the following steps.
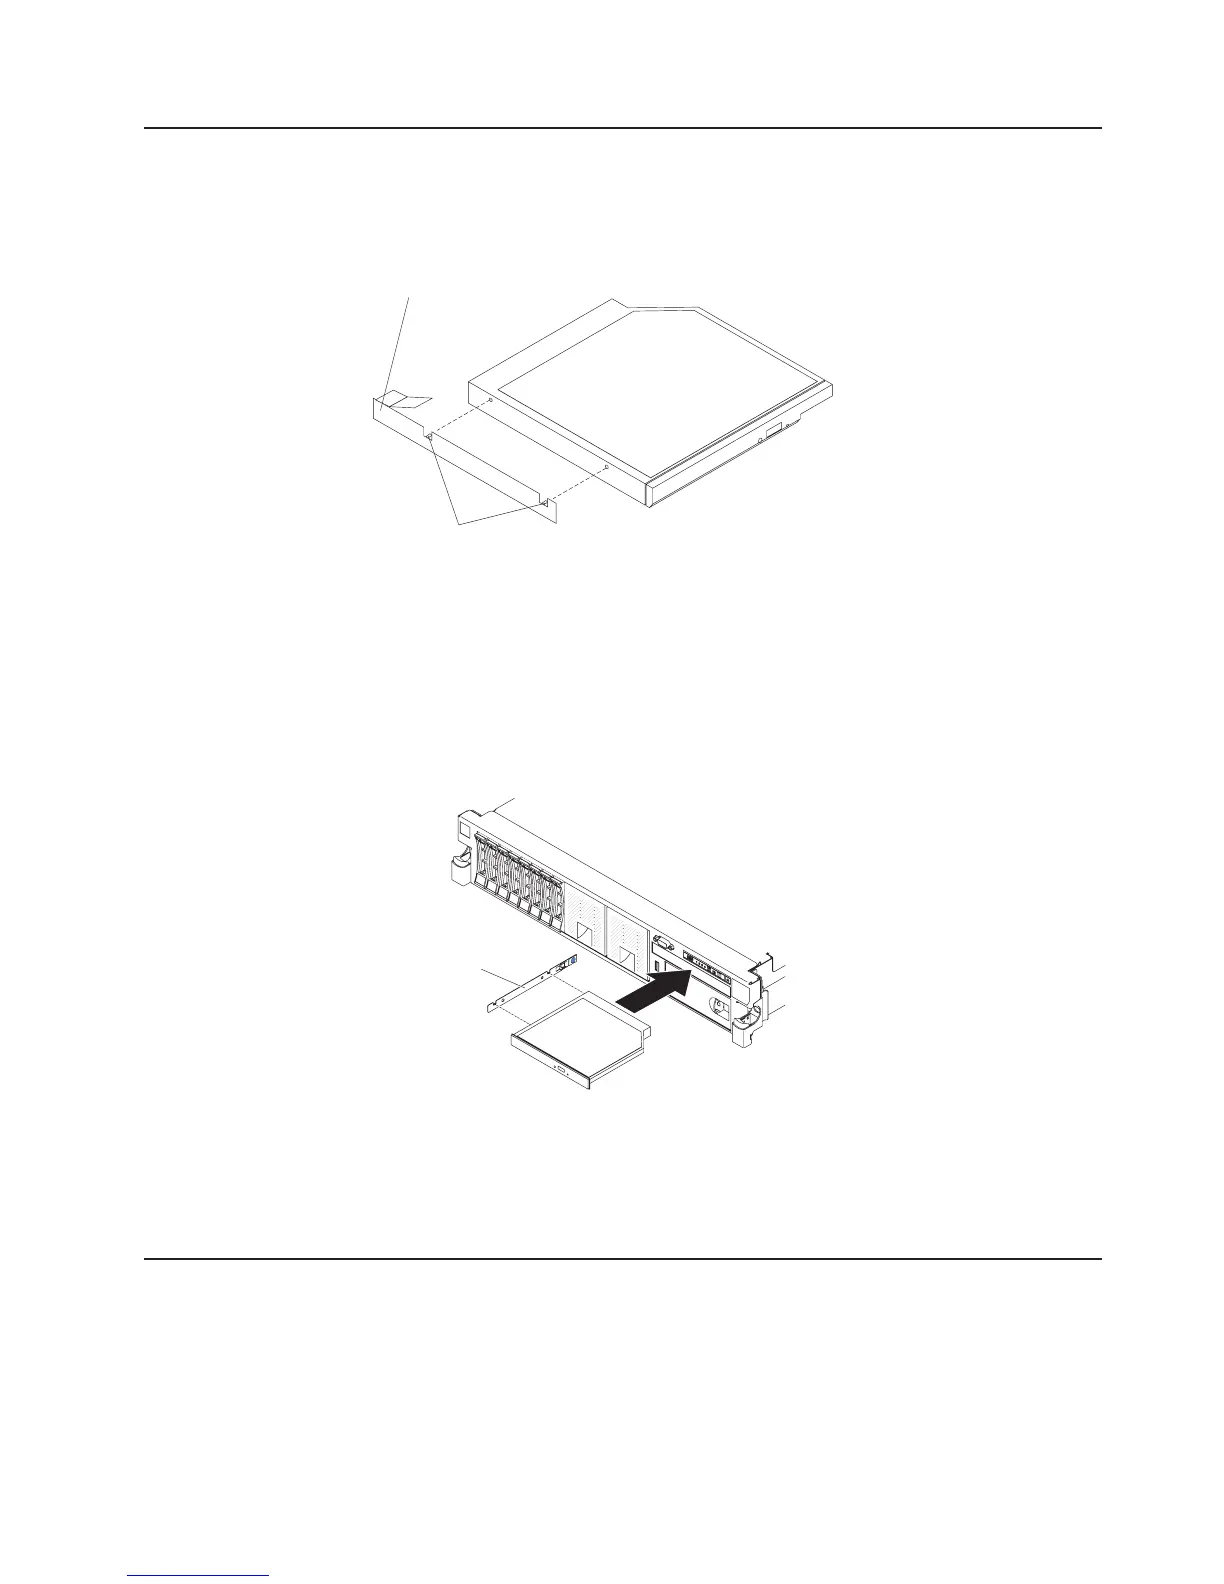
Alignment pins
Drive retention clip
1. Read the safety information that begins on page vii and “Installation guidelines”
on page 40.
2. Make sure that the server is turned off, all external cables and power cords are
disconnected, and the cover has been removed. For more information, see
“Turning off the server” on page 28 and “Removing the cover” on page 54.
3. Remove the optical drive filler panel if it is installed. Locate the blue release tab
on the rear of the optical drive filler panel; then, while you press the tab, push
the optical drive filler panel out of the drive bay. Save the optical drive filler
panel for future use.
Drive retainer
clip
4. Attach the drive-retention clip to the side of the drive.
5. Slide the drive into the DVD drive bay until the drive clicks into place.
If you have other devices to install or remove, do so now. Otherwise, go to
“Completing the installation.”
Completing the installation
To complete the installation, complete the following steps:
1. If you removed the DIMM air baffle, install it (see “Installing the air baffle” on
page 58).
2. If you removed either of the PCI riser-card assemblies, replace the riser-card
assemblies (see “Installing a PCI riser-card assembly” on page 56).
Chapter 2. Installing optional devices 135

 Loading...


