FIELD INSTALLATION OF SEQUENCER INTERFACE I
SSR 50-450 HORSEPOWER UNITS WITH INTELLISYS
TM
(FOR CONNECTION OF COMPRESSORS WITH INTELLISYS
TM
TO STANDARD INGERSOLL-RAND SEQUENCER).
THE PURPOSE OF THESE INSTRUCTIONS IS TO IDENTIFY THE COR-
RECT PARTS REQUIRED WHEN INSTALLING A STANDARD INGERSOLL-
RAND SEQUENCER AND WIRING IT TO AN INTELLISYS COMPRESSOR. A
DEVICE CALLED A SEQUENCER INTERFACE I IS USED ALONG WITH
OTHER COMPONENTS BETWEEN THE COMPRESSOR AND SEQUENCER
TO MAKE THE COMPRESSOR WORK PROPERLY.
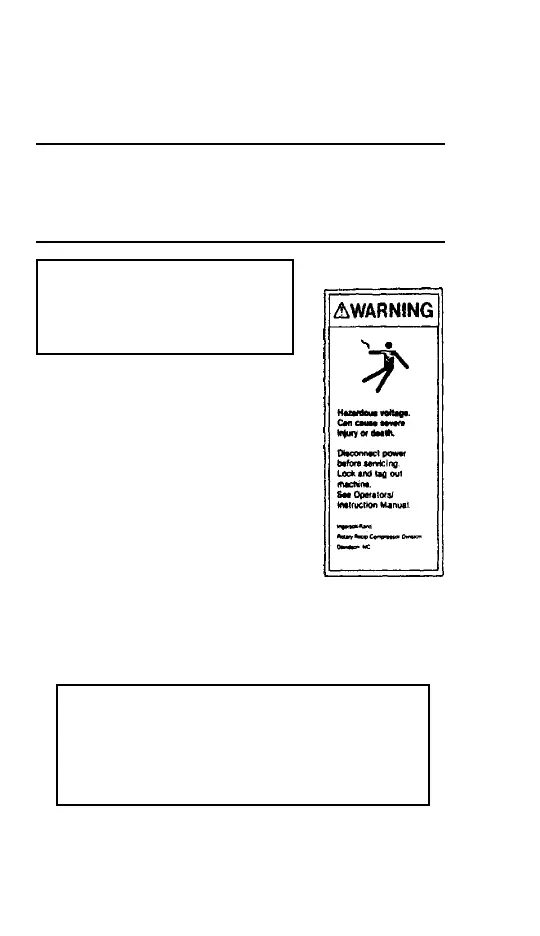
SAFETY
Lock and tag the main power disconnect in the
open position. Isolate the compressor from the
compressed air system by closing isolation
valve and vent pressure from the unit.
APDD 404B-91
For proper operation when using the sequencer Interface I with an
Intellisys unit, the following hardware is required.
PART NUMBER QTY DESCRIPTION
39671193 1 Automatic Start/Stop
Option Field Kit (Units
Not Already Equipped With
Auto Start/Stop)
39179593 1 E-PROM, Programmed
(Software Rev. 1.5 Onward)
-66-
-65-
5. Using your fingers (do not use tools) and/or the prom ejector, carefully
pull out the production prom. Be careful not to bend the contacts. This
prom will be reinstalled after the show.
6. Carefully install the “Show Prom” in socket location U2.
7. Replace the cover on the Intellisys panel.
8. Locate the starter interface PCB in the lower compartment of the starter
box.
9. Get a two wire, heavy duty power cord approximately 10' in length. Have
a plug (115v) on one end and trim back and expose the two wires on the
other end.
10. Connect one wire from your power cord to blank terminal #21 on the
Starter Interface PCB.
11. Remove the brown wire from terminal #36 on the Starter Interface PCB
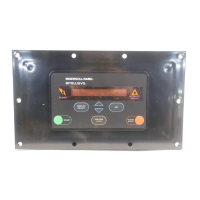
and connect the remaining wire from your power cord to terminal #36.
12. Plug your power cord in and ready to start should appear on the Intellisys
Panel. Remember the only functional membrane switch is the selection
scroll arrows.
13. When the show is over reverse the procedure and reinstall the production
prom.
NOTE: If troubles at start-up occur contact Customer Service immedi-
ately!
 Loading...