CHAPTER 9 CARRIAGE TRANSMISSION BELT
ADJUSTMENT
9-1 CHECKING THE TENSION OF CARRIAGE TRANSMISSION BELT
The tightness of carriage transmission belt must be proper; being too tight, the belt is easy to break
and other parts that relating to it will be bended; being too loose, it is likely to slip when moving the
carriage and the carriage will move inaccurately. Thus, it needs to be checked periodically, whenever
the belt is loose, every time the belt is adjusted, changed or when there is banding on printouts. Then
adjust the belt accordingly.
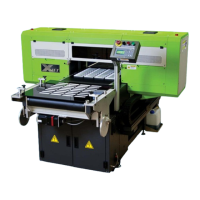
Tool needed: Analog Force Pull/Push Gauge
1. Assemble the Belt Pull Clamp at the Analog Pull Force Gauge; please install the belt pull clamp.
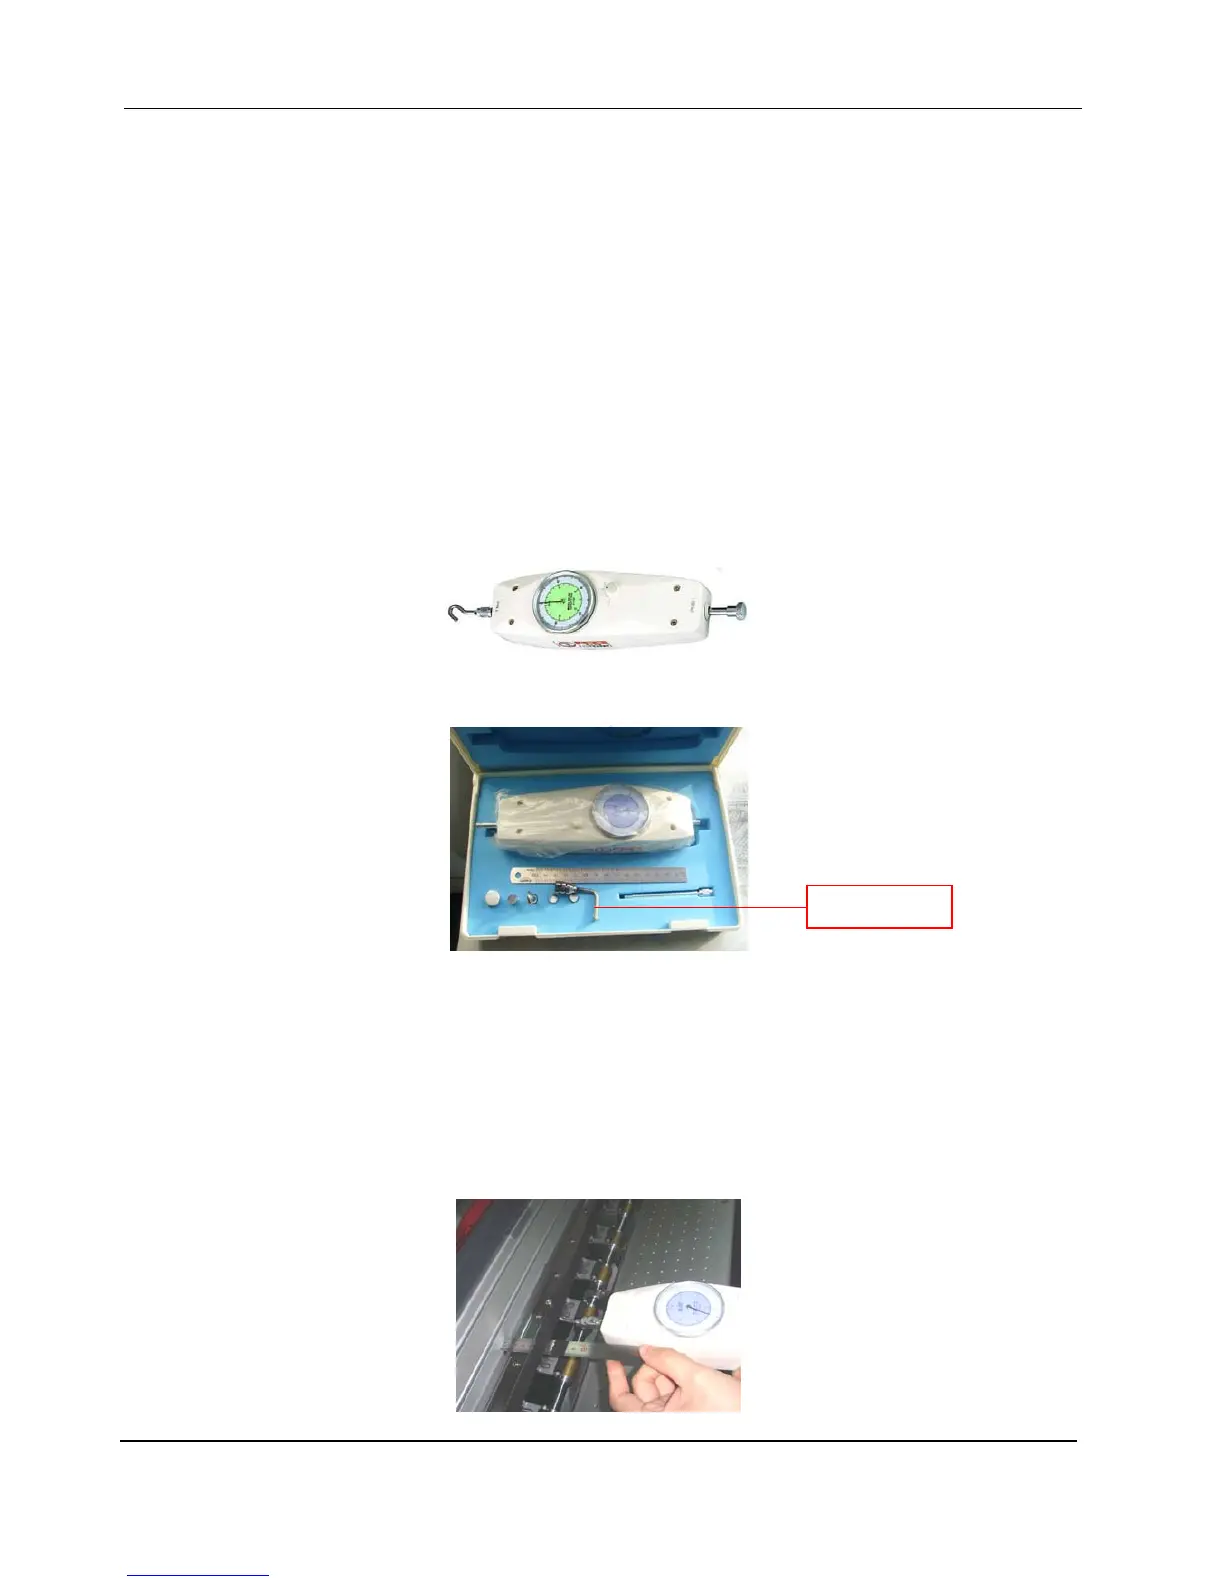
2. Check the initial tension of the Carriage Belt at the center of the Beam. Hook the belt at the middle
of the printer with the belt pull clamp on the gauge; set the gauge pointer to zero. Use the steel rule
to measure the distance of belt and belt groove when it is being pulled. Check the distance and
tension at the same time; when the distance between 60-65mm, the tension should be within
1.30-1.50kg. Get the peak value as the belt tension reading. Please take the image below as
reference:
Belt Pull Clamp