Service Manual_2017-V1
30
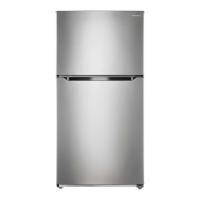
2)Replace the drain tray, the reverse process can
complete installation.
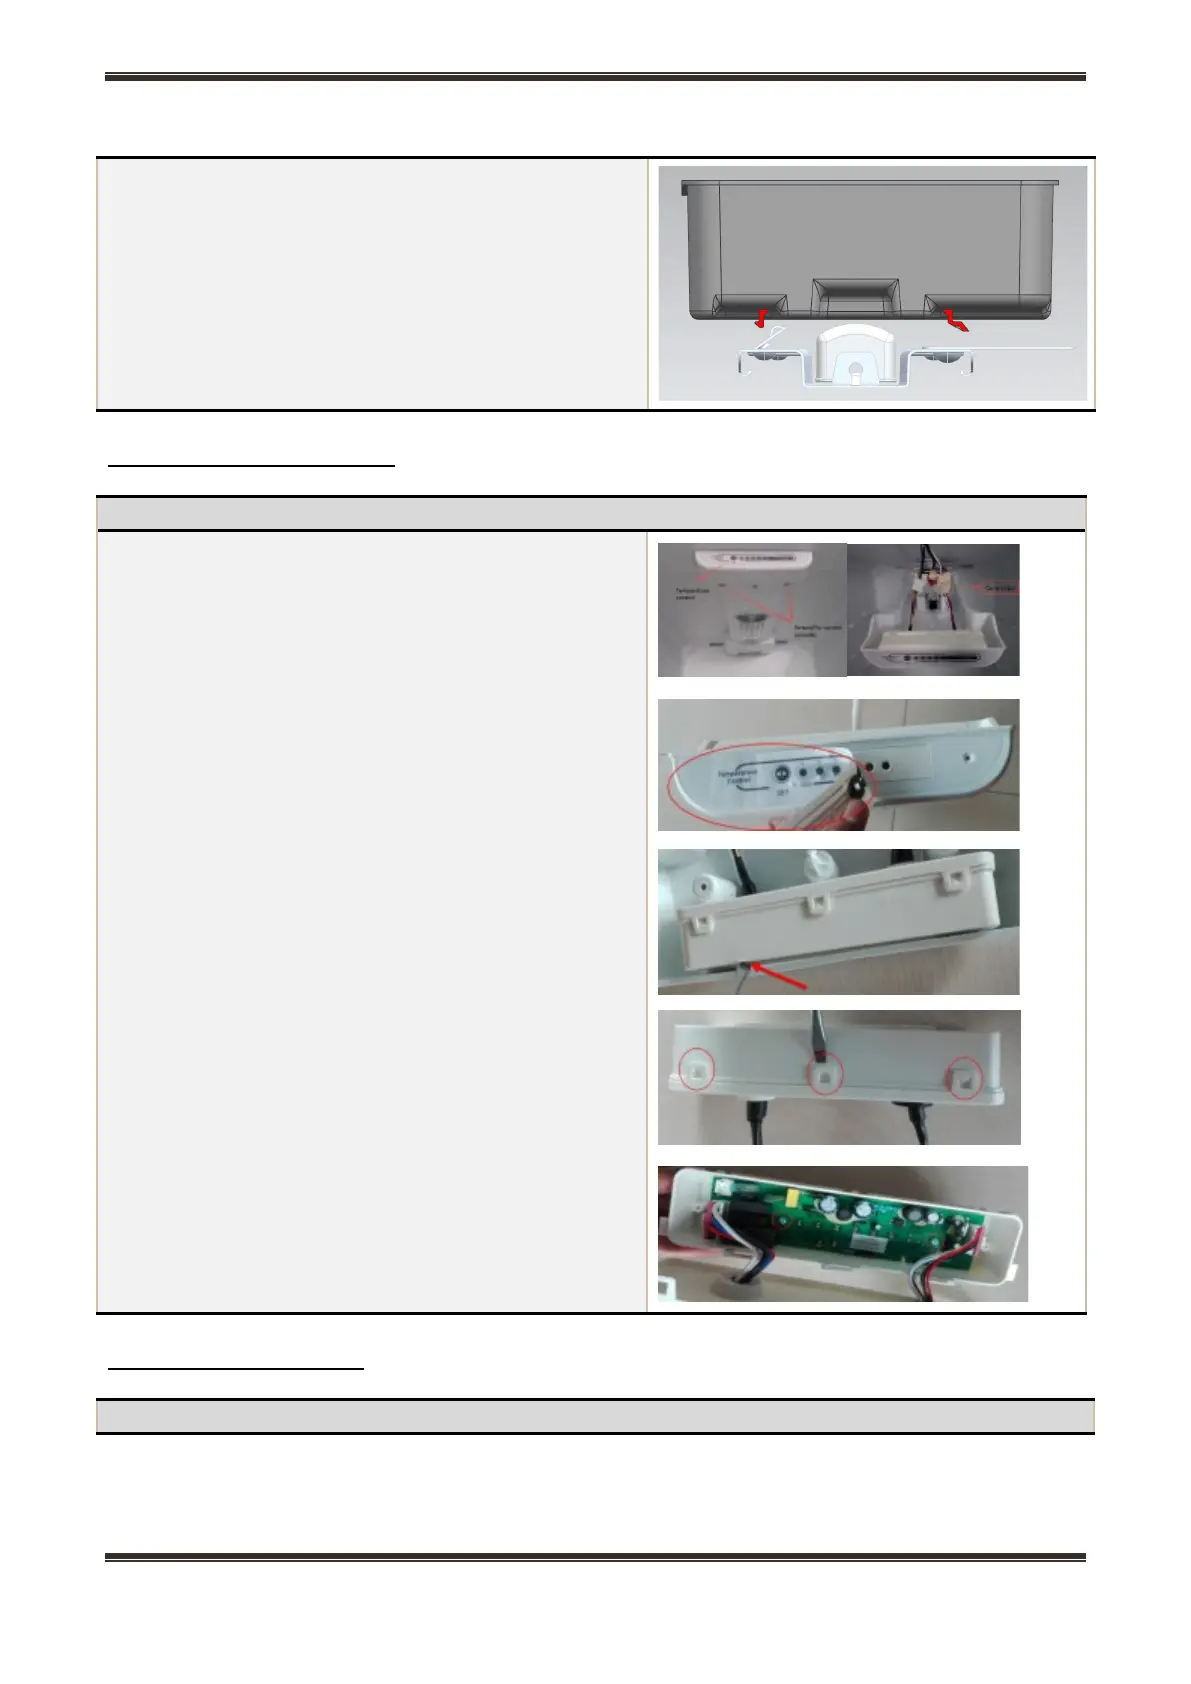
8.7 Display control board
)
Remove two screws from the refrigerating air duct
with a cross screwdriver;
2) Pull all connector terminals out of the refrigerating
air duct to remove its components;
3) Uncover the temperature control indication sticker
on the cover plate of the air duct;
4) Gently pry out the PCB installation box with a
straight screwdriver to get the master control board
and installation box components;
5) Pry open the buckle of the PCB installation box
with a straight screwdriver to see the PCB board;
6) Remove 2 screws using a cross screwdriver to
remove the master control board;
7) Pull out the connector terminal and replace the
master control board in reverse steps;
*The temperature control indication sticker is likely to be
damaged when replacing PCB, thus it is advised to
prepare one for standby before replacement:
8.8 Main control board
 Loading...