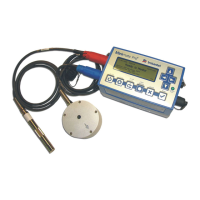
10–6 Minimate Pro Operator Manual
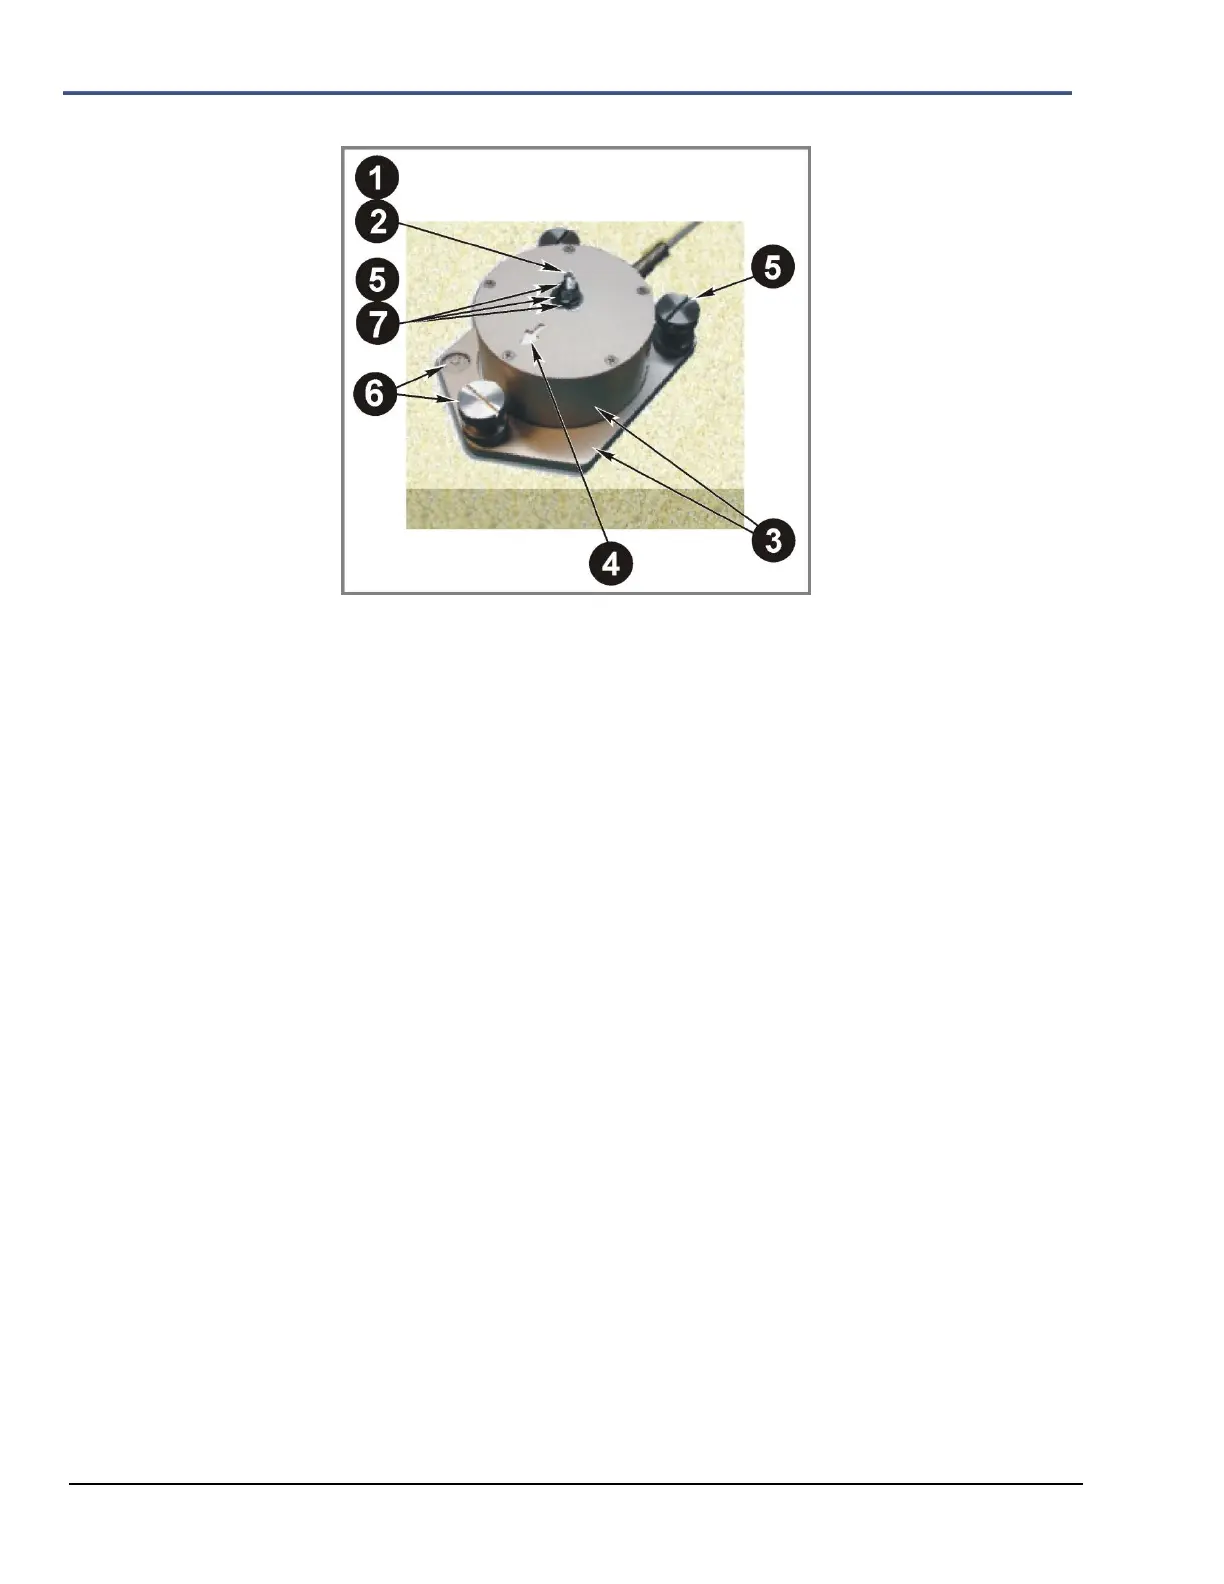
Refer to the illustration above and follow the installation instructions below:
1. Position the Geophone with leveling plate on the surface and mark the position of the
bolt hole, which is located at the center of the Geophone.
2. Use a 3/8 inch (9.5 mm) bolt or threaded rod. Install the bolt into the hard surface
according to the manufacturer‟s instructions.
3. Slide the Geophone and leveling plate over the bolt.
4. Ensure that the arrow on the Geophone is pointing in the direction of the Event.
5. Place a 3/8 inch (9.5 mm) retaining washer, lock washer, and nut over the bolt but do
not tighten.
6. Level the Geophone using the leveling feet and integrated bubble level.
7. Carefully tighten the retaining nut to complete the installation.
8. Ensure that the Geophone is securely attached to the Vibration port on the
Minimate Pro.
9. Press the Sensor Check key on the Minimate Pro to ensure that the sensor is
properly attached.
(3) Geophone Wall Mount Kit Installation Instruction
Tools and Materials Required:
1. Geophone Wall Mount Kit (Part No. 718A0101)
2. Hammer
3. 19mm (3/4 inch) deep-throated socket and ratchet
4. 13mm (1/2 inch) wrench
5. 12mm (.47 inch) drill bit and drill
NOTE: To install the Geophone Wall Mount, dependent on your application, you may
need to acquire alternative mounting hardware than what has been provided with the kit.
 Loading...