21
Version 1.0 (11/2007) en
Original language
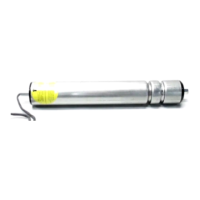
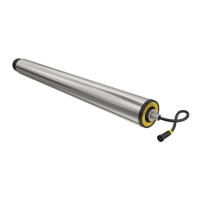
RollerDrive EC200
Assembly
Inserting the idler shaft How the idler shaft is inserted in the conveyor frame depends on the idler shaft
option. The easiest installation option is the spring-loaded shaft option.
Inserting the spring-loaded idler shaft
¾ Push the spring-loaded idler shaft inwards and align the shaft with the hole in
the frame.
¾ Release the idler shaft and allow it to pop into the hole in the frame.
Inserting the FTM8 idler shaft
¾ Place a split lock washer onto a M8x20 bolt.
¾ Align the RollerDrive with the hole in the frame and thread the M8 bolt and
split lock washer into the shaft. Use a wrench to prevent the idler shaft from
turning (width across flats AF 13 mm or AF 19 mm, depending on the idler
type, see "Groove locations", page 15).
¾ Use a torque wrench to tighten the bolt with 20 Nm (177 in-lbf) until the split
washer is completely compressed.
Hint
For information about assembling the idler rollers, see the corresponding
manuals or information at www.interroll.com.