41
SECTION 8—OPTIONS
S EC T I O N 9 — A N T I- TI PP ER S
W A R N I N G
After ANY adjustments, repair or service and BEFORE use, make sure all attaching
hardware is tightened securely - otherwise injury or damage may occur.
Anti-tippers MUST be attached always. Since the anti-tippers are an option on this
wheelchair (you may order it with or without the anti-tippers), Invacare strongly
recommends ordering the anti-tippers as an additional safeguard for the
wheelchair user.
Anti-tippers MUST be fully engaged and release buttons fully protruding out of
adjustment holes.
Ensure both anti-tippers are adjusted to the same mounting hole.
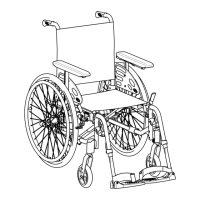
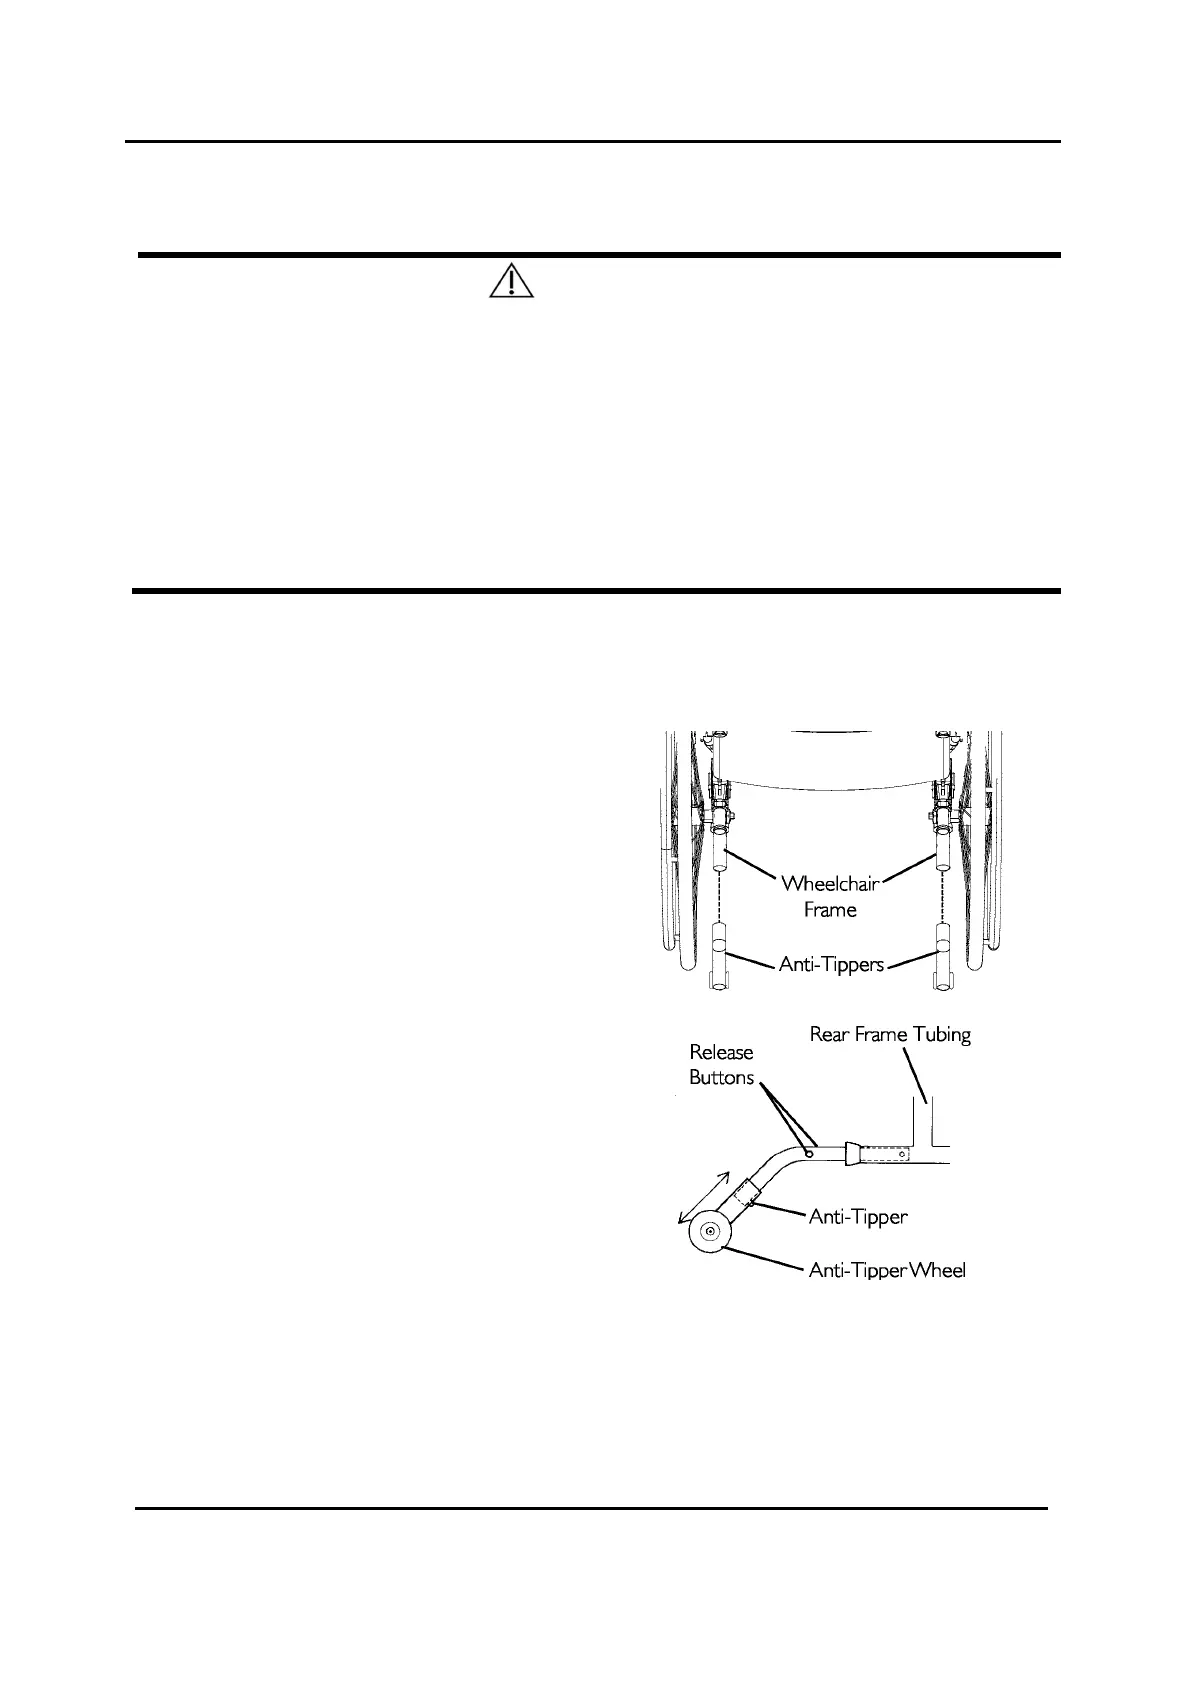
Installing/Adjusting simple Anti-Tippers
Installing Anti-Tippers
NOTE: For this procedure, refer to
FIGURE 9.1.
1. Press release buttons in and insert anti-
tippers with the anti-tipper wheels
pointing toward ground/floor into the rear
frame tubing until bottom release button
locks in place.
2. Measure the distance between the
bottom of the anti
-tipper wheels and the
ground/floor.
3. NOTE: A 30 to 50 mm clearance
between the bottom of the anti-tipper
wheels and the ground/floor MUST
always be maintained.
4. If the distance between the bottom of
anti-tipper wheels and the ground/floor is
not 30 to 50 mm, adjust anti-tippers.
NOTE: Make sure that the anti-tipper wheel is ALWAYS located outside the rear wheel volume
(50 mm Minimum); refer to FIGURE 9.3.
FIGURE 9.1 Installing Simple Anti-Tippers