Invacare®TDX®SP2Series
Removingfrontlampholder
1.Removecompleteheadlightasdescribedin6.8.2
Replacingheadlightcomplete(conventionallighting
system),page39.
2.LoosenandremovescrewBandwasher.
3.RemovefrontlampholderA.
Installingfrontlampholder
1.Installpartsinreverseorder.
2.Testallfunctions.
6.8.5Replacingfrontlampholder-(conventionallighting
system)
•Phillipsscrewdriver
•4mmAllenkey
•6mmAllenkey
•13mmsocketwrench
•10mmsocketwrench
Removingbulbholder
1.Removeheadlightcompletelyasdescribedin6.8.2
Replacingheadlightcomplete(conventionallighting
system),page39.
2.Loosenandremovescrews(2)withwashers.
3.Removelampholder(4).
4.Movingbulbholder(3):
•Loosentwoscrews(1).
•Movelampholder(3)tocorrectposition.
•Installtwoscrews(1)includingwashersandnuts.
Rettingbulbholder
1.Installpartsinreverseorder.
2.Checkallfunctions.
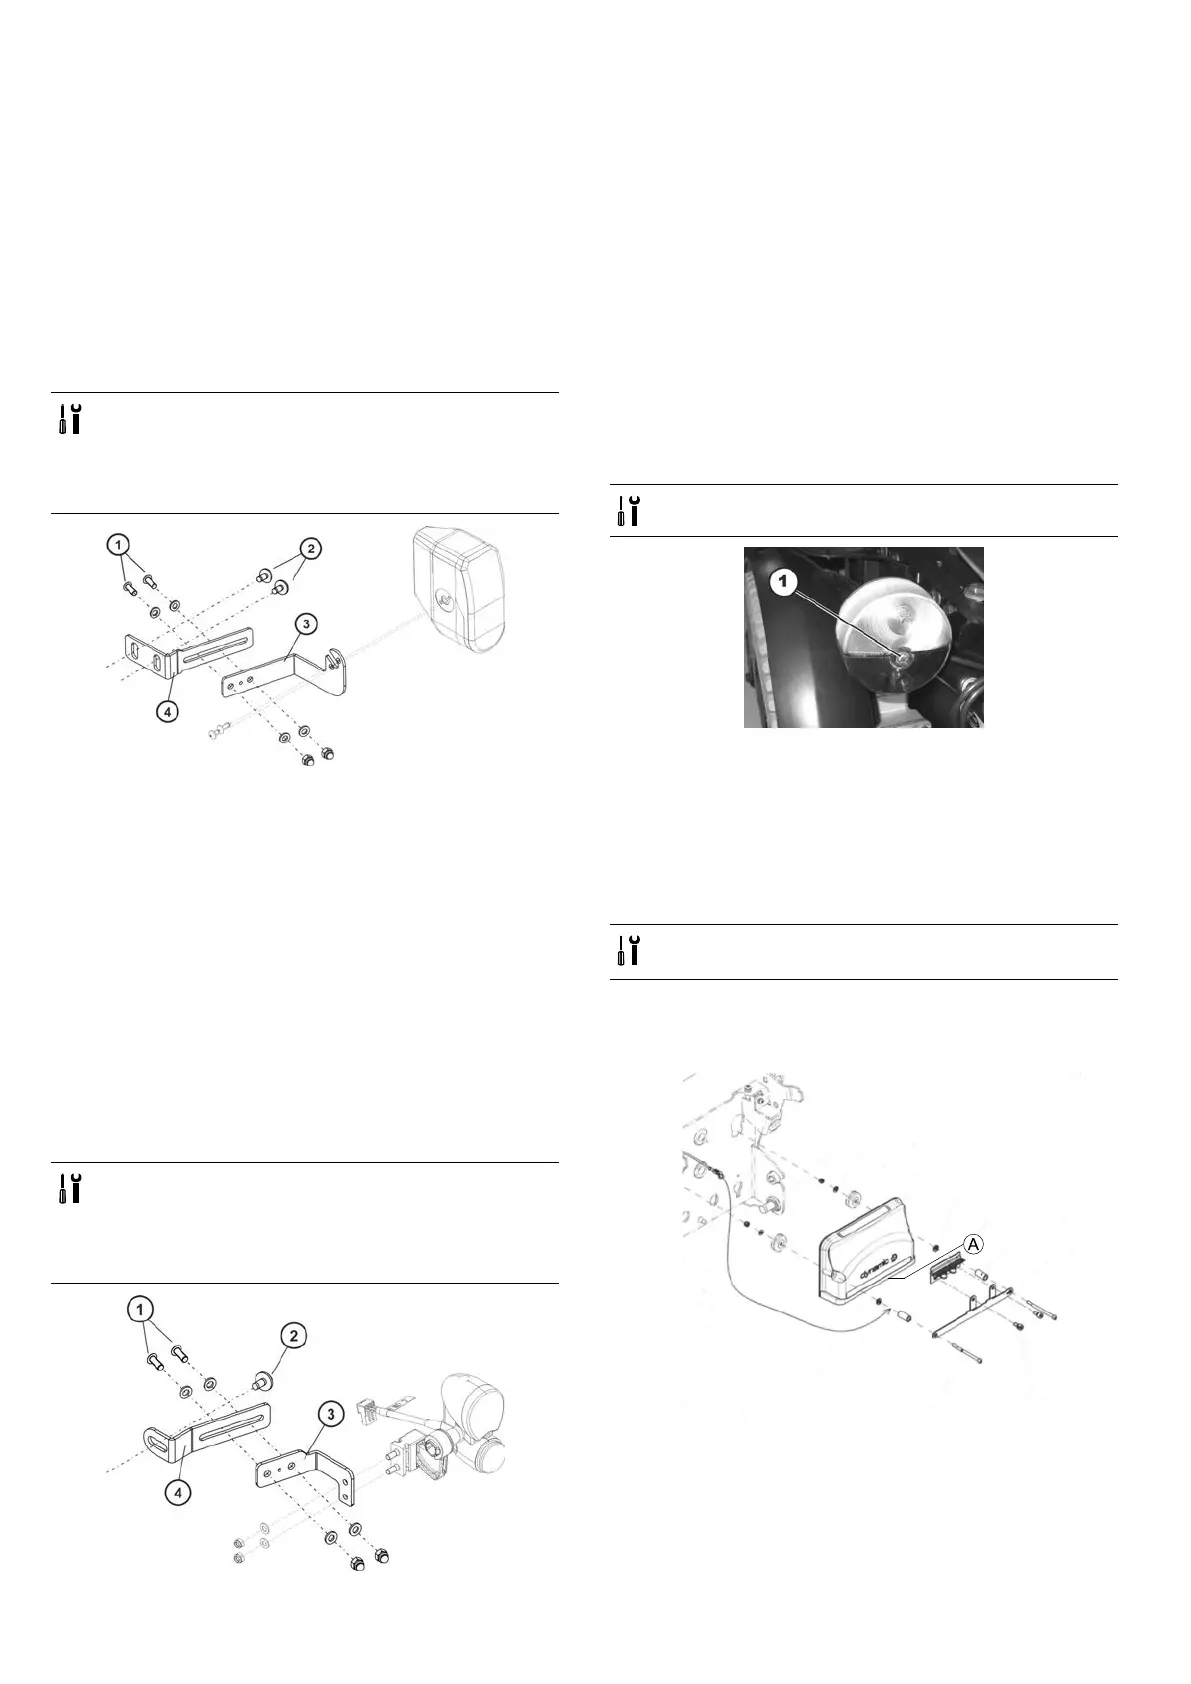
6.8.6Replacingfrontlampholder-(LEDlightingsystem)
•Phillipsscrewdriver
•4mmAllenkey
•6mmAllenkey
•13mmsocketwrench
•10mmsocketwrench
Removinglampholder
1.Removecompleteheadlightasdescribedin6.8.3
Replacingheadlightcomplete(LEDlightingsystem),page
39.
2.Loosenandremovetworetainingscrews(2)with
washers.
3.Removelampholder(4).
4.Movinglampholder(3).
•Loosentwoscrews(1).
•Movelampholder(3)intoposition.
•Installtwoscrews(1)includingwashersandnuts.
Installinglampholder
1.Installpartsinreverseorder.
2.Testallfunctions.
6.8.7Replacingrearbulb(conventionallightingsystem)
•Phillipsscrewdriversize2
1.Loosenandremovescrewinglassoverrear
light/indicatorcombination.
2.Removeglass.
3.Replacedefectivebulb.
4.Installglassandtightenscrewnger-tight.
6.8.8Replacingrearlightcomplete-(conventionallighting
system)
•Size2Phillipsscrewdriver
•8mmSocketwrench
Removingrearlight
1.Removerearshroudasdescribedin6.6.2Removingrear
shroud,page30.
2.
Carefullynotelocationofcableandconnectionlocations
ofvariousplugsonpowermoduleA.Eithermarkeach
plugandsocket,ortakeaphotographwithadigital
camera.
3.LoosencableleadingtolightingPCBfromrearlight.
4.Removeallcabletiesandpullcableoutofmobility
device.
401532486-L
 Loading...