41
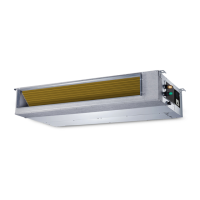
There are two types of installation:
Ceiling Type and Floor Type
Each type is similar to the other as follows:
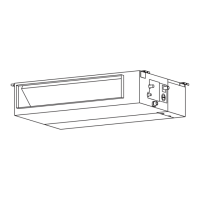
Determine the mounting position on ceiling or wall by using the paper pattern to indicate the
indoor frame. Mark the pattern and pull out the paper pattern. Remove the return grill, the side panel
and the hanger bracket from the indoor unit as per procedures below.
1. Press the fixing knob of the return grilles and Loosen fixing bolts (M4.2). It will be opened widely,
and then pull it out from the indoor unit.(See Fig.41)
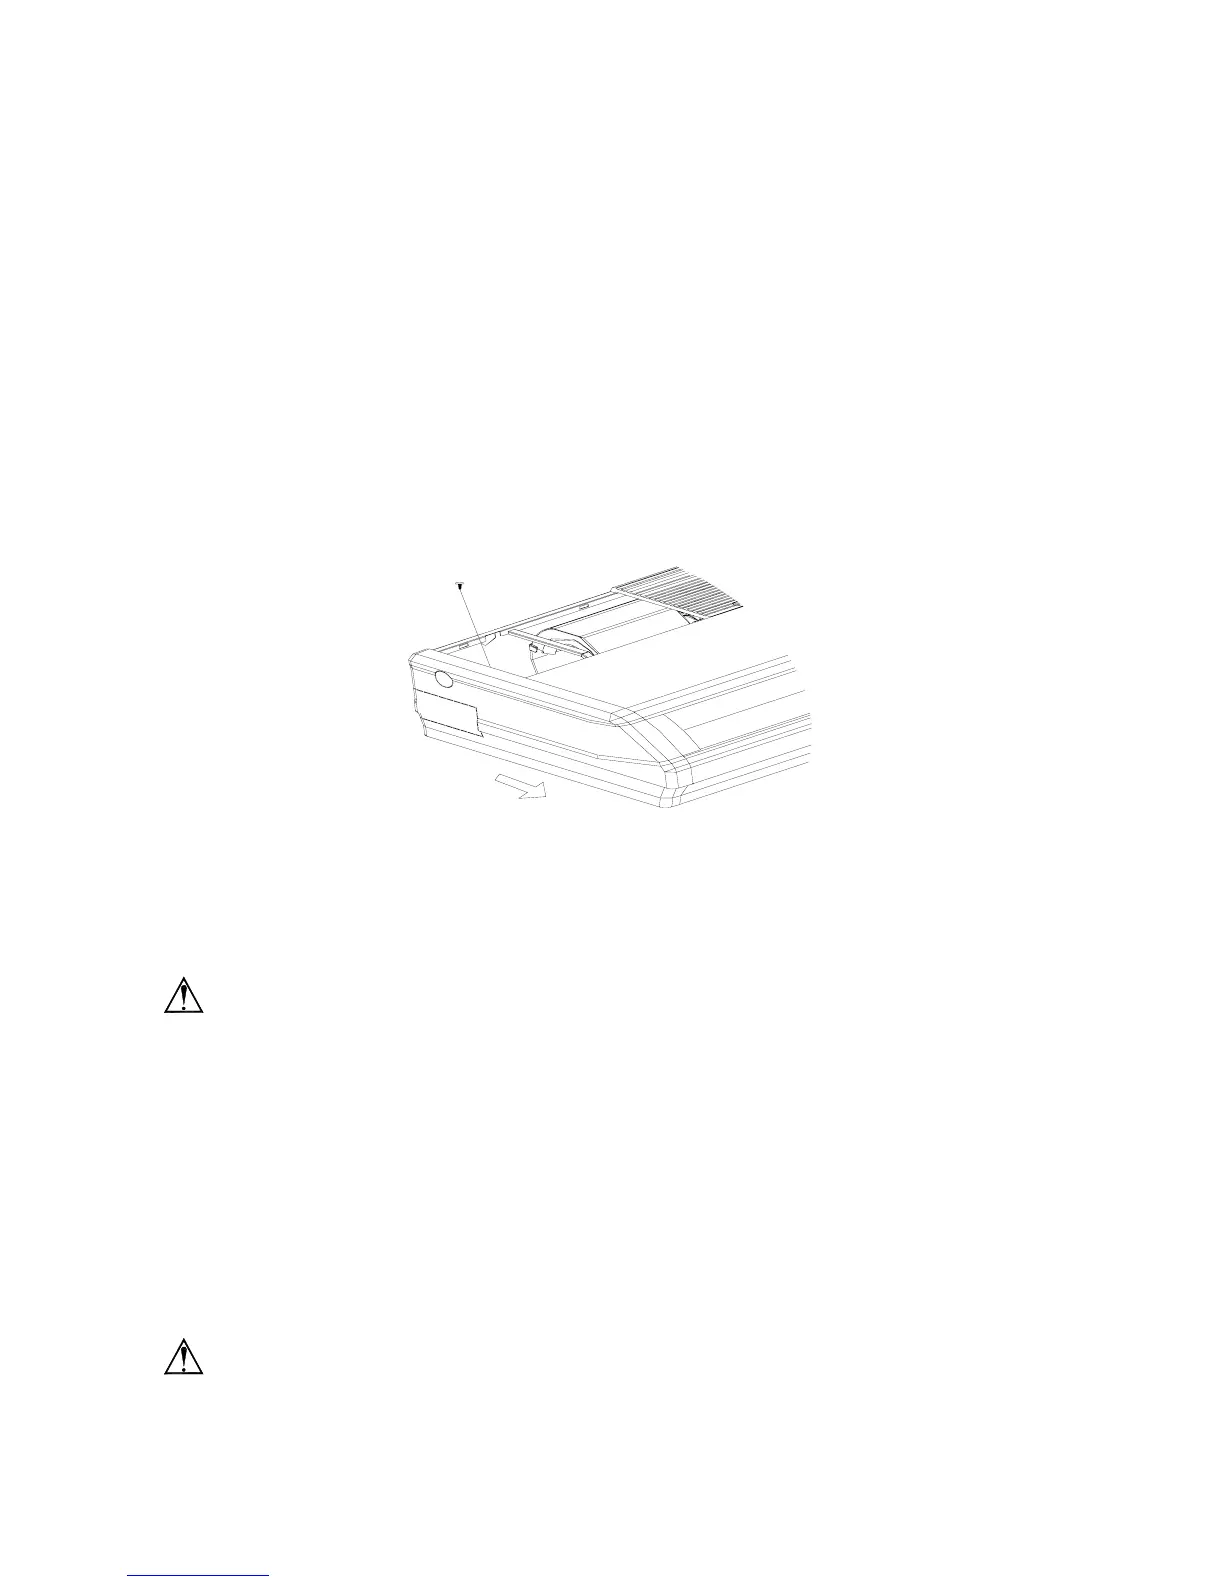
2. Remove the side panel fixing screws and remove it away by pulling it out at the front direction
(arrow direction). (See Fig.42)
3. Loosen two hanger bracket setting bolts (M10) on earth side for less than 10mm. Remove two
hanger bracket fixing bolts (M6) on the rear side. Detach the hanger bracket by pulling it backward
(See Fig.44)
Fig.42
Set the suspension bolt. (Use M10 size suspension bolts)
Adjust the distance between the unit and the ceiling slab beforehand (See Fig.43). Fix the hanger
bracket to the suspension bolt.
WARNING!
1. Make sure that extended suspension bolt from the ceiling stays inside the arrowed position.
Readjust the hanger bracket when it is outside the arrowed position. (See Fig.45)
2. Suspension bolt stays inside the cap of the indoor unit .Never remove the cap. Lift the unit and
slide the hanger bracket in the way that the holes on it will match with the corresponding bolts.
(See Fig.46)
3. Screw tightly both hanger brackets setting bolts (M10.) (See Fig.44)
4. Screw tightly both hanger bracket fixing bolts (M6) to prevent the movement of the indoor unit.
(See Fig.44)
Adjust the height of the unit to incline slightly the rear side of the drain pipe so as to optimize the
drainage.
CAUTION!
Adjust the height by turning the unit with a spanner. Insert the spanner from the hanger bracket
opening. (See Fig.48)
Side panel fixing screw (M4.2)
 Loading...