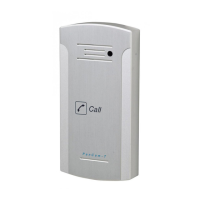
PanCam/Pantel/Pancode
Installation and Programming Manual
9
the proper terminal and tighten the terminal screw. This will
crimp the wire connection.
Caution
To avoid damage to the Pantel/Pancode, the power supply
should be turned off prior to connectin
g wires to the
Pantel/Pancode unit.
To Install the Pantel/Pancode
1.
Remove the cover from the Pantel/Pancode unit and
disconnect the wire connector, found at the base of the
internal component.
2.
Connect the two 12V lead wires from the 12V AC power
adapter (o
r the 12
-
24V DC adapter), one to each of the
“~12V”
terminals.
3.
Connect the two PBX extension wires, one to each of the
“LINE”
terminals.
4.
Connect the door
-
lock relay wires to the
“DLR”
and
“~DLR”
terminals
-
or
-
If the door
-
lock relay is a powered
-
locked
-s
tate type
lock, connect the door
-
lock relay wires to the
“/DLR”
and
“~DLR”
terminals.
5.
If a push button switch is used, connect the push button
wires to the
“SW”
and the
“/SW”
terminals.
6.
Plug the wire connector to the base of the
Pantel/Pancode inner comp
onent.
7.
Place the Pantel/Pancode onto the mounting bracket.
8.
Switch on the power to the 12V adapter.
After installation, you can now program the Pantel/Pancode
unit. For details on programming, see section 3,
Programming
.
2.2
Adjacent Access Control Device
Th
is section describes adding an access
-
control device to an
existing Pantel/Pancode, and adding a Pantel/Pancode to an
existing access
-
control device. The key difference between
these two installations is which Access
-
control device controls
the door lock r
elay.
2.2.1
Adding an Access Control Device to the
Pantel/Pancode
When activated, the access
-
control triggers the Pantel/Pancode
“SW” terminal, which activates the door
-
lock relay and opens
the door.