i-ALERT2 Application Guide 55 of 64
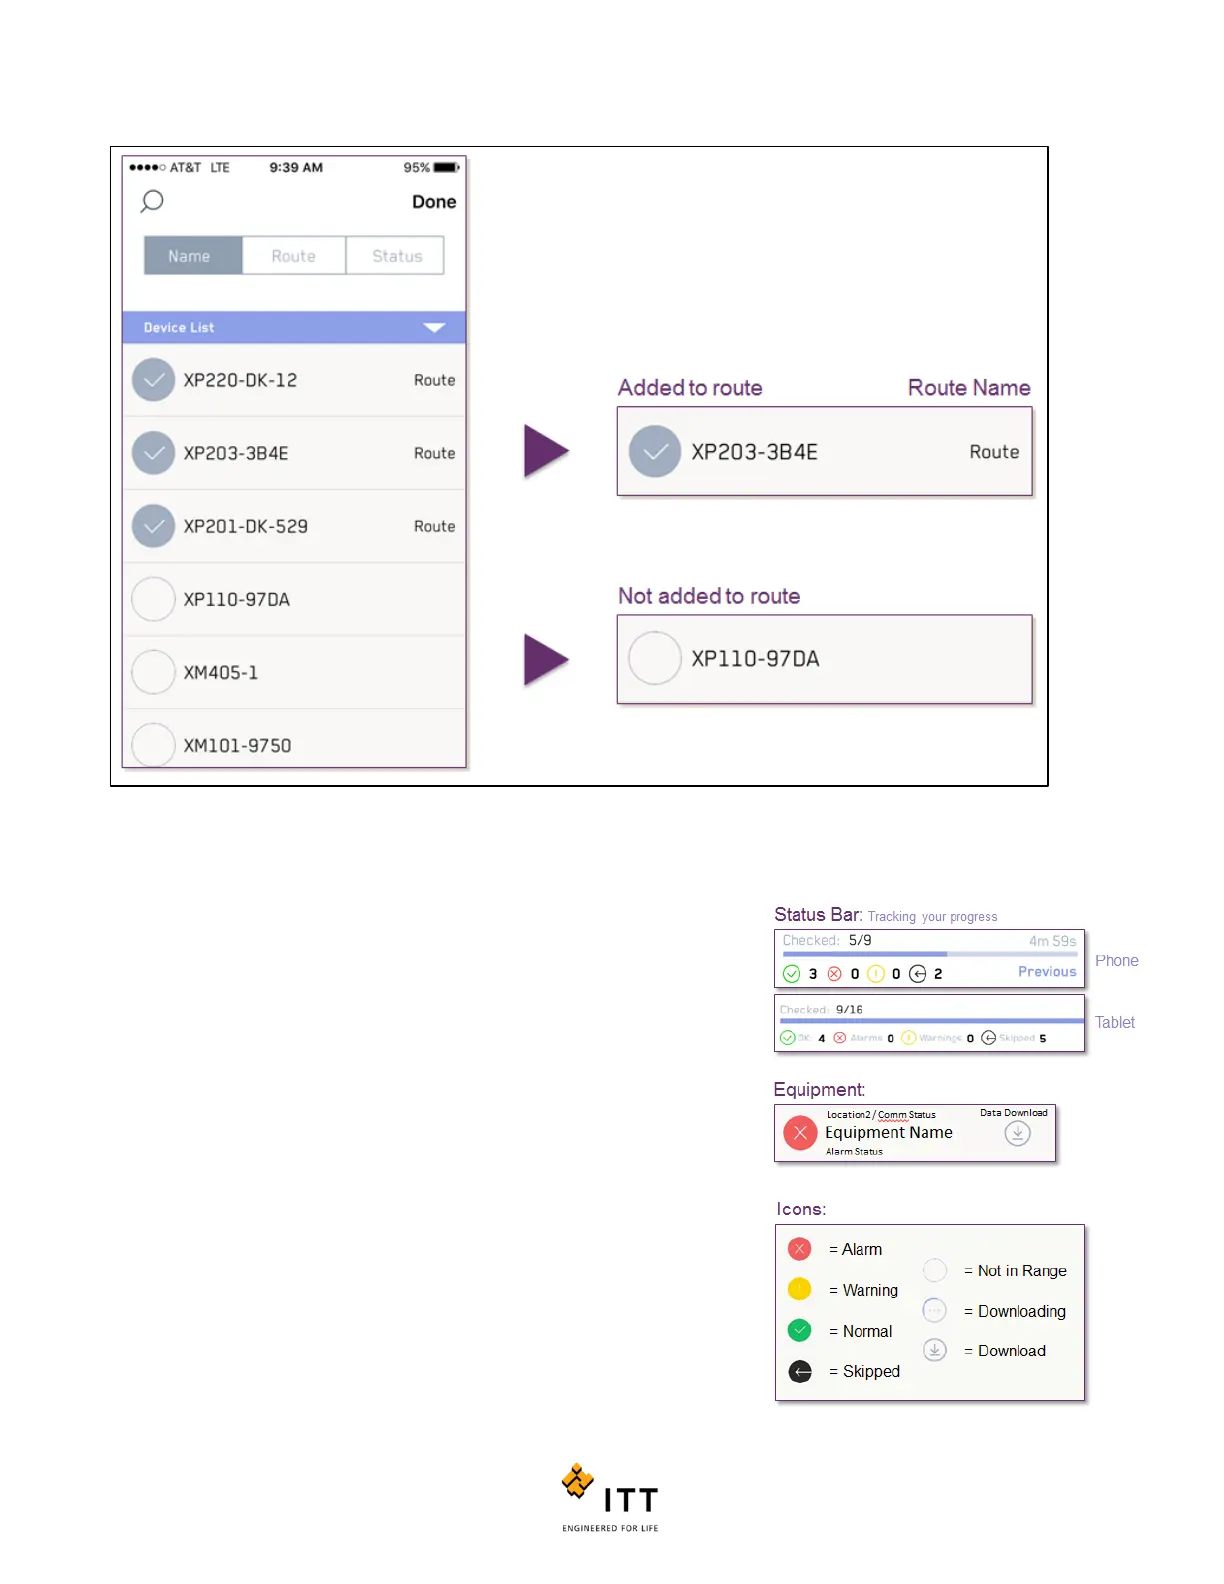
Figure 53: Adding Equipment to a Route
After all the equipment has been selected, select “Done”. This will finalize the
route and add it to the main route list.
On the active route screen, shown below, you will see:
1. Route timer (Note, to see previous time press and hold on text
“Previous”);
2. Ratio of checked devices to the total number;
3. A breakdown of the status for the “Checked” devices;
4. Listing of the “Devices on Route” that are not yet checked (meaning,
there still remains an action before it moves to checked status);
5. Followed by a listing of the “Checked Devices” (meaning there are no
remaining download actions or no actions required for that device.)
Figure 54: Main Route Screen