EasyManua.ls Logo

Janome Sewing Machine - User Manual

Janome Sewing Machine
92 pages
Print Icon
To Next Page IconTo Next Page
Loading...
INSTRUCTION MANUAL

Table of Contents

Other manuals for Janome Sewing Machine

Questions and Answers

  • F
    fhamiltonSep 4, 2025
    Why is there seam puckering when I sew with my Janome Sewing Machine?
    • G
      garycastilloSep 4, 2025
      Seam puckering on your Janome Sewing Machine can be caused by: * The needle thread tension being too tight. * The needle thread not being threaded properly. * The fabric, thread, and needle combination being incorrect.
  • J
    Jake ScottAug 25, 2025
    Why is the bobbin thread breaking on my Janome ?
    • H
      Henry RoweAug 25, 2025
      The bobbin thread of your Janome Sewing Machine might be breaking because: * The bobbin thread is not threaded properly in the bobbin holder. * Lint has collected in the bobbin holder. * The bobbin is damaged and doesn't turn smoothly; in this case, change the bobbin.
  • A
    Angela BrightSep 4, 2025
    What to do if the bobbin thread breaks on my Janome Sewing Machine?
    • V
      villarrealrobertSep 4, 2025
      If the bobbin thread breaks, try re-threading the bobbin. Additionally, clean the bobbin holder and replace the bobbin if necessary.
  • J
    Joshua HensleySep 3, 2025
    What to do if the PC card or USB memory does not work with my Janome ?
    • N
      Nancy FischerSep 3, 2025
      If the PC card or USB memory is not working, it may be because: * The PC card or USB memory is not inserted properly. * The memory bank of the PC card or USB memory is damaged.
  • D
    Darryl WilsonSep 3, 2025
    What causes skipped stitches on my Janome ?
    • M
      Megan WardSep 3, 2025
      Skipped stitches can occur if: * The needle is not inserted properly. * The needle is bent or blunt. * The needle thread is not threaded properly. * The fabric is not stretched tight enough in the hoop.
  • S
    smithmeaganSep 2, 2025
    What to do if Janome Sewing Machine embroidery pattern is distorted?
    • K
      Kelly DavisSep 3, 2025
      If the embroidery pattern is distorted or not aligned, check the following: * The needle thread tension may be too tight. * The fabric may not be stretched tight enough in the hoop. * A stabilizer may not be used. * The fabric may be caught or trapped while stitching. * The threads may be tangled on the bottom side of the fabric; in this case, cut off and remove the tangled threads. * Short stitches may be eliminated with the “Ignore short stitches” setting.
  • J
    Jose GonzalezSep 2, 2025
    Why is my Janome Sewing Machine running noisy and not smoothly?
    • D
      Debra ThompsonSep 2, 2025
      Your Janome sewing machine may not run smoothly and could be noisy if: * Threads have been caught in the hook mechanism. * The feed dog is packed with lint.
  • J
    Jessica WhiteSep 2, 2025
    What to do if the cloth is not feeding smoothly in my Janome ?
    • C
      Christian FrancoSep 2, 2025
      If the cloth isn't feeding smoothly, check the following: * The feed dog might be packed with lint. * The presser foot pressure might be too weak. * The stitches might be too fine; if so, make the stitches coarser. * The feed dog might not be raised after “Drop feed” has been used.
  • E
    Elizabeth DavisSep 1, 2025
    What to do if my Janome is skipping stitches?
    • S
      sharon41Sep 2, 2025
      If your Janome Sewing Machine is skipping stitches, there are a few potential reasons. Make sure the needle is inserted correctly. A bent or blunt needle can also cause this issue, so replace it if necessary. Ensure that the needle and threads you're using are suitable for the fabric. If you're sewing stretch, very fine fabrics, or synthetics, try using a blue tip needle. Finally, double-check that the needle thread is threaded properly.
  • B
    Brianna HancockSep 1, 2025
    Why is my Janome noisy and not running smoothly?
    • C
      Craig LoveSep 1, 2025
      If your Janome Sewing Machine does not run smoothly and is noisy, it could be because thread has been caught in the hook race, so remove the caught thread. Another possibility is that lint has built up in the hook race or bobbin holder, so clean the hook race or bobbin holder.

Summary

Important Safety Instructions

General Safety Precautions

Covers intended use, supervision for children, and general electrical appliance safety guidelines.

DANGER and WARNING Statements

Details specific hazards like electric shock, burns, fire, and injury, along with required precautions.

Grounding Instructions

DANGER: Improper Grounding Connection

Explains the risk of electric shock from improper grounding and proper connection procedures.

Section 1. Setting Up the Machine

Machine Installation and Placement

Instructions for placing the machine on a stable surface and ensuring adequate surrounding space.

Adjusting Machine Feet

Steps for leveling the machine by adjusting its feet for stability.

Identifying Machine Parts

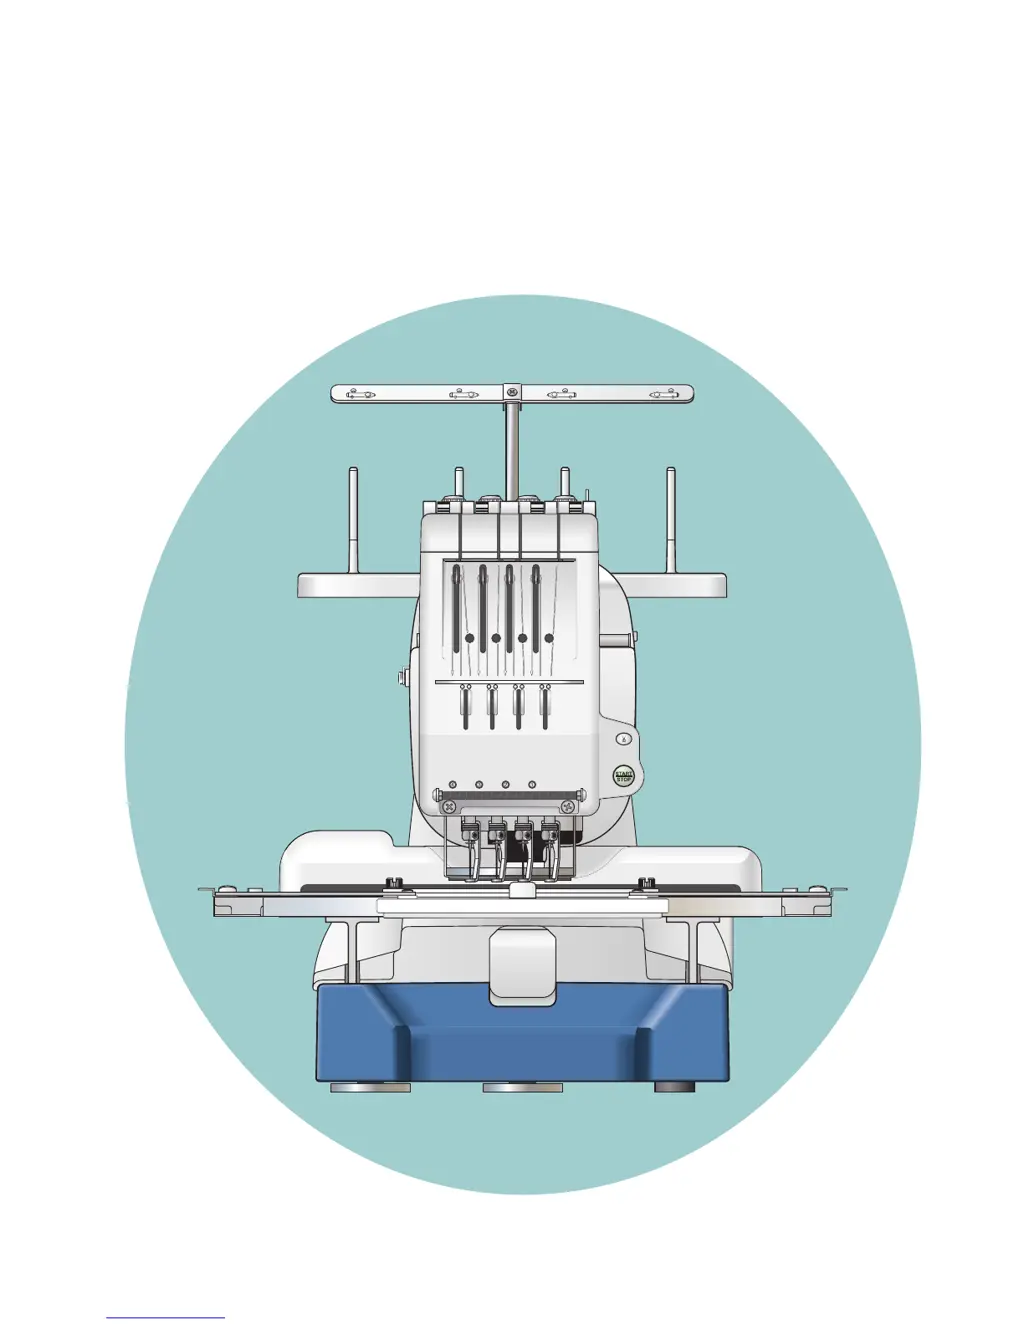
Diagram and list identifying key components of the embroidery machine.

Control Panels and Optional Units

Overview of the Sub Control Panel and the optional RCS Unit.

Standard Accessories

Lists and illustrates all standard accessories included with the machine.

Spool Stand Assembly

Step-by-step guide for assembling the spool stand.

Setting Up Thread Spools and Cones

Instructions on how to properly place and secure thread spools or cones.

Installing Hoop Supporter and RCS Unit

Procedures for installing the hoop supporter and the optional RCS unit.

Connecting Power Supply and PC Link

Guidance on connecting the machine to a power source and a PC.

Threads, Needles, and Stabilizers

Information on thread types, needle specifications, and stabilizer usage for embroidery.

Section 2. Basic Operation

Sub Control Panel Operations

Details on machine operating buttons and function keys for basic control.

LCD Screen Display

Explanation of the LCD screen's initial display and Ready to Sew mode information.

Machine Settings and Pattern Selection

How to adjust machine settings and select embroidery patterns.

Starting Embroidery Process

Steps to begin the embroidery process, including pattern selection and needle drop check.

Hoop Handling and Tension Adjustment

Procedures for removing the hoop and adjusting needle and bobbin thread tension.

Needle Replacement and Maintenance

Instructions for checking and replacing the needle.

Optional RCS Unit Basic Operations

Overview of machine operating buttons and function keys for the RCS unit.

On-screen Help and RCS Disconnection

Using the on-screen help movie and how to disconnect the RCS unit.

Section 3. Advanced Operation with the Optional RCS Unit

Selecting Embroidery Patterns

Guide to selecting embroidery patterns, including built-in designs and hoop types.

RCS Unit Function Keys for Patterns

Using circle keys for color options, settings, and assignments.

Manual Color Assignment

Procedure for manually assigning thread colors to needle bars.

Monogramming Features

Introduction to monogramming capabilities and font selection.

Monogramming Function Keys

Using function keys for font selection, size, orientation, and case.

Entering, Saving, and Correcting Monograms

Steps for entering characters, saving monograms, and correcting text.

Monogram Placement and Multi-color

Adjusting monogram placement and setting up multi-color monograms.

Pattern Editing Functions

Overview of editing capabilities, including deleting and saving patterns.

Pattern Manipulation: Move, Resize, Rotate

How to move, resize, and rotate embroidery patterns on the editing screen.

Pattern Manipulation: Duplicate, Flip, Arc

Functions for duplicating, flipping, and creating arc shapes for patterns.

Customizing Color Settings

Modifying background and pattern colors for better simulation.

Combining and Grouping Patterns

How to combine multiple patterns, group them, and utilize color grouping.

Zooming and Scrolling the Editing Window

Using zoom and scroll functions to navigate the editing screen.

Starting Embroidery with RCS Unit

Steps to start the embroidery process using the RCS unit.

Customizing Settings with Sub Control Panel

Buzzer, Eco Mode, and Machine ID

Adjusting buzzer sound, eco mode timer, and machine ID number.

Memory Formatting and Defaults

Procedures for formatting memory and resetting settings to factory defaults.

Sewing Speed and Thread Selection

Setting maximum sewing speed and selecting thread brand.

Message, Stitch, and Thread Breakage Settings

Configuring reminder messages, ignoring short stitches, and thread breakage sensor.

Thread Trimming and Position Settings

Adjusting trim tail length, jump thread trimming, and thread trimming position.

Resume and Locking Stitch Settings

Enabling resume mode and locking stitches for color changes or thread trimming.

Unit Options and Hoop Adjustment

Setting mm/inch units and hoop position adjustment.

Customizing Settings with Optional RCS Unit

RCS Unit Display and Control Customization

Adjusting screen brightness, buzzer sound, and inch/mm units on RCS unit.

RCS Unit Mode and Screen Settings

Configuring resume mode, eco mode, and screen saver for the RCS unit.

RCS Unit Calibration and Machine ID

Performing touch screen calibration and setting machine ID and name.

RCS Unit Memory and Defaults

Formatting memory and resetting RCS unit settings to defaults.

RCS Unit Grid, Speed, and Hoop Settings

Adjusting grid size, sewing speed, and hoop selection for monogramming.

RCS Unit Thread and Screen Color Options

Selecting thread brands and customizing screen color options.

RCS Unit Reminder and Color Reservation

Managing reminder messages and reserving thread colors for needle bars.

RCS Unit Short Stitch and Trimming Settings

Configuring short stitch handling and thread trimming parameters.

File Management

Saving Patterns as Files

Instructions for saving embroidery patterns as data files.

Creating and Managing Folders

Steps for creating new folders and renaming existing ones.

Opening Embroidery Files

How to open embroidery data files from various memory sources.

Deleting Folders and Files

Procedures for deleting unnecessary folders and files.

Section 4. Optional Items

PC Design Cards

Using the RCS unit with PC Design cards.

USB Memory Usage

Connecting and using USB memory for file transfer.

CD-ROM Drive Operation

Connecting and opening patterns from a CD-ROM drive.

Section 5. Care and Maintenance

Cleaning Machine Components

Instructions for cleaning the hook, bobbin case, and tension leaves/disks.

Cleaning Auto Thread Cutter Mechanism

Steps for cleaning the auto thread cutter mechanism.

Oiling Machine Parts

Guide on where and how to oil the machine's internal parts.

Error Messages and Signals

Error Code Descriptions and Remedies

List of error codes, their descriptions, and suggested remedies.

Audible Signal Meanings

Explanation of the different buzzer sounds and their meanings.

Troubleshooting Common Issues

Machine Operation and Performance Issues

Troubleshooting common problems like machine not running, noise, thread breaks, and puckering.

Display, Input, and Communication Problems

Resolving issues with the LCD screen, touch panel, PC/USB, and communication.

Thread Breakage Warnings and Motor Messages

Addressing false thread breakage warnings and DC motor replacement messages.

Janome Sewing Machine Specifications

General IconGeneral
BrandJanome
ModelSewing Machine
CategorySewing Machine
LanguageEnglish

Related product manuals