(No.YA098) 1-33
SECTION 4
ADJUSTMENT
4.1 ADJUSTMENT PREPARATION
(1) You can make the necessary adjustments for this unit
with either the remote control unit or with the adjustment
equipment and parts as given below.
(2) Adjustment with the remote control unit is made on the
basis of the initial setting values, however, the new
setting values which set the screen to its optimum
condition may differ from the initial settings.
(3) Make sure that AC power is turned on correctly.
(4) Turn on the power for the set and test equipment before
use, and start the adjustment procedures after waiting at
least 30 minutes.
(5) Unless otherwise specified, prepare the most suitable
reception or input signal for adjustment.
(6) Never touch any adjustment parts, which are not specified
in the list for this variable resistors, transformers, trimmer
capacitors, etc.
(7) Presetting before adjustment.
Unless otherwise specified in the adjustment instructions,
preset the following functions with the remote control unit.
4.2 PRESETTING BEFORE ADJUSTMENT
Unless otherwise specified in the adjustment instructions,
preset the following functions with the remote control unit.
Setting item Settings
PICTURE MODE STANDARD
PICTURE adjustments All center (00)
COLOUR TEMP. NORMAL
DIGITAL VNR MIN
Super DigiPure AUTO
MOVIE THEATRE AUTO
COLOUR MANAGEMENT ON
PICTURE MANAGEMENT ON
SOUND adjustments All center (00)
3D SOUND OFF
A.H.B MID
BBE OFF
ZOOM FULL
4.3 MEASURING INSTRUMENT AND FIXTURES
• DC voltmeter (or Digital voltmeter)
• Signal generator (Pattern generator)
[PAL / SECAM / NTSC /625i COMPONENT / 1125i / PC (VGA)]
• Remote control unit
4.4 BASIC OPERATION OF THE SERVICE MENU
4.4.1 TOOL OF SERVICE MENU OPERATION
Operate the SERVICE MENU with the remote control unit.
4.4.2 HOW TO ENTER THE SERVICE MENU MODE
(1) Press the [INFORMATION] key and the [MUTING] key of
the REMOTE CONTROL UNIT simultaneously, and the
SERVICE MENU screen of Fig.1 will be displayed.
(2) When the Main Menu is displayed, press any key of the [1]
to [3] key to enter the corresponding menu mode.
CAUTION:
When a number key other than the [1] to [3] key is
pressed in the SERVICE MENU screen, the other
relevant screen may be displayed.
This is not used in the adjustment procedure.
Press the [MENU] key to return to the SERVICE MENU.
(3) Select the service item using the [FUNCTION (
/)] key.
(4) Set the value using the [FUNCTION (/)] key.
(5) Press the [MUTING] key to memorize the set value.
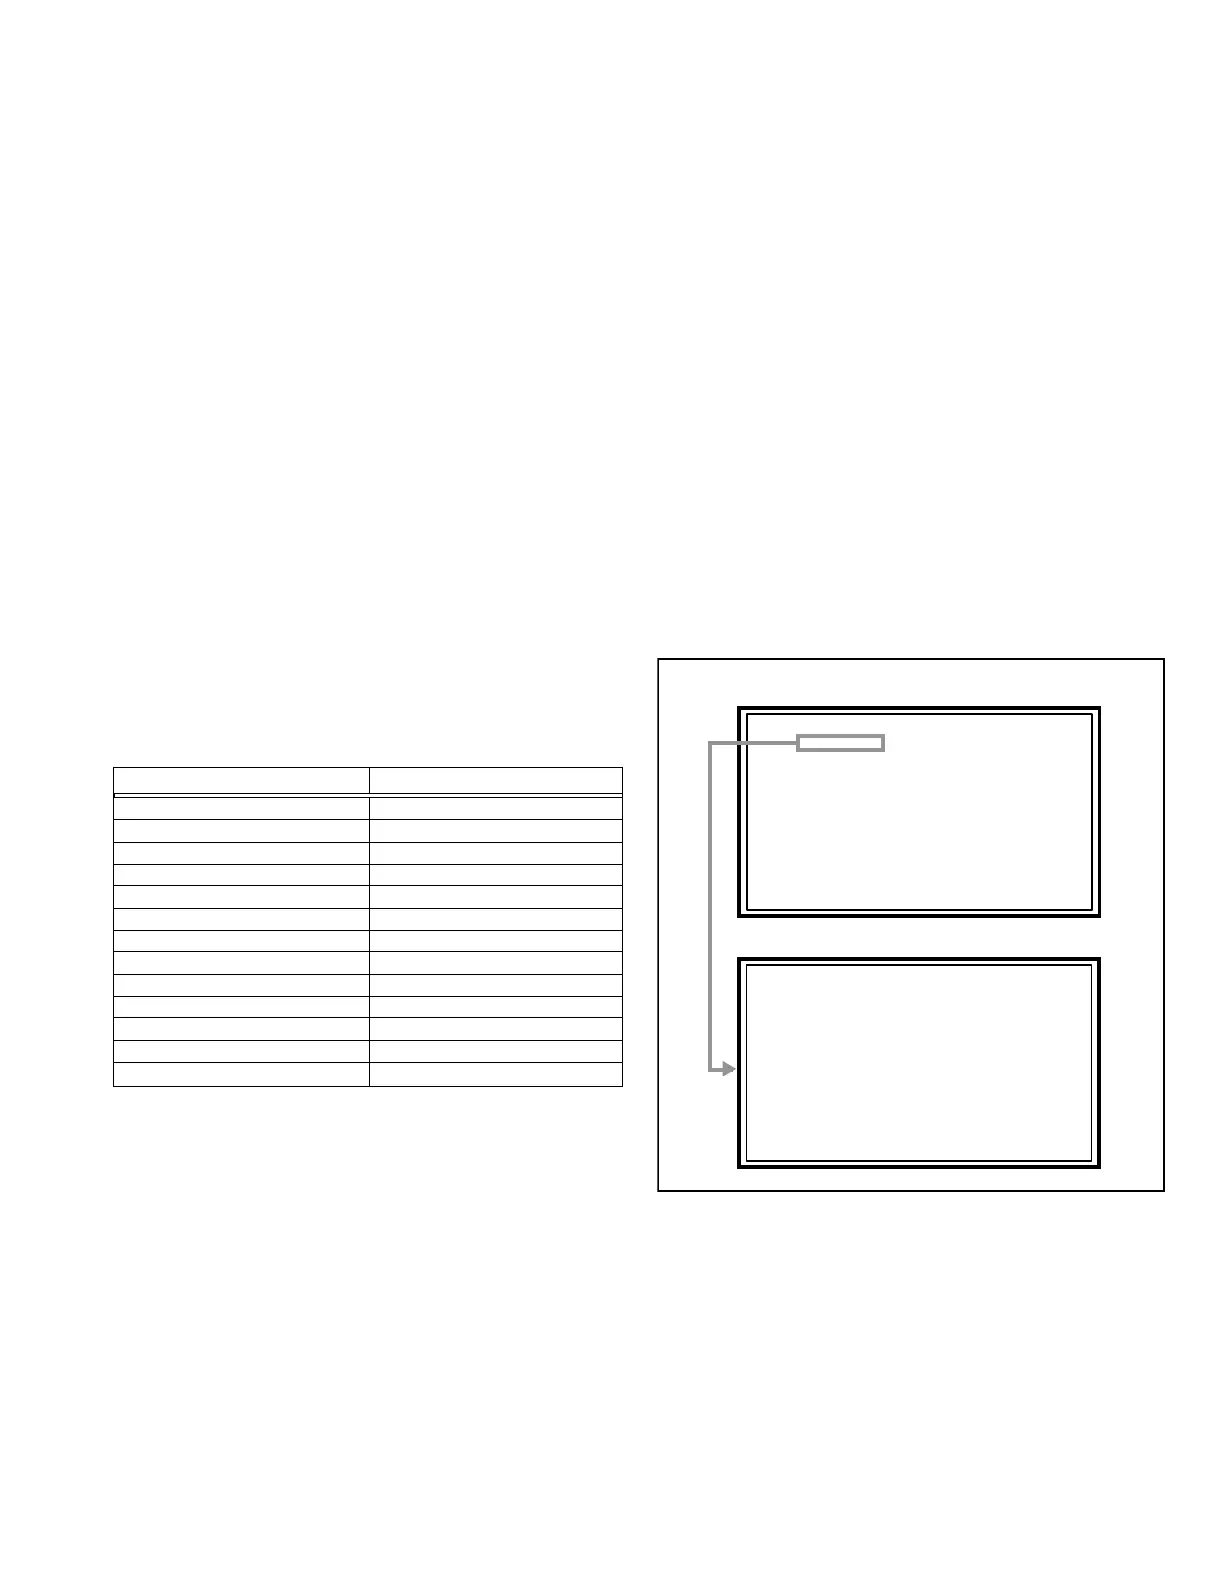
SERVICE MENU SCREEN
ADJUST MODE SCREEN
Fig.1
SERVICE MENU
S001 PREPATE 0
PAL50 FULL STD M
1. ADJUST
2. SELF_CHECK
3. I2C STOP