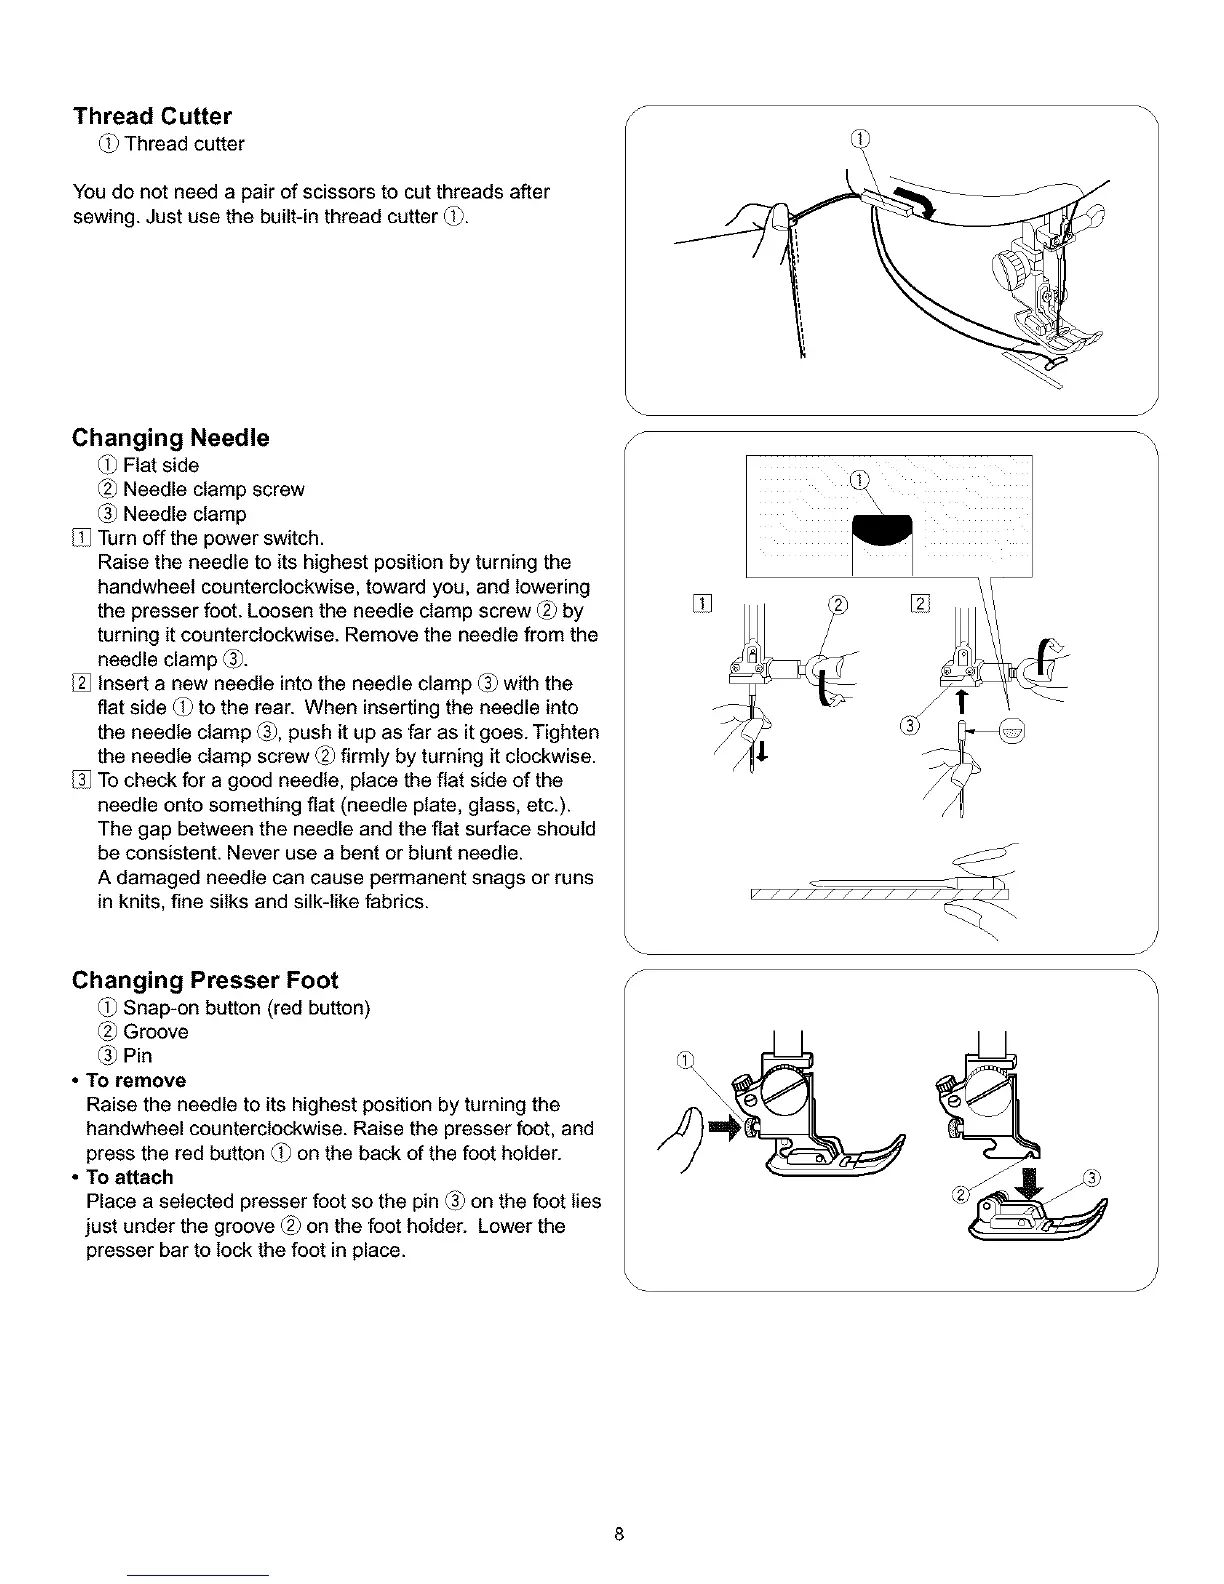
Thread Cu_er s
(_Thread cuter
You do not need a pair of scissors to cut threads after
sewing. Just use the built-in thread cutter (_.
Changing Needle
Flat side
Needle clamp screw
Needle clamp
Turn offthe power switch.
Raise the needle to its highest position by turning the
handwheet counterclockwise, toward you, and lowering
the presser foot. Loosen the needle clamp screw _ by
turning it counterclockwise. Remove the needle from the
needle clamp _.
Insert a new needle into the needle clamp _ with the
fiat side (_ to the rear. When inserting the needle into
the needle clamp _, push it up as far as it goes. Tighten
the needle clamp screw _ firmly by turning it clockwise.
To check for a good needle, place the fiat side of the
needle onto something flat (needle plate, glass, etc.).
The gap between the needle and the fiat surface should
be consistent. Never use a bent or blunt needle.
A damaged needle can cause permanent snags or runs
in knits, fine silks and silk-like fabrics.
Changing Presser Foot
Snap-on button (red button)
Groove
Pin
• To remove
Raise the needle to its highest position by turning the
handwheel counterclockwise. Raise the presser foot, and
press the red button _ on the back of the foot holder.
• To attach
Place a selected presser foot so the pin _ on the foot lies
just under the groove _ on the foot holder. Lower the
presser bar to lock the foot in place.
J
J
S