N5186A MXG and X-Series SA Measurement Guide 11
Basic Measurements
Making Measurements
Making Measurements
Creating a Continuous Waveform (CW)
This procedure will demonstrate the amplitude and frequency accuracy of the
MXG.
Using the graphical user interface
On the MXG:
1. Select Preset > Preset to set the instrument to a known state.
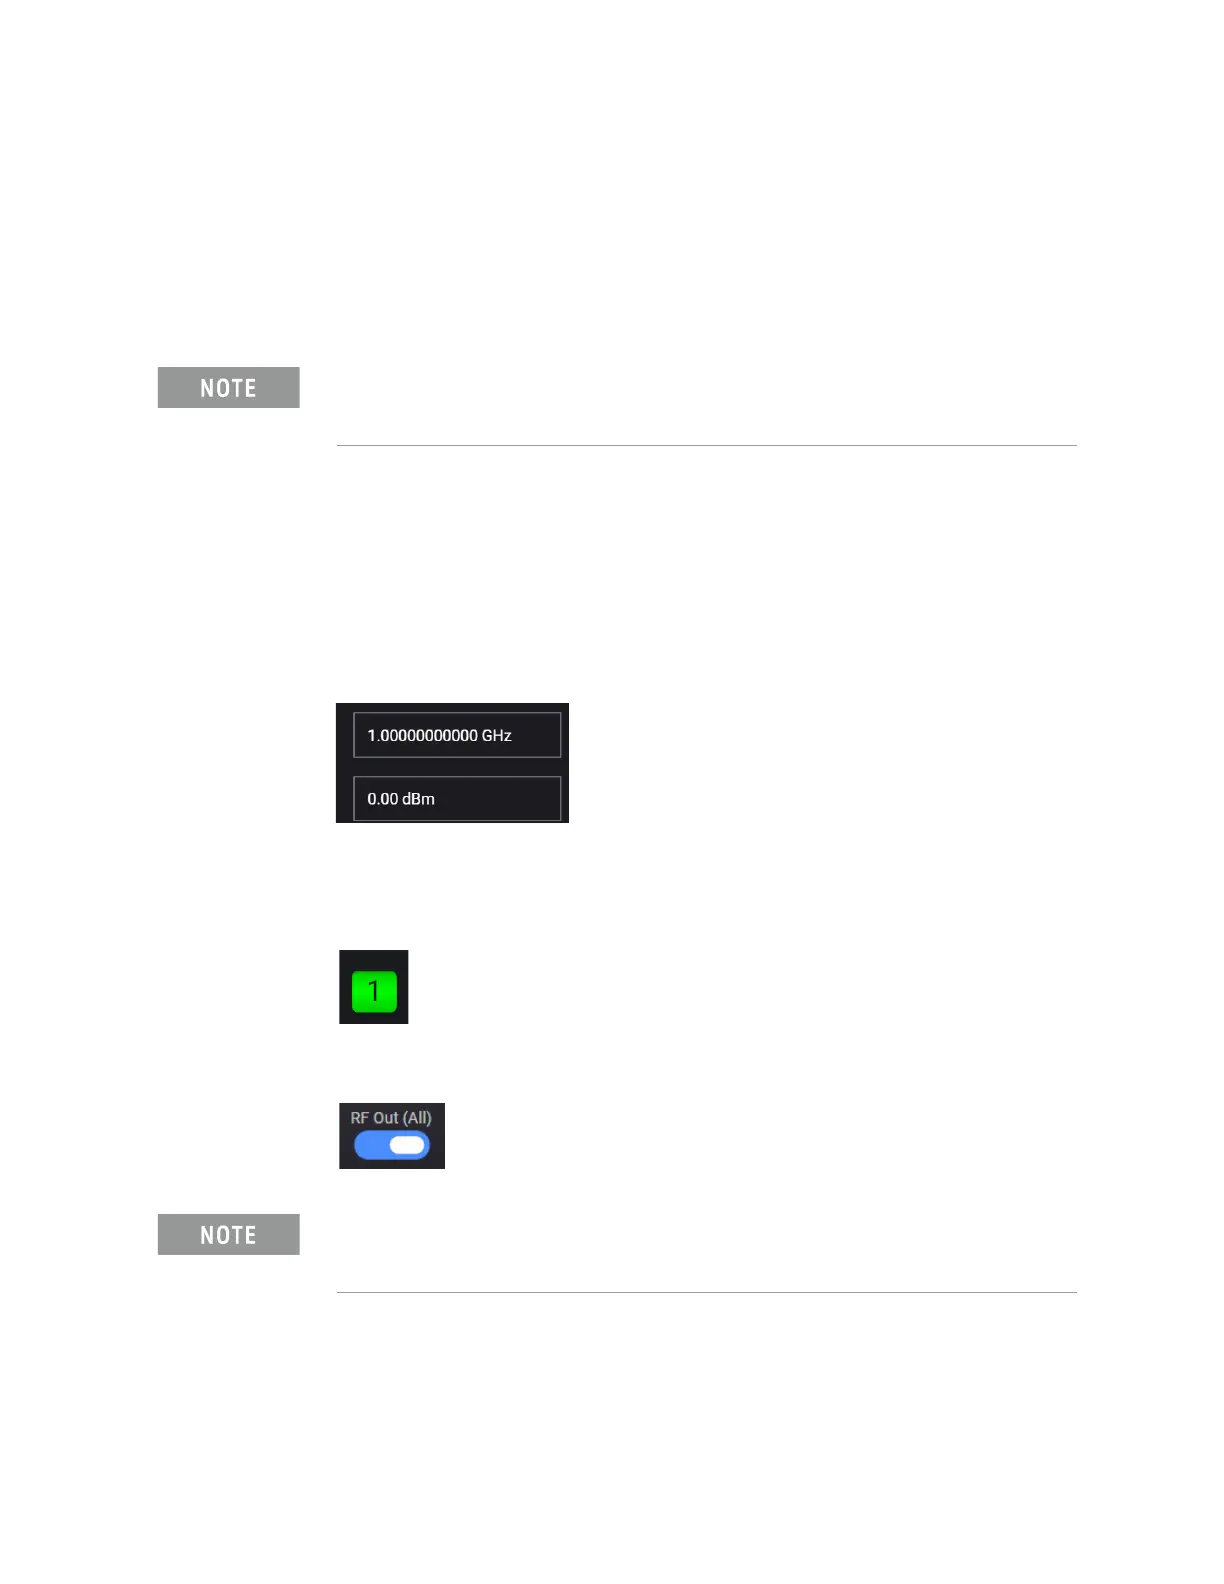
2. In the Output area, set Frequency to 1 GHz and Power to 0 dBm.
These values are coupled to CW Frequency and Total Power (RMS) in the
corresponding RF Output Block.
3. Set RF Out to On by selecting the numbered channel indicator switch.
This enables the RF Out for the indicated channels, in this case Channel 1
if using a multi-channel MXG.
4. For multi-channel instruments only: In the top right corner of the display,
set RF Out (All) to On by selecting the switch.
On the Signal Analyzer:
1. Select Mode Preset to set Spectrum Analyzer mode to a known state.
Ensure the equipment and triggers are properly configured. Refer to
“Equipment Setup” on page 9 and “Setting Up Triggers on the Signal
Analyzer” on page 10
.
In order to turn on RF for any channel, both the RF Out for the specific
channel (for example, Channel 1 or Channel 2), and RF Out All must be
turned on.