Page 45
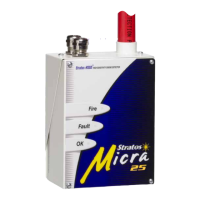
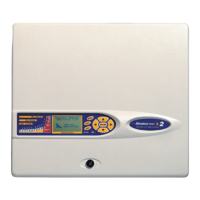
Stratos HSSD-2 • INSTALLER’S HANDBOOK • Iss. 12
10. Maintenance
The following brief checklist allows quick setup of the detector. This procedure will be
adequate for most standard installations.
1.
Before powering up the detector, visually check all cabling to ensure correct
connection. If wire identification is not immediately clear (e.g. by use of different
coloured wires or wire identification sleeves) an electrical check should be
made. Any damage caused by misconnection of the detector is not covered by
warranty.
2.
Power up the unit and enter the engineering access code. The factory default
setting for this is 0102. See section 3.1 ‘Engineering access code‘ for further details.
3.
Enter the Setup menu and verify that the time and date are correct. (see section
3.4.1)
4.
Set an appropriate alarm factor for the protected environment. The detector will
perform a FastLearn for the new alarm factor. (see section 3.4.5)
5.
Whilst the detector is still in FastLearn mode exit the program mode on the display
by pressing <RESET> and set the detector into demonstration mode (see section
5.5). To do this, press and hold down the <RESET> button and simultaneously
depress the <TEST> and <ISOL> buttons. The text display will then display Demo
mode and the time and date.
6.
Wait for the FastLearn to finish (when the legend FastLearn end will appear on
the display and the ‘rolling‘ LED indications will finish) and perform any necessary
smoke tests, ensuring that the detector reacts appropriately, and let the smoke fully
dissipate.
7.
Perform another FastLearn, this time not putting the detector into demonstration
mode. The detector will generate no alarms during the 15 minute FastLearn
period, and after this the detector will operate at a reduced sensitivity for 24 hours
whilst ClassiFire acclimatises to the protected environment and sets up appropriate
day and night sensitivity settings.
9.1 Commissioning
checklist
Stratos-HSSD is a very low maintenance detection system. If required, external cleaning
of the unit should be performed using a damp (not wet) cloth. Do not use solvents
as these may mar the display bezel. The only part that may require field replacement
during servicing is the dust separator assembly. The dust separator condition can be
checked using the Dust Separator test in the Diagnostics menu, which gives
a percentage reading of dust separator efficiency. When this level drops to 80% the
detector will signal a Separator renew fault and the dust separator will need
replacing. See section 3.4.38
IMPORTANT NOTE
!
 Loading...