7.f - Setpoints and time-delay setting
7. Alarm / relay settings
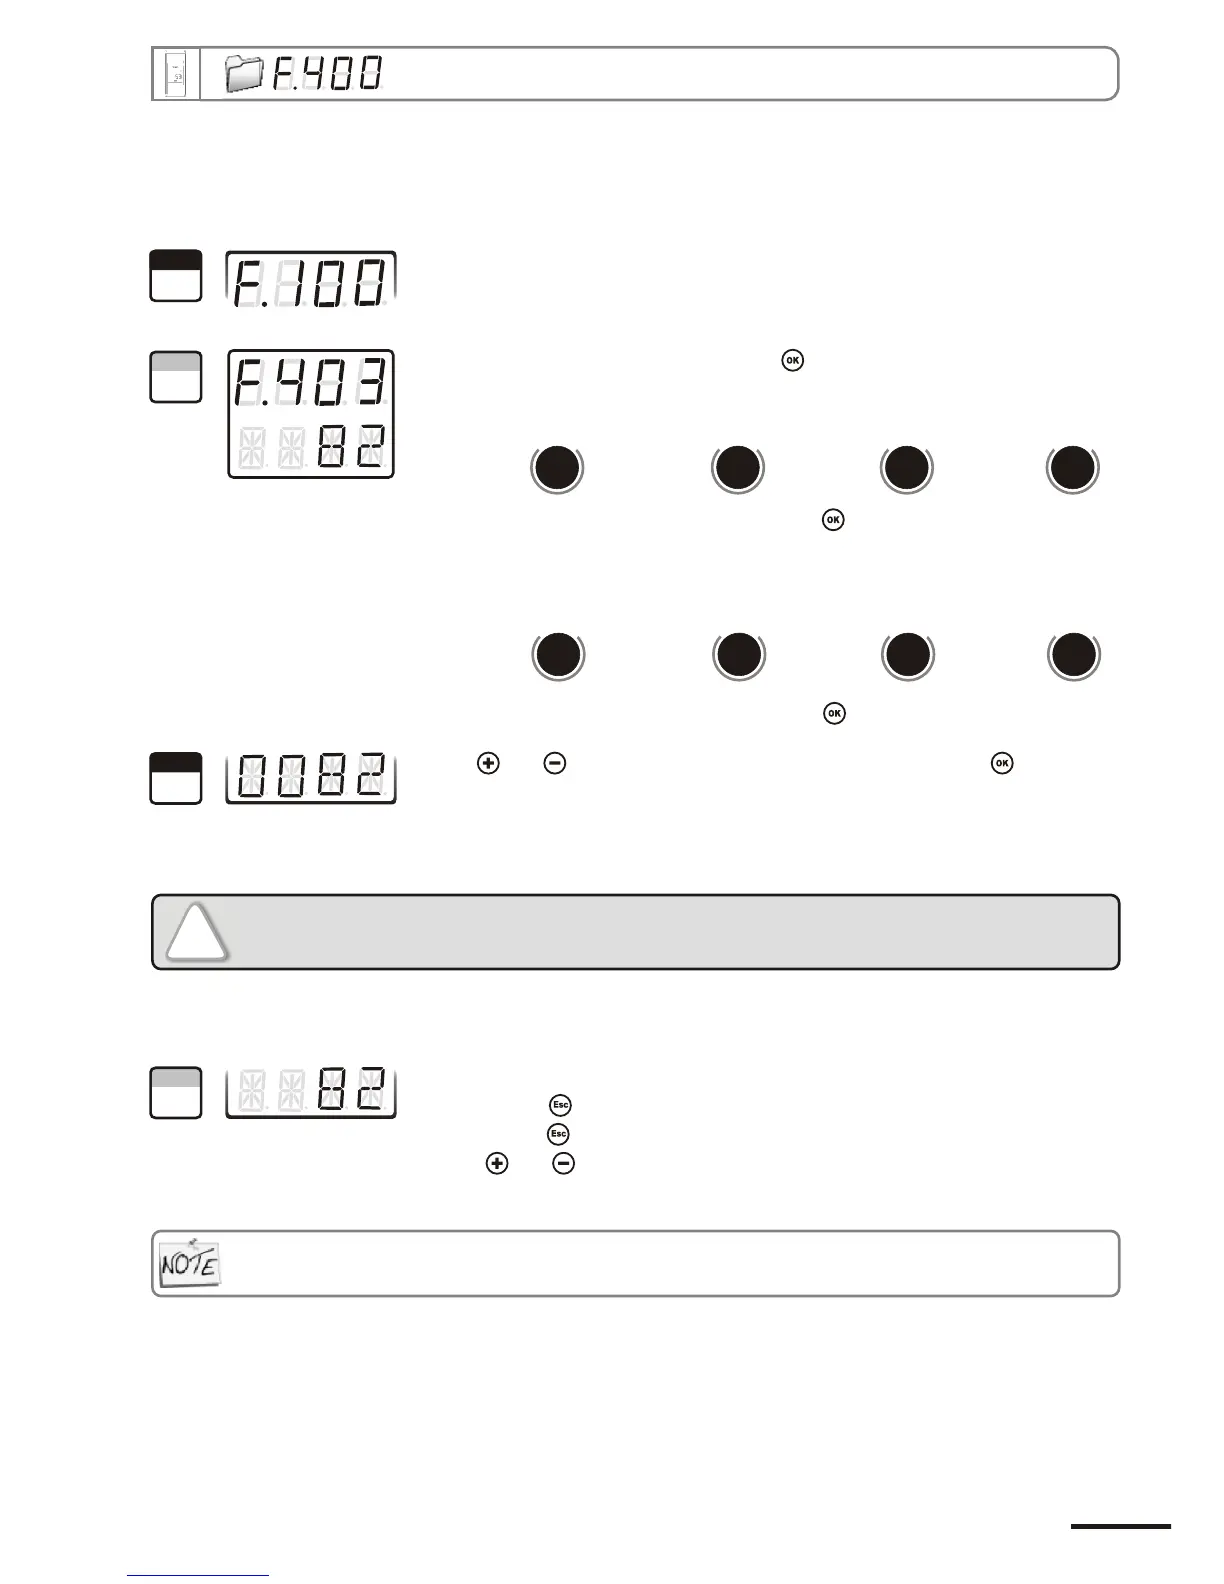
Go into configuration mode (see page 5). The folder number displayed
corresponds to the last configuration folder used.
Select the folder “400” and validate with .
With and keys, select the setpoint value and validate with .
Note : the left column can be either a integer (from 0 to 9) or a negative sign
for a negative setpoint.
The cursor > returns to sub-folders line.
• press twice to return to reading mode.
• press once to return to another folder selection.
• with and keys, you can choose another sub-folder from the folder 400.
7.f.1 - Setpoints
!
You must enter values according to the units of measurement selected, not
according to the measuring range of the transmitter.
Ex. on a CP 303 pressure transmitter (0 to ±1000 Pa) with a reading in mmH2O, the minimum and maximum ranges must be
configured on measuring range of 0 to ±102 mmH2O. See conversion chart on page 11.
If after having set up a setpoint, the unit of measurement is modified (see page 9), then you have to reconfigure
the setpoints according to this new unit of measurement.
“403” “407” “411” “415”
Alarm 1 Alarm 2 Relay 1 Relay 2
To configure the setpoint 1, select sub-folder
and validate with .
d
b
u
o
s
M
806
d
b
u
o
s
M
814
d
b
u
o
s
M
822
d
b
u
o
s
M
830
“404” “408” “412” “416”
Alarm 1 Alarm 2 Relay 1 Relay 2
To configure the setpoint 2
b-folder
(alarm in control mode, see p17),
select su
and validate with .
d
b
u
o
s
M
808
d
b
u
o
s
M
816
d
b
u
o
s
M
824
d
b
u
o
s
M
832
1
Step
2
Step
3
Step
4
Step
Page 17
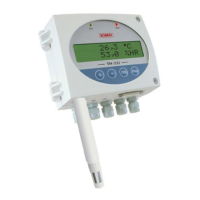
CPE 300 transmitter configuration via remote control / Modbus