Understanding the Imaging Chain
2–4 Getting Started
Timer
Use the timer to control exposure times. Depending on
the technologies used, the selected exposure time does
not exactly represent the dose of x-rays output by the
generator since the timing does not systematically take
into account variations in the mains current. Avoid
x-ray sources of inconsistent quality. Use a digital
timer to compensate for current variations in
conventional generators.
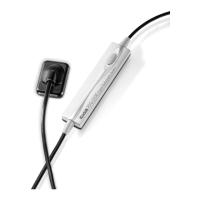
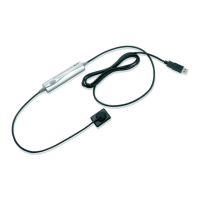
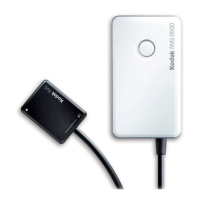
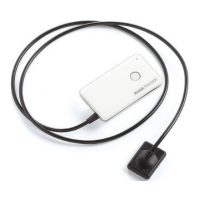
You can connect the Kodak generators directly to
the electronics of the sensor to synchronize image
acquisition with the trigger action. This link provides
an ergonomic advantage that eliminates the need for
the operator to click on the acquisition icon prior to
each exposure. See “Preparing the Software” on
page 2–10.
Remember that the image quality for short exposures
is linked to the use of the physical synchronization
function of the sensor and the timer, in particular with
the very high-frequency Kodak intraoral x-ray units.