Using the Standard Procedure to Acquire Images
3–2 Acquiring Images
3. Position the sensor and its positioner in the
patient’s mouth.
4. Position the beam indicating device as close as
possible to the patient.
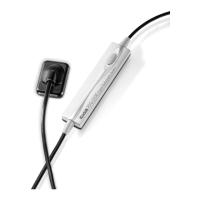
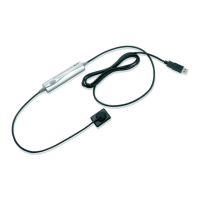
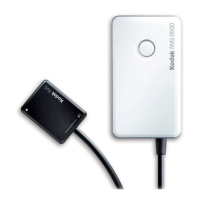
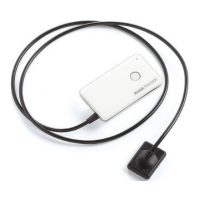
5. Use the button on the sensor remote control to
activate the sensor.
The sensor image displays vertically by default, as
if from a tooth from the lower dental arch.
6. Use the sensor remote control to pre-orient the
image prior to acquisition.
7. Select the orientation by pressing the button on the
sensor remote control for the required position.
Each click rotates the sensor image 90°.
8. Make sure
RVG Acquisition still displays in
green. If not, click the button again or use the
sensor remote control button, align the beam
indicating device, and capture the image.
You have 90 seconds to capture the x-ray image.
The image is displayed after a few seconds.
9. Examine the image. If it is acceptable, capture the
next image.
Note
To prevent
cross-contamination,
use a new barrier for
each patient. For
optimum performance,
use barriers
specifically designed
for your sensor.
Note
If you are using an
FMS mount or a
display format, the
orientation of the
image is pre-selected
for you.
Caution!
Never disconnect the
sensor during the
90-second countdown
or image acquisition.
This can damage the
sensor.
 Loading...