22
CALIBRATION
Mode for setting and checking the shooting target positions.
Readjust and check the shooting target positions.
To return to the main menu screen, select “SAVE AND EXIT” or “EXIT” and pull the
trigger of the 1P gun.
Setting the gun’s target points
•After the gun unit has been repaired or replaced, be sure to reposition the
target points on the “CALIBRATION” screen.
•Do not pull the trigger of the gun again after the “CALIBRATION”.
The target points will be repositioned again.
PLAYER1 PLAYER2 PLAYER3
X = -36 X = -43 X = -46
Y = -9 Y = -7 Y = -10
CALIBRATION
FACTORY SETTING
SAVE AND EXIT
EXIT
CALIBRATION
•Setting the target point of the gun.
•Pull the 1P gun trigger to see if all the settings in this
mode go back to the factory ones.
1PLYR START = SELECT ITEM
1PLYR TRIGGER = DO CHECK
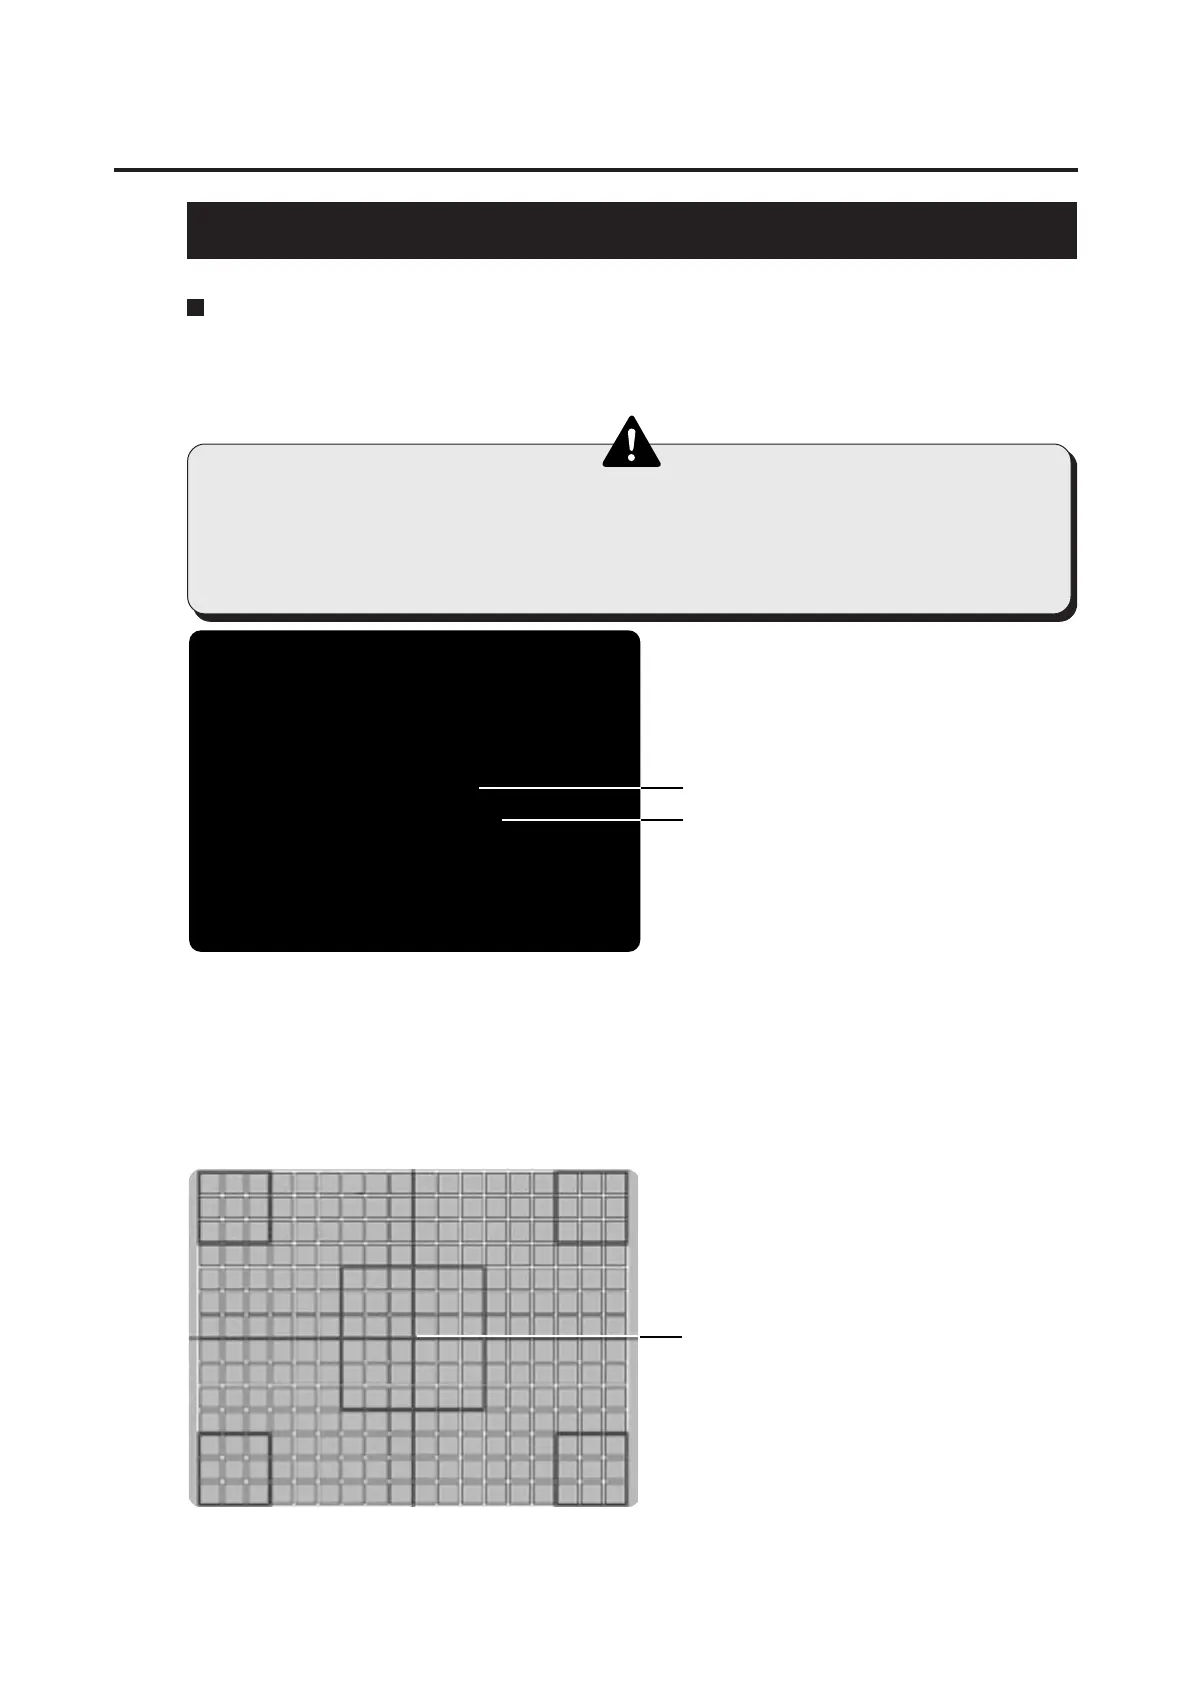
•Center marker
Sets the target points of the 1P, 2P and 3P guns.
5 PCB settings
•This screen is just an example.
•How to position the target points
1 Select “CALIBRATION” and pull the trigger of the 1P gun.
2 A crosshatched pattern appears on the screen. Aim the 1P gun at the screen
center and pull its trigger. (If the target point is out of position, the target point on
the screen automatically goes to the screen center.) The first pull of the trigger
leaves no bullet mark, but the second and following ones leave the bullet marks.
3 Check and make the same settings for the 2P and 3P guns.
4 To return to the “CALIBRATION” screen, hold down the 1P start button and pull
the 1P gun trigger.