KORG D1600 Guided Tour
3
D1600 Guided Tour
Getting Started:
D1600 Hard Drive Installation: Detailed instructions for installing the included 20GB hard drive in the D1600 drive bay are located
in the original shipping carton, and in the Owner’s Manual, page 134.
Audio connections: Connect the rear panel MONITOR L / R outputs to a stereo monitoring system for playback/recording, and
connect headphones to the front panel PHONES jack. Note: Use the rear panel MASTER L/R outputs when mastering to external
DAT, MD, etc.
Recording sources for this guide: You'll be recording with an external microphone for some of the exercises in this guide. You’ll
need a lo-impedance microphone (or condensor mic) and cable.
Important! Make sure that the PHANTOM POWER switch is set to OFF (Inputs 1-4) when connecting unbalanced/ non-
condensor microphones! Also, the PHANTOM POWER switch must be set to OFF before connecting a mic that requires phantom
power, or serious damage to your mic could result! Switch it ON after connection.
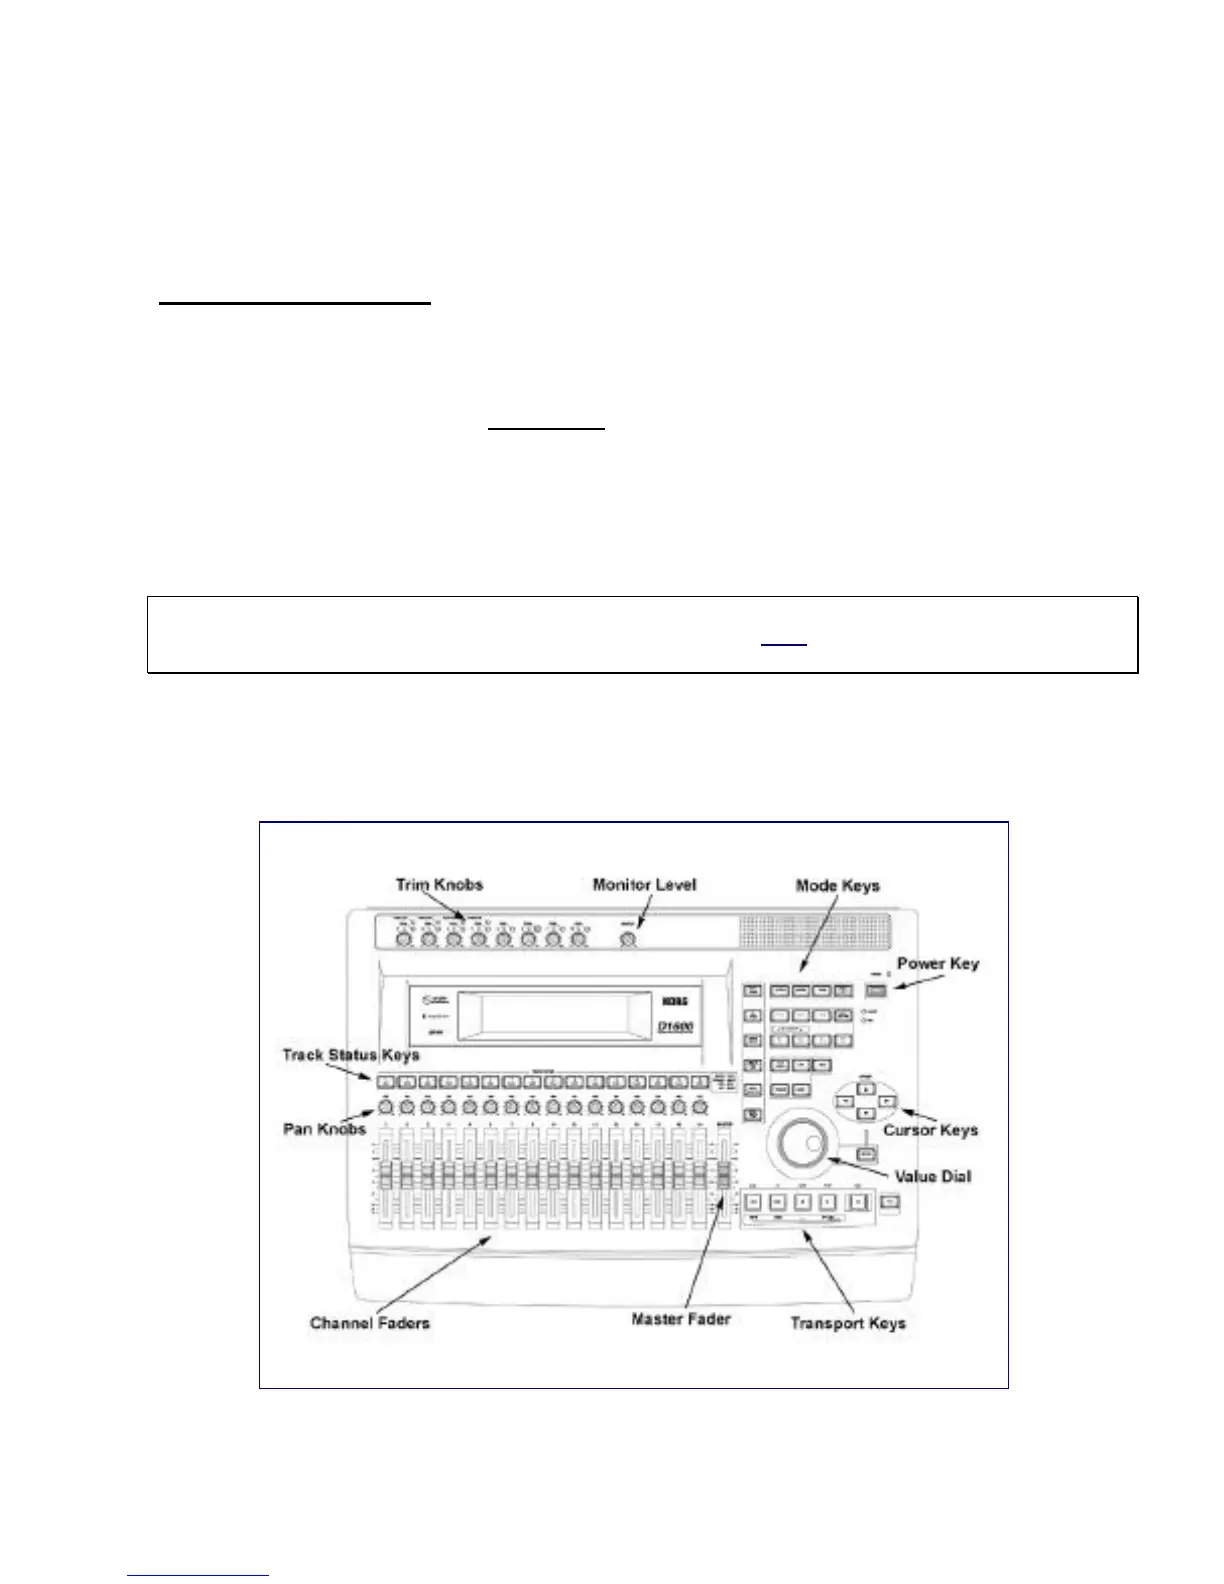
Objects referred to in this guide: D1600 top panel objects that you'll work with are: Keys, Dial, Faders and Pan knobs. D1600
TouchView objects that you'll work with are: Tabs, Popup and Radio buttons, Dialog boxes and Icons.
 Loading...