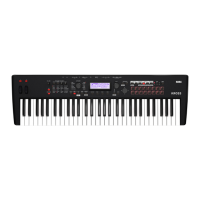
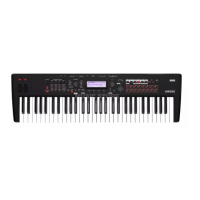
Introduction to the KROSS
6
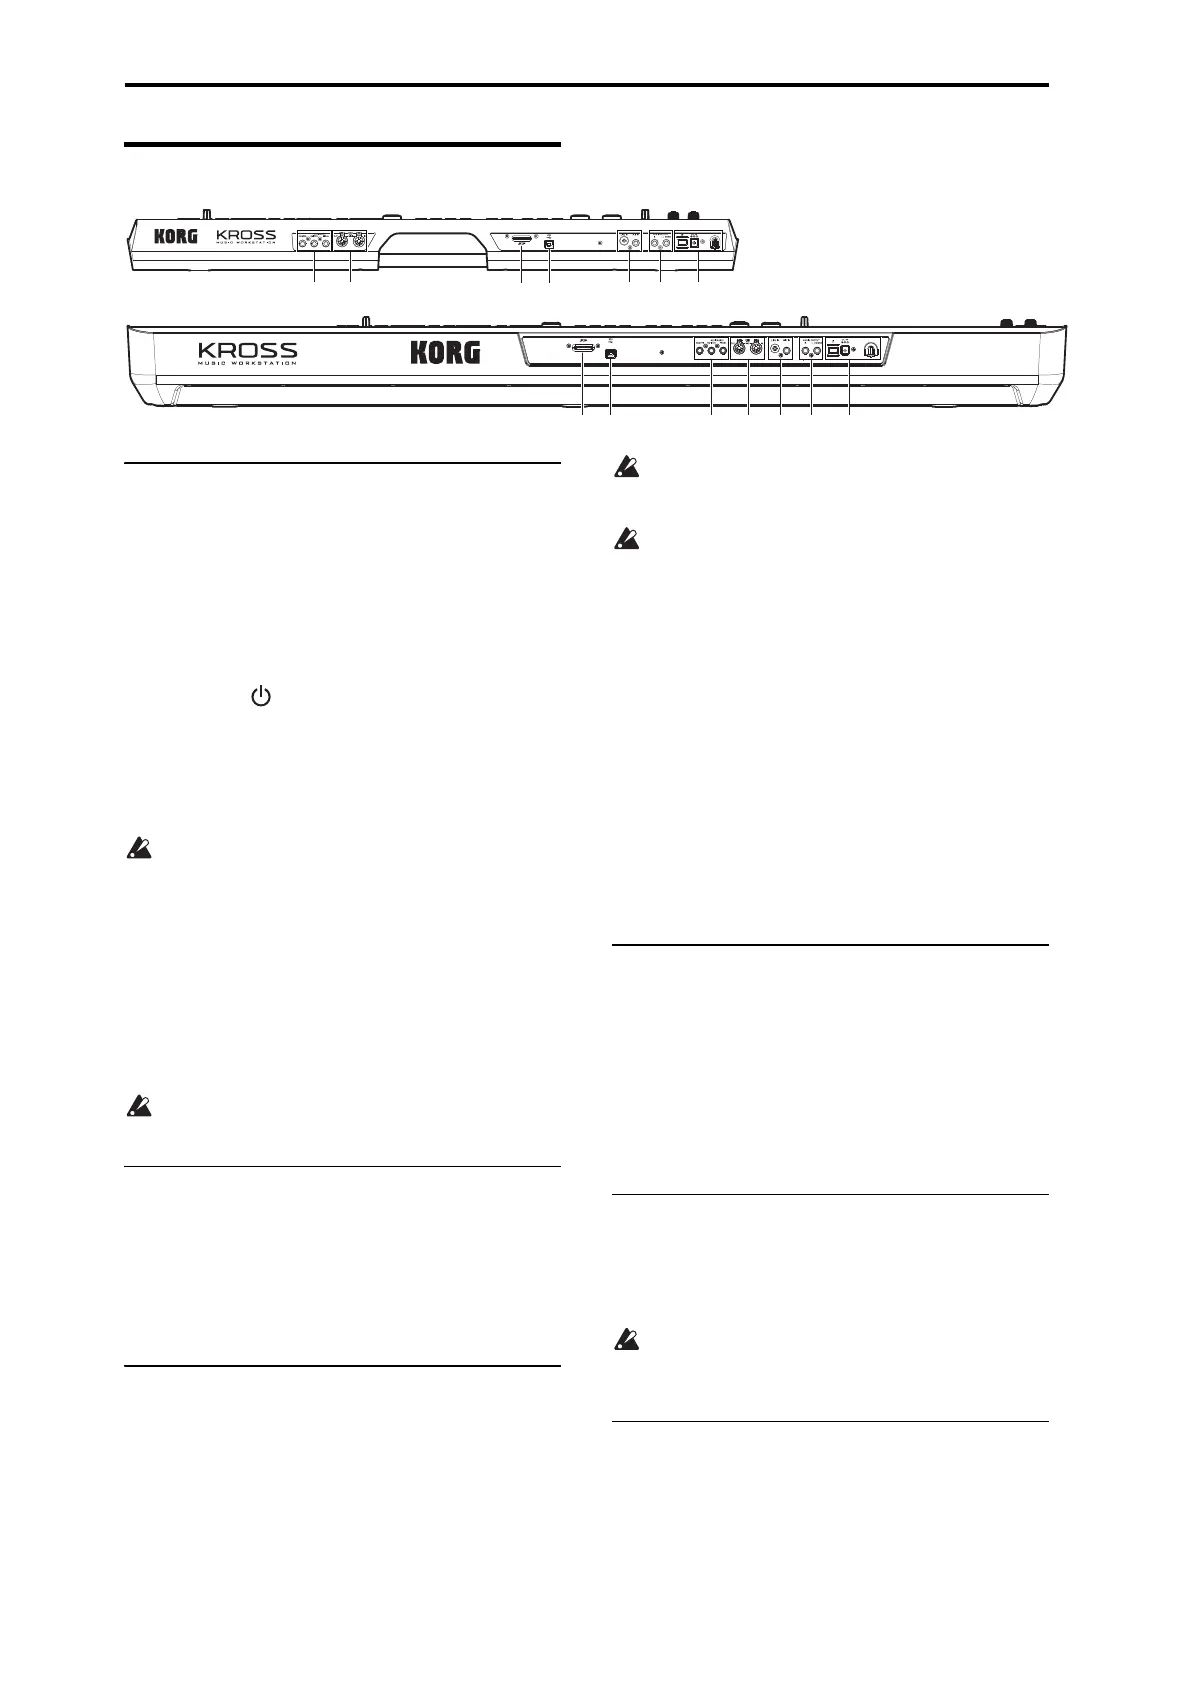
Rear panel
1. Power supply
Be sure to see the “Turning the power on/off” section on
page 15 and follow the correct procedure described there.
Note: The KROSS has an auto power-off function that
automatically turns off the power when the keyboard or front
panel buttons have not been used for a certain length of time.
With the factory settings, this is set to 4 hours. (see “Auto
power-off function” on page 16)
Power button ( )
To turn the power on or off, hold down the power button.
(see page 15)
AC adapter connector
The included AC adapter is connected here. (see page 15)
Connections must be made with the power turned off.
Please be aware that careless operation may damage
your speaker system or cause malfunctions.
Cable hook
Use this to secure the cable of the included AC adapter. After
connecting the AC adapter, loop the cable around the hook
that’s located on the KROSS’s rear panel so that the cable
won’t get pulled out inadvertently. Leave enough slack on
the plug end so that you can disconnect it if you want to.
(see page 15)
Be careful not to bend the base of the plug any more
than necessary.
2. Audio output
OUTPUT L/MONO, R jacks
These are stereo audio outputs. For stereo connections, use
the L/MONO and R jacks. For monaural connections, use
the L/MONO jack. Use the VOLUME knob to adjust the
volume. (see “Connecting your output devices” on page 18)
3. Audio input
This jack lets you input audio from an external source; the
audio can be recorded on the audio recorder or sent through
the internal effects and output via the OUTPUT jacks.
To make adjustments such as input gain (Gain), hold down
the EXIT button and press the AUDIO IN button to access
the AUDIO IN - QUICK SETTING dialog box. (You can
also adjust these settings in the AUDIO IN page of each
mode.)
The input gain (Gain) can be saved as a global setting
(G-SET). (see “Global audio input settings (G-SET) and
individual settings” on page 19)
You cannot use the MIC IN and LINE IN input signals
simultaneously. In the setting screen mentioned above,
you must choose the input that you want to use.
For more about connections and settings, please see
“Connecting your input devices” on page 18.
MIC IN jack (1/4" phone type)
This is a 1/4" phone jack. You can connect a dynamic mic,
an active-type guitar, or a guitar effect unit.
Note: This jack does not support condenser mics or other
mics that require phantom power or plug-in power. Such
types of mic must be connected via a mic preamp or
appropriate device.
LINE IN jack (stereo mini type)
This is an 1/8" stereo mini phone jack. Connect it to the
output jack of your audio device or external audio source.
4. USB
USB connector (for connecting to computer)
You can connect your computer to this connector. Using a
single USB cable, your KROSS can send and receive MIDI
information directly to and from a computer, without
requiring a MIDI interface. (see page 22)
Note: The USB connector of the KROSS is only able to
transmit and receive MIDI data.
5. SD card
SD card slot
You can insert an SD card here. An SD card can be used to
store KROSS sounds and song data. (see page 21)
Since the SD card is accessed directly when you use the
audio recorder to play or record, an SD card is required
in order to use this functionality.
6. MIDI
MIDI IN connector
MIDI OUT connector
MIDI lets you connect the KROSS to a computer or other
MIDI devices, for sending and receiving note data,
controller gestures, sound settings, and so on. (see page 22)