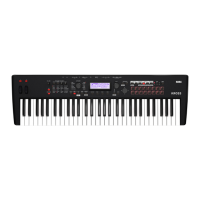
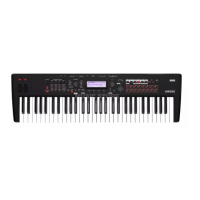
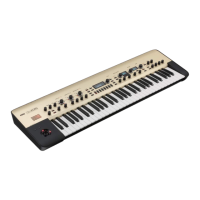
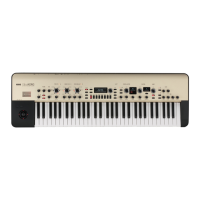
Front and rear panels Front panel
5
status of each step. You can use buttons 1–16 to turn each
step on/off.
A: Step 1–16, B: Step 17–32, C: Step 33–48, D: Step 49–64
If the Favorites function is on (FAVORITES button lit), this
button selects the Favorites bank. Use buttons 1–16 to select
the following Favorites.
Bank A 1–16, bank B 1–16, bank C 1–16, bank D 1–16
14. DRUM TRACK
DRUM TRACK button
This button turns the Drum Track function on or off. This
button also indicates the operating state of the drum track.
Unlit: off, Blinking: waiting for trigger, Lit: on (see page 77)
15. Arpeggiator
ARP button
This button turns the arpeggiator on/off. The button will be
lit up if the arpeggiator is on. (see page 67)
16. Sequencer
You’ll use these buttons in Sequencer mode to record and
play back MIDI.
Pause ( ) button
During song playback or recording, press this button to
pause (the button will light up). Press the button once again
to defeat pause (the button will go dark) and resume song
playback or recording.
Rewind ( ) button
When the Song is playing or paused, this button will rewind
the song. When you press and hold this button, its LED will
light up, and the playback will rewind. (Rewind is disabled
during recording, and while the Song is stopped.)
Fast Forward ( ) button
When the Song is playing or paused, this button will fast
forward the song. When you press and hold this button, the
button will light up, and the playback will fast forward. (Fast
forward is disabled during recording, and while the Song is
stopped.)
Locate ( ) button
This instantly moves the song playback point to the location
you specified. By default, this will be the first beat of the
first measure. Select the desired location; then hold down the
EXIT button and press the LOCATE button. You can also
specify the location by using a function command.
REC ( ) button
Pressing this button will enter record-ready mode. Once
you’re in record-ready mode (shown by the button’s light),
you can begin recording by pressing the SEQUENCER
START/STOP ( ) button. For details, please see
“Recording MIDI in real time” on page 56.
By pressing this REC button in Program mode or
Combination mode, you can instantly access the Auto Song
Setup function which lets you start recording immediately.
(see page 55)
START/STOP ( ) button
This button starts or stops recording and playback.
17. Tempo
This adjusts the tempo for the entire KROSS. The tempo
setting will control the following.
• Arpeggiator
•Drum Track
• Step sequencer
• Songs in Sequencer mode
• Tempo sync LFO
• Tempo sync (BPM) delay effects
The speed of the audio recorder cannot be controlled.
TEMPO LED
This LED will blink at quarter-note intervals of the current
tempo.
TEMPO knob
This knob adjusts the tempo. It’s a convenient way to make
continuous adjustments.
Note: The TEMPO knob and TAP button will not work if the
Global/Media mode G-MIDI Basic page MIDI Clock
parameter is set to Ext-MIDI or Ext-USB, or if this
parameter is set to Auto and MIDI clock is being received.
TAP button
You can use this button to set the tempo. To specify the
tempo, use your finger to lightly tap the TAP button. The
tempo will be specified when you tap twice, but you should
tap several times for better precision.
If you lightly tap the TAP button several times at the desired
tempo during playback, the tempo will change in real time to
follow your taps. This is a convenient way to adjust the
playback tempo to a different speed in real time.
Tap tempo control is available whenever the TEMPO
knob can be used.
For example it cannot be controlled during song
playback if the Sequencer mode Tempo Mode is set to
Auto. (see page 103 of the Parameter Guide)
Note: You can use the tap tempo control function by
pressing the TAP button and also by pressing a foot switch
that’s connected to the ASSIGNABLE SWITCH jack. (see
page 20 and pages 164, 290 of the Parameter Guide)
18. Headphone
Headphone jack
Connect your headphones here.
This jack will output the same signal as the AUDIO
OUTPUT L/MONO and R jacks.
The headphone volume is controlled by the VOLUME knob.
19. Battery compartment
The KROSS can be powered by batteries that you install
here. (see page 17)
 Loading...
