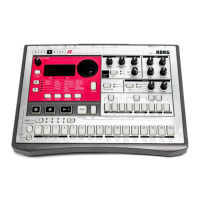
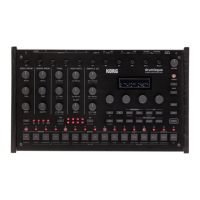
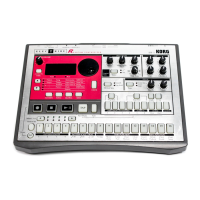
Quick Start
17
Using the recorder function
(Recorder mode)
The STAGEMAN 80 has a built-in recorder that can record a
variety of input sources. You can use this in a variety of ways,
such as for reviewing your own personal practice sessions, or
for keeping a record of your musical ideas.
Here we explain recording in Recorder mode. The content
that you can record diers as follows depending on the mode.
• Rhythm mode: Your performance is recorded along with
the rhythm style playback.
• Recorder mode: Your performance is recorded. Your
performance can also be overdubbed onto the recorded
song data.
• Player mode: Your performance is recorded along with the
playback of the audio le.
Note: The BASS, TREBLE, and ACOUSTAGE eects cannot
be recorded. The REVERB eect applied to the input audio
from the MIC IN, INPUT 1, and 2 jacks can be recorded.
The recorded data is saved on an SD card inserted in the
SD card slot. In order to record, insert the SD card into the
SD card slot before you turn on the power (See page 10
“Inserting or removing an SD card”).
Playing back the recorded performance
You’ll use Recorder mode to play back the performance that
you recorded on the STAGEMAN 80.
1. Press the [RECORDER] buon to enter Recorder mode
(the buon lights).
2. Use the [F1] or [F2] buon to select the song number that
you want to play.
3. Use the RHYTHM/PLAY knob to adjust the playback
volume of the recorded performance.
If you want the recorded sound to play back at the same
volume as when it was recorded, turn the RHYTHM/
PLAY knob all the way to the right.
4. Press the
[ ]
buon to start playback.
5. Press the
[ ]
buon to stop playback. To return to
the beginning of the song, press the [VAR] buon.
Recording your performance
2
2
3
6,8
14 6
5
1. Press the [RECORDER] buon to enter Recorder mode
(the buon lights up).
2. Connect the mic or instrument that you want to record,
and adjust the volume.
See page 13 “Connecting and playing instruments”
3. Select a new song. Press the [F2] buon until a song
number blinks in the display.
Blinking numbers are new songs. Numbers that remain lit
up are previously-recorded songs.
Tip: On the STAGEMAN 80, recorded data is called “song
data,” and is handled in units called “songs.”
4. If you want to hear a metronome tone as a guide while
you record, press the [Metronome] buon to turn on the
metronome function.
Use the [(1) 8 BEAT1]–[(16) BLUES2] buons to select
the sound of the metronome (see page 26 “Voice name
list”).
By default, the metronome’s time signature is set to 4/4.
If you want to change the time signature, hold down the
[Metronome] buon and turn the VALUE dial.
You can select the time signature from the 9 choices in
the range 3/4, 4/4, 4/5, 7/4, 5/8, 6/8, 7/8, 9/8, and 12/8. The
display shows the time signature value.
Time signature display example: 4/4 time signature:
“04:04”
5. Press the [Count Start] buon to turn on the count start
function (the buon blinks).
6. To start recording, press the [ ] buon and then the
[
] buon.
A two-measure count is sounded, and then recording
starts (the [Count Start] buon goes dark).
The song position in the display changes to a time
indication.
7. Play your instrument.
8. When you’ve nished performing, press the [
]
buon to stop recording.
Overdubbing onto a recorded song
Overdubbing is the process of recording additional material
onto a previously-recorded song.
1
2
2
2 2
2,3,5
2
2
1. Use the [F1] or [F2] buon to select the song that you
want to overdub.