7 Servicing/Maintenance
44 of 76
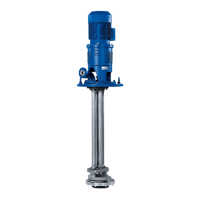
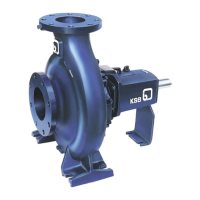
CTN / CTN-H
WARNING
Hot surface
Risk of injury!
▷ Allow the pump set to cool down to ambient temperature.
WARNING
Improper lifting/moving of heavy assemblies or components
Personal injury and damage to property!
▷ Use suitable transport devices, lifting equipment and lifting tackle to move
heavy assemblies or components.
Observe the general safety instructions and information. (ðSection7,Page38)
For any work on the motor, observe the instructions of the relevant motor
manufacturer.
For dismantling and reassembly refer to the general assembly drawing.
(ðSection9.1,Page62)
In the event of damage you can always contact our service departments.
DANGER
Insufficient preparation of work on the pump (set)
Risk of injury!
▷ Properly shut down the pump set. (ðSection6.1.12,Page33)
▷ Close the shut-off elements in the suction line and discharge line.
▷ Drain the pump and release the pump pressure.
▷ Shut off any auxiliary feed lines.
▷ Allow the pump set to cool down to ambient temperature.
7.4.2 Preparing the pump set
Wet installation 1. De-energise the pump set and secure it against unintentional start-up.
2. Disconnect and remove all auxiliary pipework.
3. Undo the bolts and nuts between flanged bend 72-1 and discharge line.
4. Undo the bolts/screws and nuts between soleplate 893.02 and the tank.
Watch the sealing elements.
5. Lift the pump out of the tank and allow it to drain.
Dry installation 1. De-energise the pump set and secure it against unintentional start-up.
2. Disconnect and remove all auxiliary pipework.
Remove the return line between pump and tank.
3. Undo the bolts and nuts between flanged bend 72-1 and discharge line.
4. Undo the screws and nuts between soleplate 893.02 and the foundation.
5. Undo hexagon head bolts 901.26 and nuts 920.26.
Watch the sealing elements.
6. Lift the pump and allow it to drain.
7.4.3 Dismantling the motor
1. Disconnect the motor from the power supply.
2. Unscrew hexagon nuts 920.11.
Remove the motor with the coupling half.