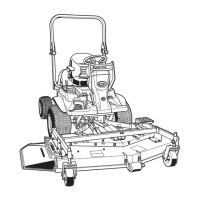
6MOWER MOUNTING
ENGLISH
MOWER MOUNTING
MOUNTING THE MOWER
To avoid serious injury or death:
A Before mounting the mower deck, read and
understand the use of the lift link lowering
speed control knob.
(See "Lift Link Lowering Speed Control Knob"
in "OPERATING THE MACHINE" section in the
operator's manual of the machine.)
A Place the PTO lever in the "DISENGAGE"
position.
A Place the High-Low gear shift lever in the
"NEUTRAL" position.
A The mower links (left hand, right hand) are
spring-loaded. Have an assistant hold the arm
in position when mounting the mower deck.
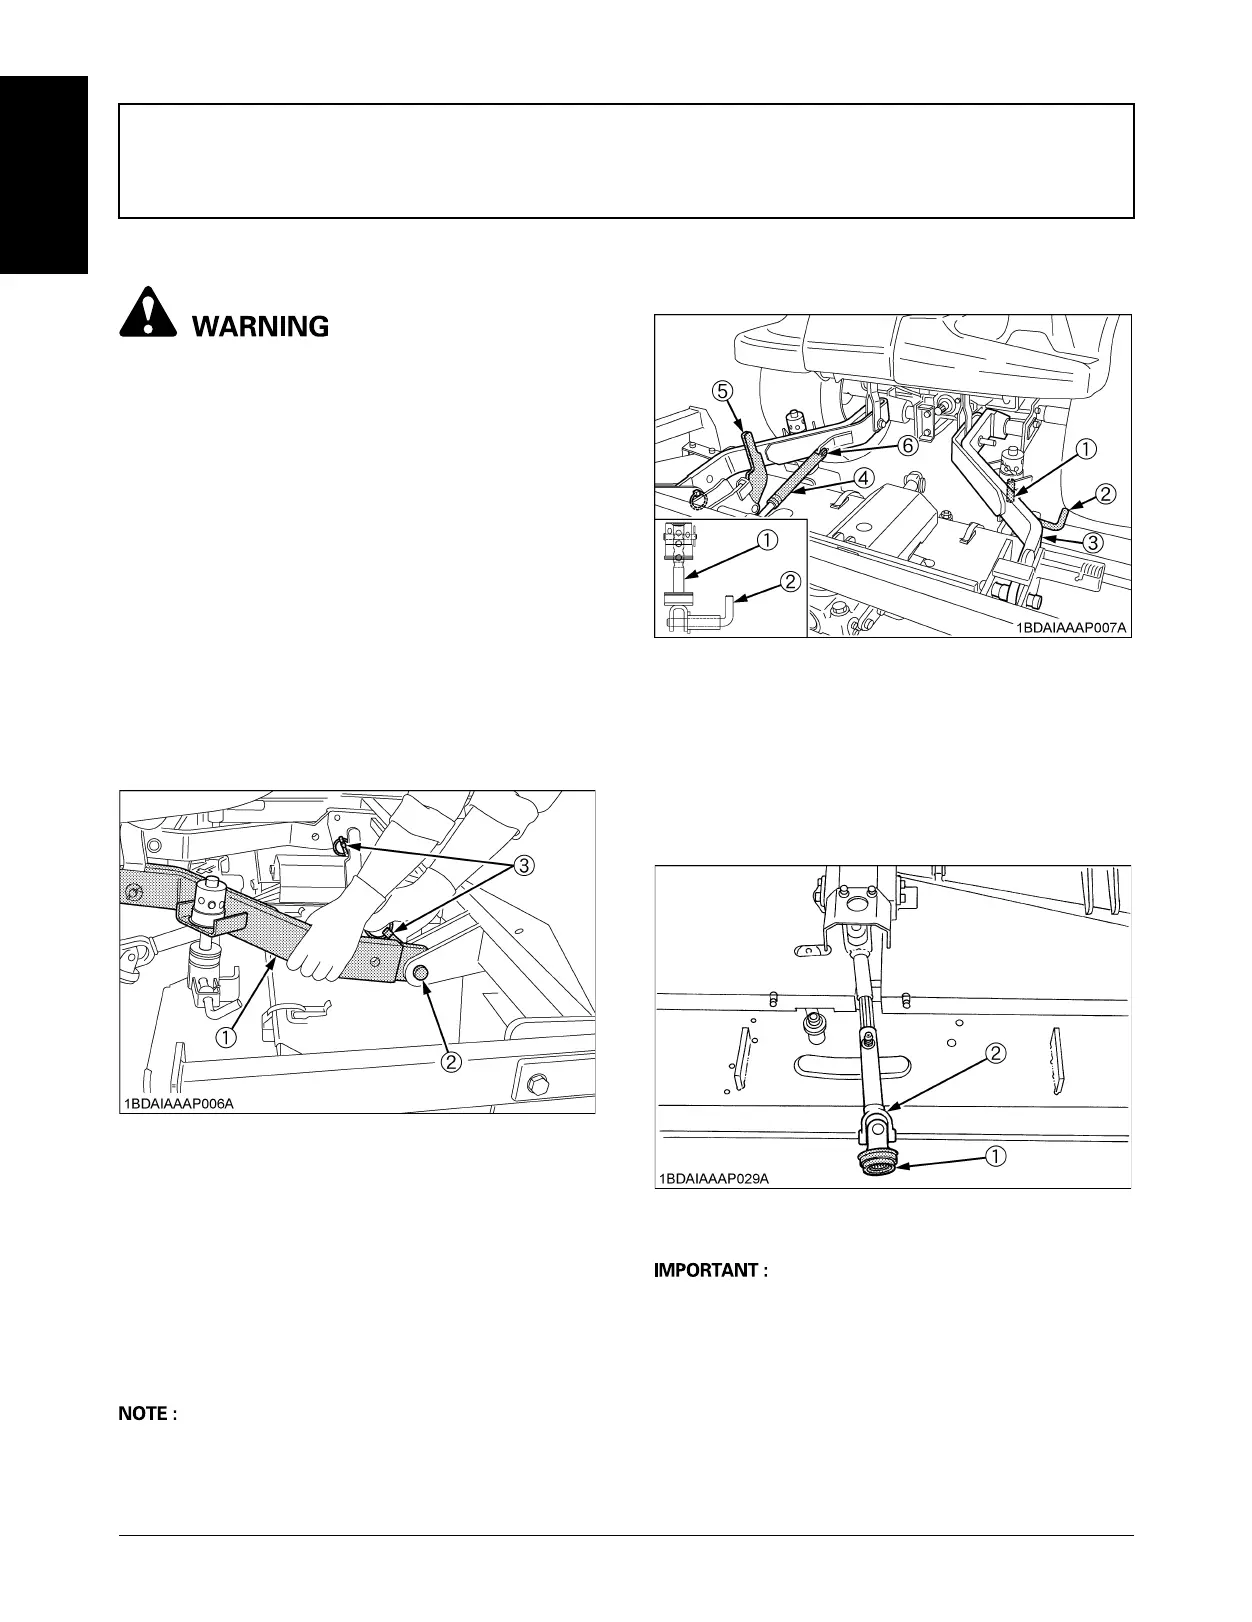
1. Move the mower deck under the mower links and
place the hydraulic lift lever in the "DOWN" position.
2. Attach the front end of the mower links to the mower
deck with clevis pins and set pins.
3. Start the engine, raise the mower deck, lock the lift link
lowering speed control knob and shut off the engine.
4. Install the lift rods to the mower deck with lock pins and
lower the mower deck on the ground.
[RCK72-F36 / RCK72R-F36]
5. Attach the gas spring to the mower link with the clevis
pin and the rue ring cotter.
A When operating the mower, make sure the tilt lever is
unlocked.
A For tilting up the mower, see "MOWER TILT UP"
section in the operator's manual of the mower.
6. Pull back the coupler of the universal joint.
Push the universal joint onto the PTO shaft until the
coupler locks.
Slide the universal joint backward and forward to
check that the universal joint is locked securely.
A Finally pull the universal joint to see if it is locked tight
in position.
After mounting the mower deck, adjust the lift link lowering
speed.
(See "CONTROLS" in "INSTRUMENT PANEL AND
CONTROLS" section.)
(1) Mower link
(2) Set pin
(3) Clevis pin
(1) Lift rod
(2) Lock pin
(3) Mower link
(4) Gas spring
(5) Tilt lever ("UNLOCKED" position)
(6) Rue ring cotter
(1) Coupler
(2) Universal joint
 Loading...