This page contains Kval, Inc. proprietary information and is not to be duplicated or disclosed to unauthorized persons.
19
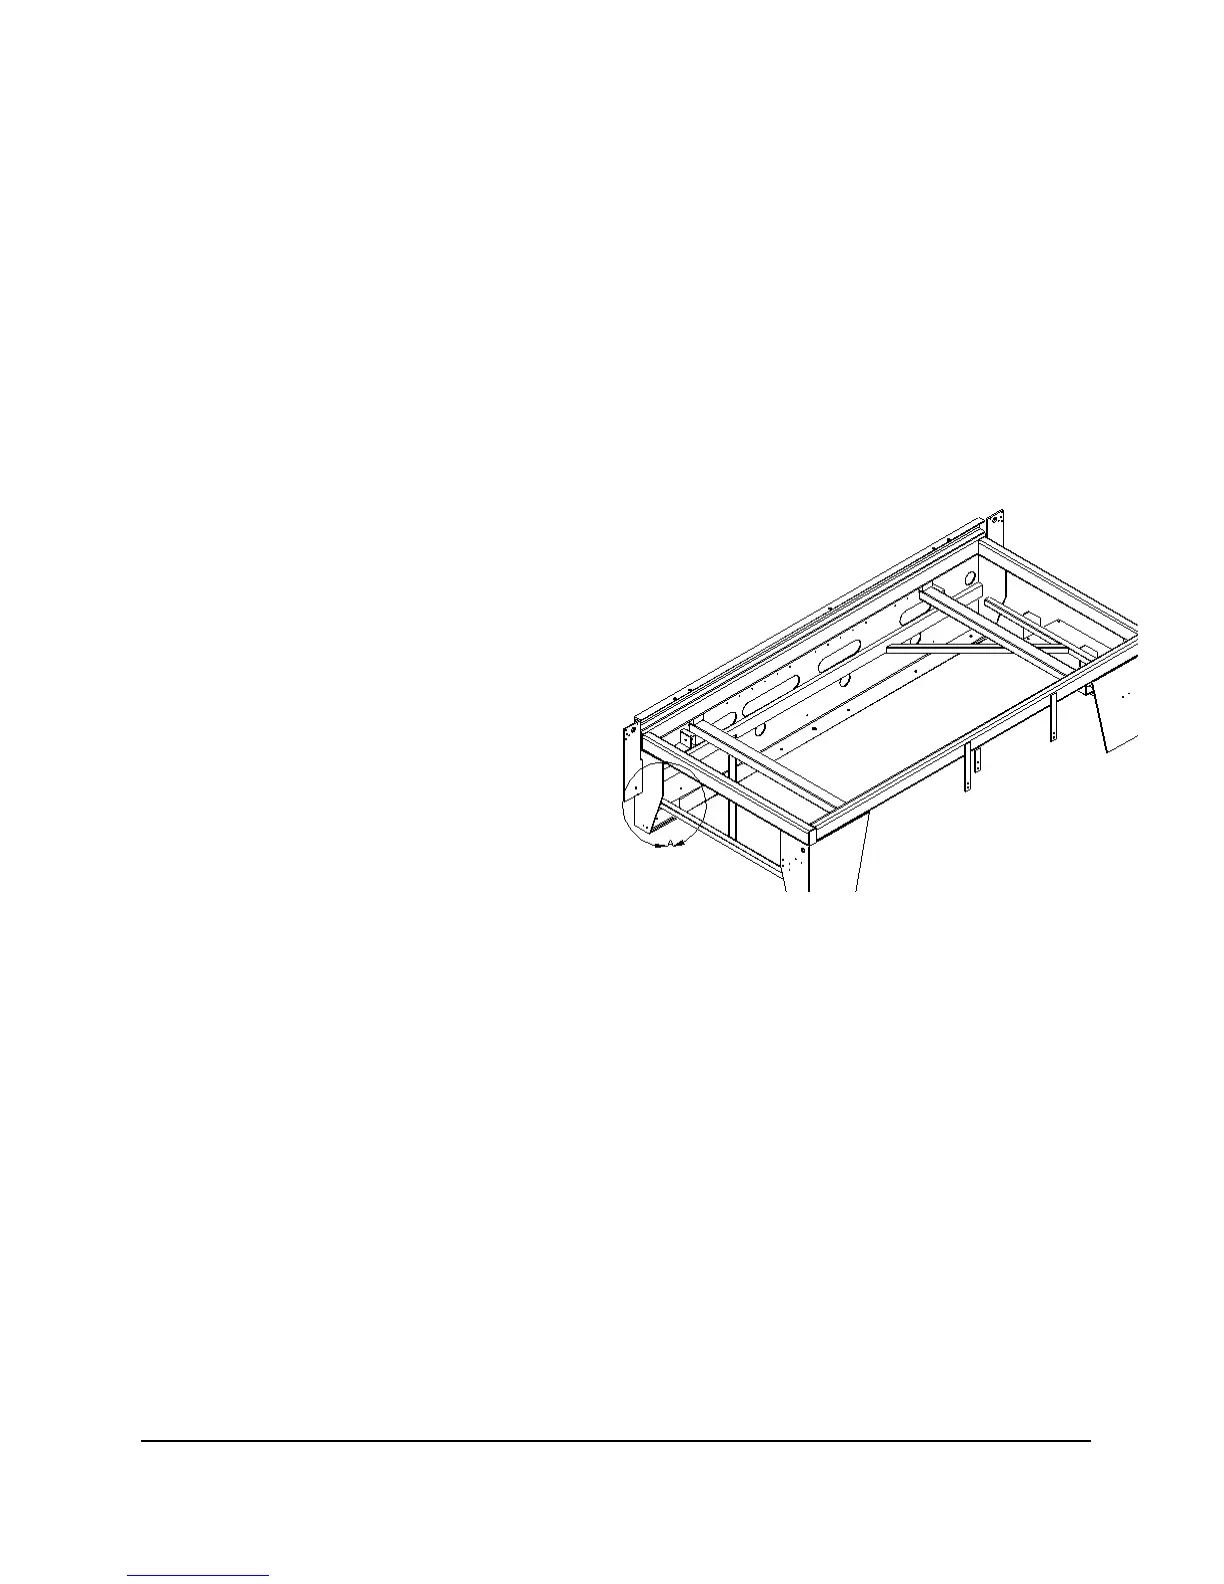
ANCHORING THE MACHINE TO THE FLOOR
When you have set-up and test run your machine to ensure that it is feeding the material properly KVAL
recommends anchoring the machine to the floor with ½ Red head, True Bolt Anchors in each of the foot pads. An
alternative way to bolting the machine, you may want to use Epoxy and hardened threaded rods to prevent the bolts
from vibrating loose. KVAL doesn’t require the use of epoxy though its added fastening strength is significant.
Standard Anchoring Instructions:
* With machine in place and leveled, drill 3”
deep holes in the concrete using a 5/8” dia.
masonry bit, using the mounting hole as a guide.
* Clean out holes with an air compressor to
ensure that the anchor heads get a firm bite on
the walls of the holes.
* Insert anchors through the mounting holes in
the foot pads and into the holes you have drilled
into the concrete. If an anchor’s expansion
sleeve binds inside the hole, simply tap the bolt
head with a hammer until the binding stops.
* Tighten bolts until they are snug. Avoid over
tightening the bolt as this may cause the head of
the bolt to break.
Anchoring Instructions using Epoxy:
* With machine in place and leveled, drill 3”
deep holes in the concrete using a 9/16” dia.
masonry bit, using the mounting hole as a
guide.
* Clean out holes with a air compressor.
Complete hole preparation with use of a nylon
brush (do not use wire brush).
* When starting a fresh cartridge of anchoring
epoxy, epoxy must be an evenly blended light
gray color. Insert nozzle into the bottom of the
hole. Fill hole to ½ the hole depth.
* Insert 1/2”, (hardened) threaded rod into the
bottom of the hole using a slow twisting
motion. This insures the epoxy fills voids and
crevices. Hardening begins in 7 minutes @
room temperature.
* After recommended cure time, bolt in place.