Do you have a question about the Kwikset 264 and is the answer not in the manual?
Guides the correct insertion and fastening of the latch mechanism into the door.
Details the process of attaching the strike plate to the door frame securely.
Attaches the cylinder and routes the necessary cable to the exterior assembly.
Fastens the exterior mounting plate to the door using screws.
Confirms the latch bolt operates freely after assembly.
Places the interior unit and inserts batteries, connecting cables.
Checks if the interior turnpiece rotates smoothly for lock operation.
Fastens the interior assembly securely to the door with screws.
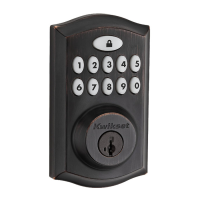
| Type | Electronic Deadbolt |
|---|---|
| Keypad | Yes |
| Keyless Entry | Yes |
| Battery Type | 4 AA batteries |
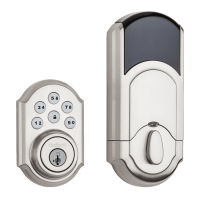
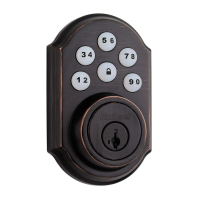
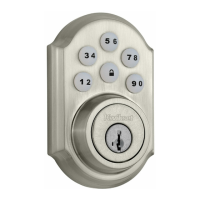
| Finish Options | Satin Nickel, Venetian Bronze, Polished Brass |
| Locking Mechanism | Deadbolt |
| Backlit Keypad | Yes |
| User Codes | Up to 30 |
| SmartKey Security | Yes |
| Door Thickness | 1-3/8" to 1-3/4" |
| Backset | Adjustable 2-3/8" or 2-3/4" |
| Brand | Kwikset |
| Model | 264 |
| Keyway | KW1 |
| Adjustable Latch | Yes |
| Handing | Reversible |
| Warranty | 1 year electronics warranty |
 Loading...